P-945
O
OWNER'S
WNER'S
MA
MANUAL
NUAL
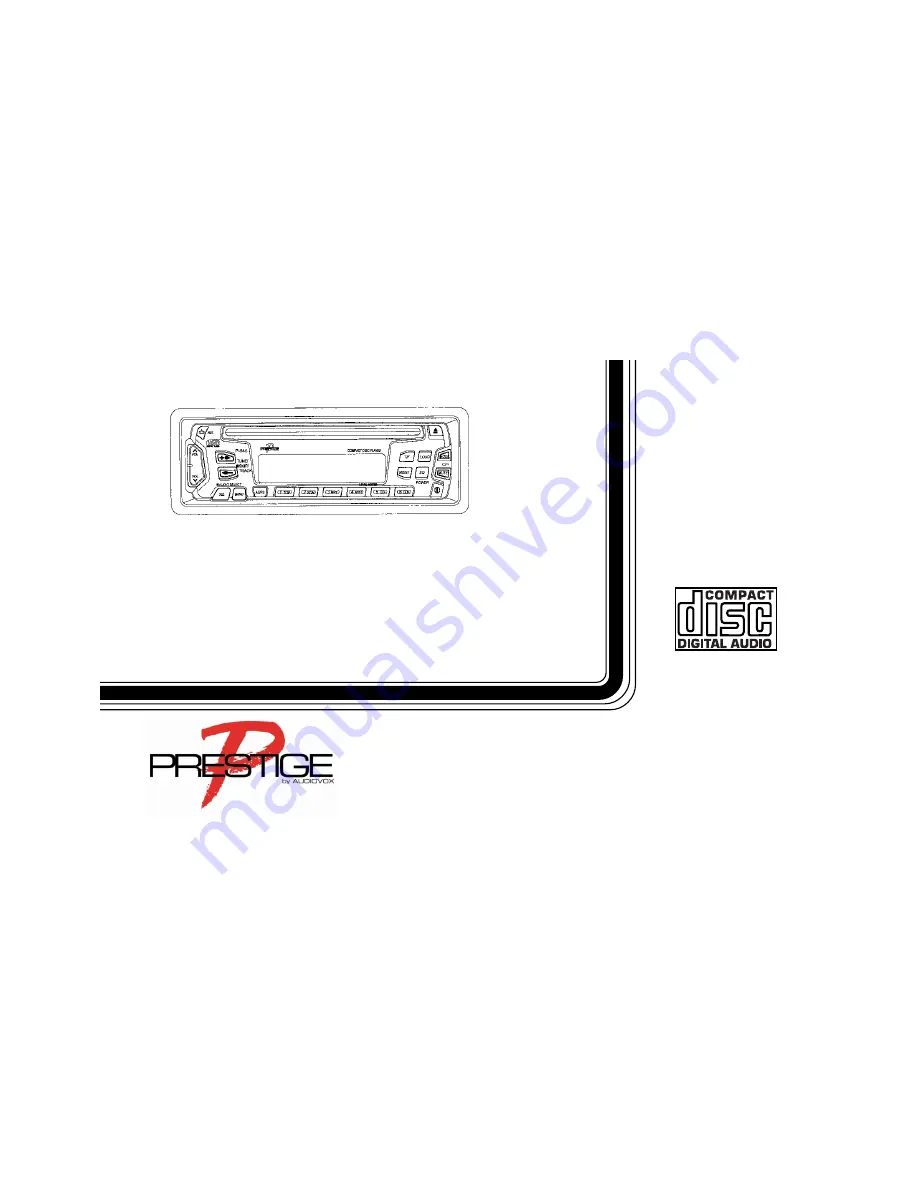
AM/FM/MPX RADIO WITH DETACHABLE FRONT PANEL,
COMPACT DISC PLAYER, CD CHANGER CONTROLS
AND QUARTZ CLOCK
Страница 1: ...P 945 O O O O OWNER S WNER S WNER S WNER S WNER S MA MA MA MA MANUAL NUAL NUAL NUAL NUAL AM FM MPX RADIO WITH DETACHABLE FRONT PANEL COMPACT DISC PLAYER CD CHANGER CONTROLS AND QUARTZ CLOCK...
Страница 2: ...NDEX Page Operating Instructions 3 9 Specifications 10 CD Changer Controls 11 Setting the Clock 12 CD Player Error Codes 13 CD Changer Error Codes 13 Care and Maintenance 14 Warranty Inside Back Cover...
Страница 3: ...ELECT SEL button 3 to adjust the bass treble balance and fader levels as described in 4 5 6and 7 3 AUDIO SELECT SEL BUTTON This button is used to select the audio function volume treble bass balance o...
Страница 4: ...ust the front rear speaker balance first select the Fader mode by pressing the SEL button 3 so that the FAD indica tion appears on the display panel Within 5 seconds of choos ing the Fader mode press...
Страница 5: ...ion During this time the pre set station number CH in the band will flash Press the button again momentarily to stop Pre Set Scan operation and remain on the selected frequency The station number CH s...
Страница 6: ...use 3 8cm CD Singles in this unit either with or without an adaptor as damage to the player and or disc can occur Such damage will not be covered by the Warranty on this product br TRACK SELECT These...
Страница 7: ...e loaded into the unit to prevent it from being accidentally damaged Play of the disc can be resumed by using the CD Mode Selector cr to choose CD player function co TIME FREQUENCY SELECTOR T F This u...
Страница 8: ...the chassis To detach the front panel press the button so that the left side of the panel is released Grasp the released side and pull it off of the chassis To re attach the panel position the right...
Страница 9: ...e left side to lock it into position 4 When taking the front panel with you please use the supplied carrying case to protect the panel from dirt and damage Make sure there is no dust or dirt on the el...
Страница 10: ...e Front and rear channels CANNOT be combined bridged foruse with 2 speakers RCA low level outputs rear channels Output Impedance Compatible with 4 ohm speakers Low Level Output 2 0 volts 2 000 mv Tuni...
Страница 11: ...lower number disc press the CD button dp The number of the disc in play will be shown on the display panel dq TRACK SELECT The Track Select functions are used to quickly access the beginning of a par...
Страница 12: ...l also select tracks in the shuffled order instead of the normal progression The Random Track mode can be canceled by pressing the Random button again or by activating the Scan ds or Repeat Play dt fu...
Страница 13: ...changer ER 2 Indicates a problem with the magazine eject function ER 3 Indicates an error in the disc loading function ER 4 Indicates an error in the disc un loading function ER 5 Indicates an error i...
Страница 14: ...l Do not stick paper tape or labels on the disc surfaces nor write on them with any type of marker 14 CARE AND MAINTENANCE The radio section of your new sound system does not require any maintenance W...
Страница 15: ...andling misuse neglect accident or by removal or defacement of the factory serial number bar code label s THE EXTENT OF THE COMPANY S LIABILITY UNDER THIS WARRANTY IS LIMITED TO THE REPAIR OR REPLACEM...
Страница 16: ...2000 Audiovox Corp 150 Marcus Blvd Hauppauge N Y 11788 Printed in China 128 5798...