background image

20

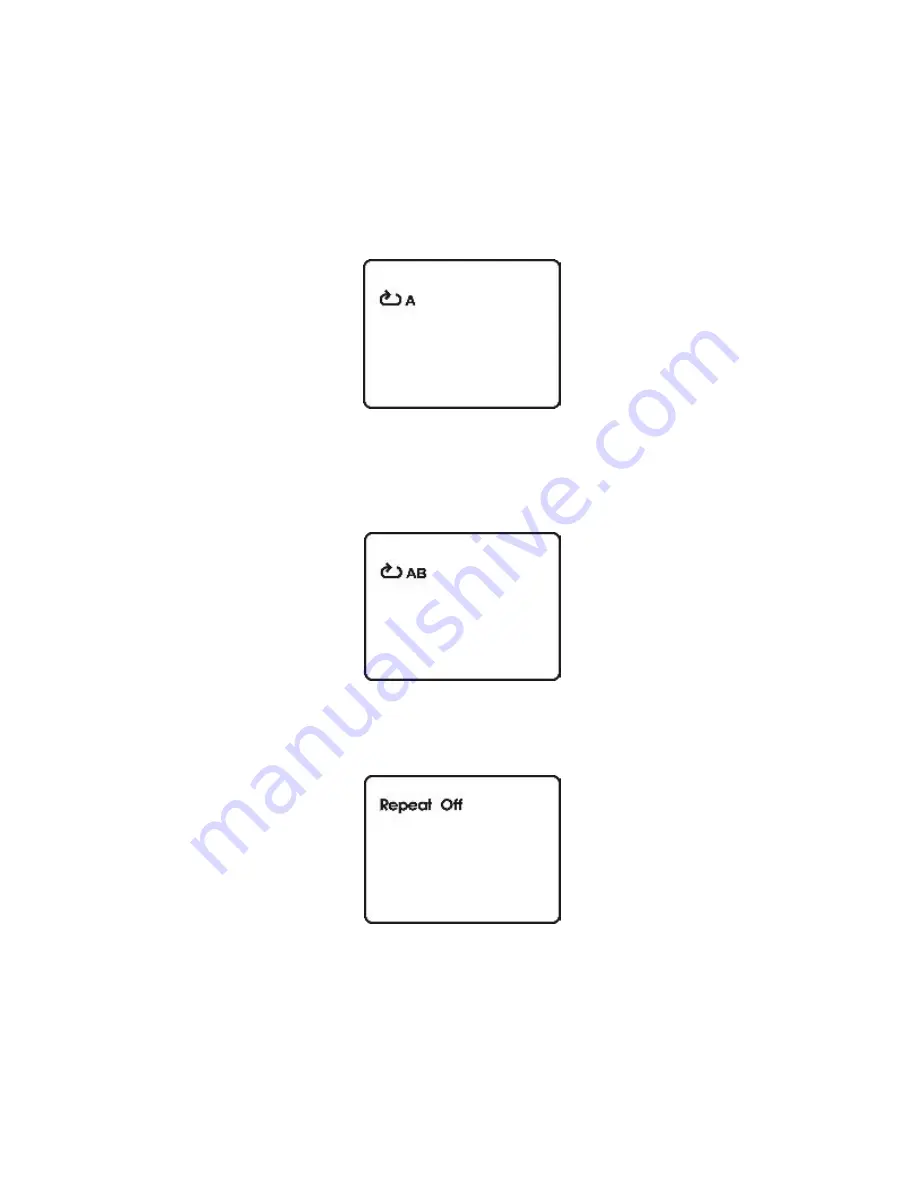
6. A-B REPEAT

a. During playback press ‘A-B’ to set the Starting  Point  A.

Figure 31. A-B Repeat Starting Point Screen Display

b.Press ‘A-B’ a second time to set the Ending Point B and the

player will repeatedly play the part between Point A and Point
B.

Figure 33. A-B Repeat Cancelled Screen Display

Figure 32. A-B Repeat Ending Point Screen Display

c.  Press A-B a third time to cancel A-B repeat and resume

 playback.

Содержание D1805

Страница 1: ...1 D1805 PORTABLE 8 LCD MONITOR AND DVD PLAYER ...

Страница 2: ...hock do not expose this appliance to rain or moisture Do not place the set on an unstable cart stand tripod bracket or table to prevent it from falling Keep the unit away from strong magnets heat sources direct sunlight excessive dust If the unit is brought directly from a cold to a warm location mois ture may condense inside the unit When you move it from a cold to a warm location wait for about ...

Страница 3: ...e center out with a cleaning cloth Remove the disc from the unit and store it in its case after playing Some playback operations of discs may be intentionally fixed by software produc ers Since this unit plays discs according to the disc contents the software producers designed some playback features may not be available Also refer to the instructions supplied with the discs C Contents 1 1 x 8 LCD...

Страница 4: ...C adapter into the DC 9V jack on the left side of the main unit then plug the other end into the 120V AC power socket 2 Powering the system in a car refer to Figure 1 Plug one end of the DC Power adapter into the DC 9V jack on the unit then plug the other end into the cigarette lighter socket 1 2 Figure 1 ...

Страница 5: ...OK Button 10 Down Button 11 Right Button 12 Close disc cover point 13 Open Button 14 Previous Button 15 Stop Button 16 Next Button 17 Play Button 18 Pause Button 19 Screen Mode wide Button 20 Power Saving Mode Switch 21 NTSC PAL Switch 22 Coaxial Jack 23 Hi Fi Headphone Jack 24 Volume Control 25 Power On Off Switch 26 Remote Control Sensor 27 Power LED 28 Battery Clips 29 Battery Connector Figure ...

Страница 6: ...KIP 19 Play Button 20 Pause Button Figure 3 F Loading and Playing a Disc a After connecting power to the unit Slide the power switch to the ON position the power indicor will illuminate red b Open the disc tray by pressing OPEN and place a disc into the tray with the labal side facing up c Close the tray with pressing PRESS button The unit will load the disc and start playing by pressing PLAY d Ro...

Страница 7: ...t using the DOWN button Then press Right enter the Submenu select SPDIF OFF SPDIF RAW SPDIF PCM by press UP DOWN and confirm the setting by Enter Press LEFT to return SPDIF OFF the digital signal Audio output is off SPDIF RAW the signal output from COAXIAL SPDIF PCM the signal output will be pulse code Modulation b Select TV DISPLAY using the DOWN button and then press RIGHT to enter the submenu S...

Страница 8: ...n TV a wide picture is shown on the full screen Figure 9 TV DISPLAY Screen Display c Select ANGLE MARK using the DOWN buttton and then press the RIGHT button to enter the submenu Choose Angle Mark on or off using the UP DOWN buttons and then press ENTER to confirm the setting Press the LEFT button to return Figure 10 ANGLE MARK Screen Display ON The screen will show the angle mark icon If an angle...

Страница 9: ...f the same image remains on the screen e Select Last Memory using the DOWN button Figure 12 LAST MEMORY Screen Display on The unit will return to the last position on the disc off The unit will not return to the last position on the disc 2 With no disc inside the player select Video quality Setup by using the LEFT RIGHT buttons press enter to enter the video quality set up page Figure 13 Main SETU...

Страница 10: ...ect Contrast by using the UP or DOWN buttons then press Enter you can adjust the Contrast by pressing the LEFT or RIGHT butttons Figure 15 CONTRAST Screen Display To exit Contrast Setting press Enter again to return to the main Menu c Select Hue by using the UP or DOWN buttons then press Enter you can adjust the Hue by pressing the LEFT or RIGHT buttons Figure 16 HUE Tint Screen Display To exit Hu...

Страница 11: ...ress Enter again to return to the main Menu 3 With no disc inside the player select password using the LEFT or RIGHT buttons then press the ENTER button to enter the submenu Figure 18 PASSWORD CHANGE Menu Press ENTER to enter the Password Change Page Input the Old Password or the Default Password the New Password and the Confirmed New Password Press ENTER to confirm the change Figure 19 PASSWORD C...

Страница 12: ...press ENTER to confirm the setting Press LEFT to return NOTE The Default Password is 3308 This password is always effective even after you have selected your own password and changed it To avoid the possibility of others using the default password to set the parental level and change the password you can record this default password in another area and delete it from this manual Some discs can be ...

Страница 13: ...disc c Select DISC MENU using the UP or DOWN buttons then press RIGHT to enter the submenu Select the Disc Menu Language you desire using the UP or DOWN buttons then press ENTER to confirm the setting Press LEFT to return b Select SUBTITLE the using the UP or DOWN buttons then press RIGHT to enter the submenu Select the desired subtitle lan guage or SUBTITLE OFF using the UP or DOWN buttons then p...

Страница 14: ... Select PARENTAL using the UP or DOWN buttons then press RIGHT to enter the submenu Figure 21 PARENTAL Preference Screen Display Select the parental level you desire using the UP or DOWN but tons for discs with lock out function or multiple rating levels These are listed from the lowest level 1 Kid Safe to the highest level Adult Enter a 4 digit password then press ENTER to confirm the parental le...

Страница 15: ...vigation Execute item or confirm setting Select item or setting Return Display the main menu of the disc Repeat playing title chapter or track RepeataspecificportionfrompointAtopoint B of the disc Display information title chapter track time etc Change the viewing angles on the scene Select the subtitle language and turn it on off Select the audio language Enlarge an image to 2 3 or 4 times the or...

Страница 16: ...rom disc to disc 1 PLA YING TIME AND REMAINING TIME a During playback press the DISPLAY button to display the cur rent Title Number 1 the total Number of Titles 2 the current Chapter Number 3 the total Number of Chapters 4 and the Playing elapsed Time for the title 5 The heading will disappear automatically after 3 seconds if no buttons are pressed b Press DISPLAY again to display the Remaining Ti...

Страница 17: ...s 2 ANGLE During playback of a disc press ANGLE to display the available angles for discs containing multi angles with the current angle number 1 and the total number of angles 2 displaying Press ANGLE to select another angle then press again to exit and re turn to the normal viewing angle The angle display will disappear automatically if the ANGLE button is not pressed again within 3 seconds NOTE...

Страница 18: ... are multiple languages press SUBTITLE again to select another subtitle language To turn subtitles OFF press the SUBTITLE button until SUBTITLE OFF is displayed The Subtitle display will disappear automatically if the SUBTITLE button is not pressed again within 3 seconds Figure 27 Angle Screen Display Figure 28 Subtitle Screen Display Some DVDs only allow access to this function through the DVD me...

Страница 19: ...ressed within for 3 seconds Figure 29 Audio Language Screen Display Some DVDs only allow access to this function through the DVD menu 5 ZOOM During playback press ZOOM to enlarge the picture by 2x 3x or 4X with the current zoom multiple 1 Press zoom one time the pic ture will be enlarged 2X 2 Press zoom a second time the picture will be enlarged 3X 3 Press zoom a 3rd time the picture will be enlar...

Страница 20: ...oint Screen Display b Press A B a second time to set the Ending Point B and the player will repeatedly play the part between Point A and Point B Figure 33 A B Repeat Cancelled Screen Display Figure 32 A B Repeat Ending Point Screen Display c Press A B a third time to cancel A B repeat and resume playback ...

Страница 21: ... chapter Figure 34 Chapter Repeat ON Screen Display b During playback press REPEAT again to repeatedly play the current title Figure 35 Title Repeat ON Screen Display c During playback press REPEAT a 3rd time to repeat all Chapters and Titles Figure 36 All Repeat ON Screen Display ...

Страница 22: ...ime information The options below show you what information is available using this function a The current track and playing time of that track will be displayed on the screen b Press DISPLAY one time and SINGLE REMAIN appears along with the current track playing and the amount of time left in that track Figure 39 SINGLE REMAIN Screen Display Figure 38 SINGLE ELAPSED Screen Display ...

Страница 23: ...he CD Figure 41 TOTAL REMAIN Screen Display e Press DISPLAY four times and DISPLAY OFF will appear momentarily then disappear The CD time Information will not be displayed USING THE REPEAT FEA TURE The default mode for the Repeat feature is OFF Pressing REPEAT consecutively changes the repeat options TRACK repeats the track that is playing ALL repeats the disc that is playing OFF As you toggle thr...

Страница 24: ...en 2 Press ENTER to select the highlighted folder The songs avail able under the folder will be listed 3 Press STOP First use or button to choose a song from the list Press ENTER to select and begin playback of the high lighted song 5 PLAYING MP3 DISCS MP3 is a format for storing digital audio An audio CD quality song is compressed into the MP3 format with very little loss of audio quality while t...

Страница 25: ...nsecutively changes the repeat options SINGLE REPEAT ONE REPEAT FOLDER FOLDER Pressing REPEAT the 5TH time will resume normal playback As you toggle through the options the repeat option changes The selected repeat option loops repeatedly until you turn it off NOTICE icon in front of a file name indicates that this is a folder not an MP3 file MP3 icon in front of a file name indicates that this is...

Страница 26: ...TOM will display on the screen the picture will refresh from left bottom to right top h Press display 8th time DIAGONAL WIPE RIGHT BOTTOM will display on the screen the picture will refresh from right bot tom to left top i Press display 9th time EXTEND FROM CENTER H will dis play on the screen the picture will refresh from horizontal center to both sides j Press display 10th time EXTEND FROM CENTE...

Страница 27: ...urn the root Menu by pressing left key k Press display 11th time COMPRESS TO CENTER H will display on the screen the picture will refresh from top and bot tom to center l Press display 12th time COMPRESS TO CENTER V will display on the screen the picture will refresh from right and left to center m Press display 13th time WINDOW H will display on the screen the picture will refresh from four windo...

Страница 28: ...k on the back of the unit and the other yellow plug to the VIDEO INPUT jack on your TV or Monitor 9 Connecting Coaxial Output The coaxial output of the unit can be used with an optional cable that has a stereo 1 8 inch male connector and a male RCA connector The output of the cable can be aplied to any device which accepts a digital coaxial audio signal 10 Specifications 7 Playing a Video Game Ref...

Страница 29: ... supply The Li ion battery pack is specially designed for your player please consult your dealer for purchasing the battery pack Li ion batteries feature high storage capacity and low level of degradation This means the Li lon batteries doesn t have Memory Effect and thus can be recharged safely regardless of whether the battery is fully or only partially spent Please fully charge the battery prio...

Страница 30: ...ions related to Battery Recharge 1 Once the battery has been fully spent please immediately recharge regardless of whether you plan to use battery power at once or not in order to maximize battery life 2 To charge the battery please connect the power jack directly into the D1805 and leave the POWER switch in the off position Using and Maintaining your Rechargeable Batteries 1 Please make sure you ...

Страница 31: ...ule s front edge 4 Push the battery towards the rear of the player until it locks into position The lock position is indicated by a click The unit will fit snugly to the player Figure 45 Installing the DVD Player Battery Removing the Battery Pack 1 First make sure the player is in Stop mode and the AC power supply has been disconnected 2 Press the release button on the rear of battery 3 Slide the ...

Страница 32: ...ABILITY UNDER THIS WARRANTY IS LIMITED TO THE REPAIR OR REPLACEMENT PROVIDED ABOVE AND IN NO EVENT SHALL THECOMPANY SLIABILITYEXCEEDTHEPURCHASEPRICEPAIDBYPURCHASERFORTHE PRODUCT This Warranty is in lieu of all other express warranties or liabilities ANY IMPLIED WARRAN TIES INCLUDING ANY IMPLIED WARRANTY OF MERCHANTABILITY SHALL BE LIMITED TO THE DURATION OF THIS WRITTEN WARRANTY ANY ACTION FOR BRE...

Страница 33: ...128 6920 2003 Audiovox Electronics Corp 150 Marcus Blvd Hauppauge N Y 11788 ...

Отзывы: