


CHAPTER 7: MUX TAB - CONFIGURATION
MDU Solutions
®
– DVIS/DVISm - Digital Video Insertion System & Mini Digital Video Insertion System - Installation & Operation Manual
7-3
7.5 No Video Slide Enable
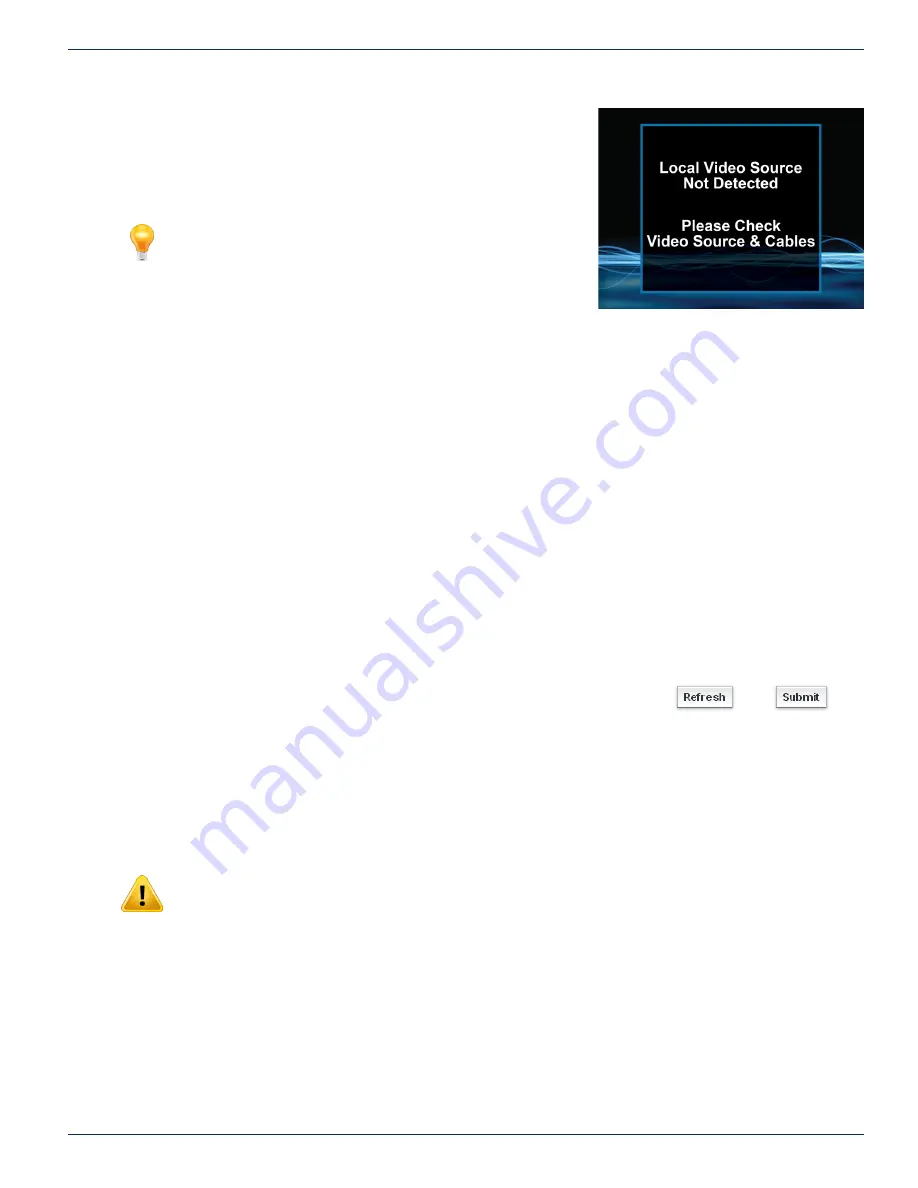
This ‘No Video’ feature allows a slide to be shown to the viewer on an SD
channel that loses video input to the encoder card. There is a pre-configured
default slide, Figure 7-5, but a custom slide may also be uploaded to the
.
NOTE: This feature is only available for use with SD encoder
cards DV1CE, DV2CE, DV1CEM & DV2CEM. This will not work
with the current HD encoder card.
7.5.1 If Checked
On loss of video to an SD encoder, the DVIS displays a built-in or custom
slide graphic on the program output of encoders. One slide will display on all
active encoders.
7.5.2 If Not Checked
On loss of video to an SD encoder, the DVIS will have no output program to display. Depending on end display equipment it
may show up as a black or blue screen or some default screen from end display device.
7.5.3 Built-in Slide
The default built-in slide provided displays a message indicating that a video source is not detected and advises that the video
source and cables should be checked. This feature is useful to avoid blank channels in the lineup when local video sources
fail. It indicates that the DVIS is functioning and RF output is present indicating that other customer premise equipment should
be checked first. In some situations this may help prevent unnecessary service calls for the DVIS platform. Once this feature
is enabled by ticking the box, a menu is activated which allows selection of either the default slide or a custom slide.
7.5.4 Custom Slides
Custom SD slides should first be created using our online ‘Video Loop Creation Tool’ available in the Resources & Support
Section, Calculators & Utilities sub-section at atxnetworks.com. This is the same tool for all DVIS and DigiVu products. Once
the slide is created, it has to be exported (saved on local PC) and then uploaded into the DVIS using the ‘Upload Slide’ button.
Click the
Submit
button to save and apply the image slide settings.
7.6 Platform Control Buttons
7.6.1 Refresh
This control reads the product’s stored settings and refreshes the page with the
values. This also will force the product to read the encoder card types installed and
populate the display with the discovered types. This is useful when an encoder card type has been changed or a new encoder
card installed.
This is not a service affecting operation.
7.6.2 Submit
NOTE: This is a service affecting operation.
This control applies all of the changes made on the ‘Mux’ tab and makes the changes part of the working configuration of the
DVIS system. If changes have been made click
Submit
button before navigating away from the page, to avoid all changes
being lost. This attribute may be used to throw away changes made if you change your mind.
Figure 7-5:
Default ‘No Video’ Slide
Figure 7-6:
Platform Control Buttons


