


30
Chapter 6
— Operation
6.1 Keyboard Lock/Unlock (Hidden command)
When the user leaves the control desk, he may wish to lock the keyboard controller to prevent unauthorized
use.
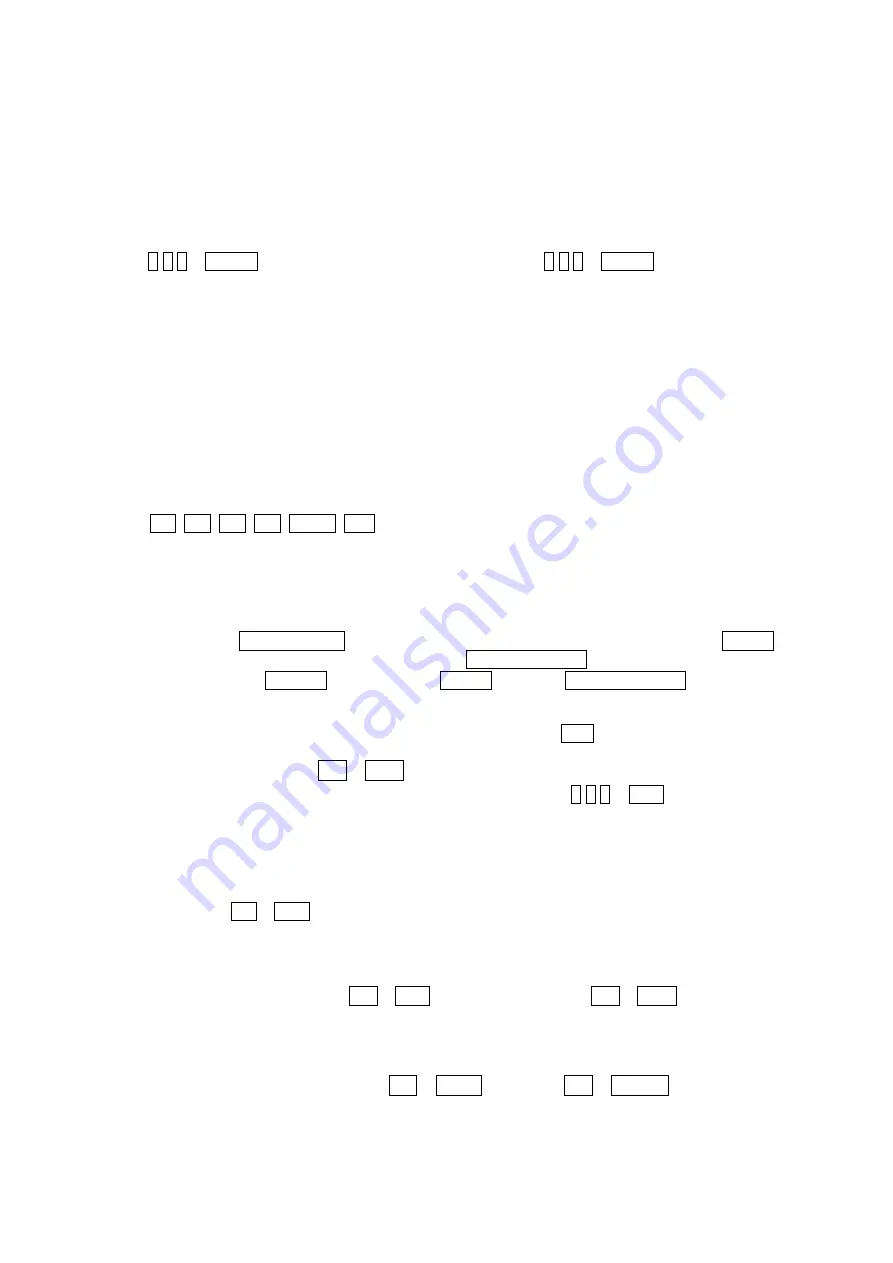
Pressing
7
7
7
+
ENTER
will lock the keyboard controller. Pressing
7
7
7
+
ENTER
while the keyboard is
locked will open the password screen. If the correct password is entered, the keyboard controller will return
to normal operation.
If the power is turned OFF and ON while the keyboard is locked, it will ask for the password. Entering the
correct password will cause the keyboard controller to return to normal operation.
NOTE
: If you forget your own passwords, turn off the keyboard controller, contact your distributor to get a
4-digit back door password. This will change the passwords to the factory default. Contact your distributor to
get the 4-digit back door password.
6.2 Controlling Multiplexer
Using a multiplexer allows more flexibility in the types of cameras that can be used in a full system. Dome
cameras and regular cameras can be mixed.
The keys
PIP, 2x2, 3x3, 4x4, ZOOM, SET
, etc., are keys that are used to operate the multiplexer.
6.2.1 Selecting Multiplexer
Duplexer :
Press
MACRO/MENU
key to enter Multiplexer set up menu and hold down the
ENTER
Key while navigating using the joystick. (
ENTER+Joystick
)
Triplexer :
Push the
Joystick
upward with the
ENTER
pressed
ENTER+Joystick
)will show the
Mux menu.
It will act like a mouse. Rotating the handle clockwise will act like the set key of the
multiplexer. Rotating counterclockwise will act like the
ESC
key of the Multiplexer.
Selecting multiplexer (
Mux ID
No. + MUX)
Example: If the unit address of the Multiplexer is 128, you should press
1 2 8
+
MUX
to control the 128th
Multiplexer.
6.2.2 Dome Camera Selection
Selecting camera
(No. + CAM)
With these selections, the keyboard controller has full control of the selected camera if it is a dome camera.
Viewing full screen mode
(
Mux ID
No.
+
MUX,
Multiplexer video input
No.
+
MAIN)
Select cameras 1 to 16 by pressing the camera number and then Main. The selected camera will appear in
the full screen mode and is under control if it is a dome camera.
Picture on Spot output monitor (
SPOT
No. + SPOT +
Camera
No. + ENTER)
Содержание KB5000N
Страница 2: ......
Страница 3: ......
Страница 11: ...3 Chapter 2 Installation and Configuration 2 1 USB Configuration of Fastrax Dome System...
Страница 15: ...7 2 2 Basic Configuration of Fastrax Dome System Figure 1 Basic installation diagram...
Страница 16: ...8 2 3 Configuration with DVR Figure 3 installation diagram with DVR...
Страница 17: ...9 2 4 Configuration with MUX Figure 4 installation diagram with MUX...
Страница 56: ......


