background image


3.


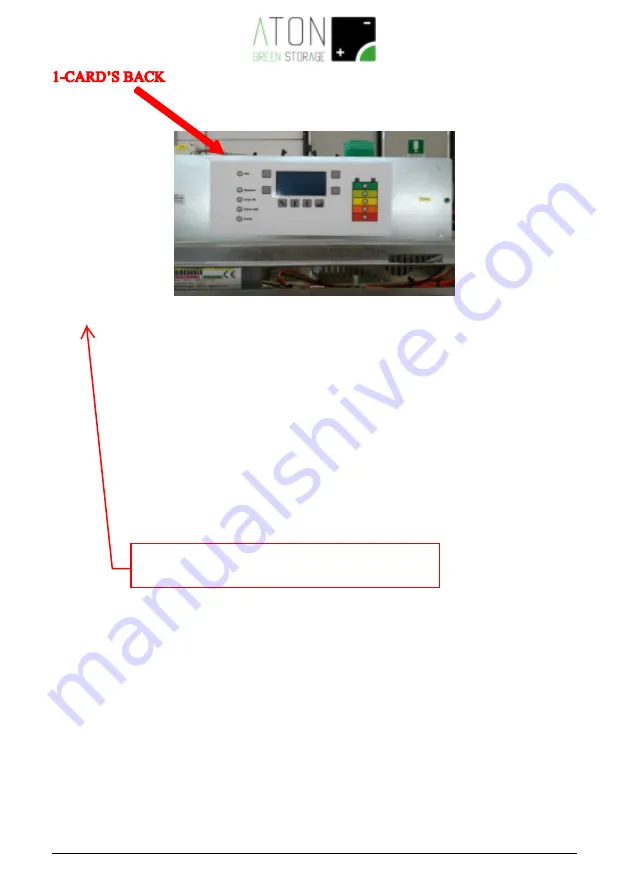
Remove the GPRS communication card and install the Wi-Fi communication 
card: 

1)


Remove the plastic protection on the card’s back by unscrewing the two nuts 
that keep it fixed to the display card.  

2)


Unscrew  and  disconnect  the  golden  connector  that  connects  the  aerial’s 
coaxial cable to the communication card. 

3)


Remove the GPRS ATN811 card from slot n.5 on the back of the display card.  


if ATN Wi-Fi card is already installed 
goto paragraph 4

Содержание Ra.Store-K

Страница 1: ...Installation of the Wi Fi communication card Rev 1 01 Ra Store K...

Страница 2: ...and Switch OFF QG1 QE2 and QE21 on the equipment s side 2 Remove the plastic carters Unscrew the two screws that keep the upper panel fixed to the structure Remove the panel The 3 coloured side panel...

Страница 3: ...art so that the pins get out of the guides Lift the panel The control card is located in the equipment s upper part Disconnect the connector on the flat ribbon that feeds the external led column as in...

Страница 4: ...rd s back by unscrewing the two nuts that keep it fixed to the display card 2 Unscrew and disconnect the golden connector that connects the aerial s coaxial cable to the communication card 3 Remove th...

Страница 5: ...5...

Страница 6: ...plastic protection by screwing the two nuts that keep it fixed to the display card 7 Reconnect the flat ribbon connector that feeds the equipment s led column 8 Reinstall the carters Set the three si...

Страница 7: ...e picture here below show the display and the system s keys Press the arrow up key until displaying the screen with numerical data While pressing the orange circled key press the Enter key green This...

Страница 8: ...Wi Fi submenu The cursor is positioned next to the writing Start press the ENTER key to enable the Wi Fi communication The first writing of the Wi Fi menu changes from WIFI OFF to WIFI ON as shown in...

Страница 9: ...n order to complete the configuration procedure use any device with a Wi Fi connection here below referred as PC and Web Browser 1 Connect the PC to the Wi Fi net Ra_Config Pic 5 Pic 5 2 Launch the PC...

Страница 10: ...10 NOTE in case it appears a screen with a red box see following pic at any point of the procedure go back to point 1...

Страница 11: ...t list in Available Access Points Pic 8 6 Select a net fields Access Point SSID and Security Mode for Wi Fi nets with no password select Open will be automatically filled If the list does not include...

Страница 12: ...and enter a static IP subnet mask and gateway 9 Click on Save Reboot to save the settings 10 Press OK in the pop up window to exit Pic 9 and close the Web Browser Pic 9 11 Access the equipment s Web p...

Отзывы: