Atlantic Technology Gatecrasher 1 Скачать руководство пользователя страница 2

WARNING

TO PREVENT FIRE OR SHOCK HAZARD, DO NOT USE THIS PLUG WITH AN EXTENSION
CORD, RECEPTACLE OR OTHER OUTLET UNLESS THE BLADES CAN BE FULLY INSERTED
TO PREVENT BLADE EXPOSURE

TO PREVENT FIRE OR SHOCK HAZARD, DO NOT EXPOSE THIS APPLIANCE TO RAIN OR
MOISTURE.

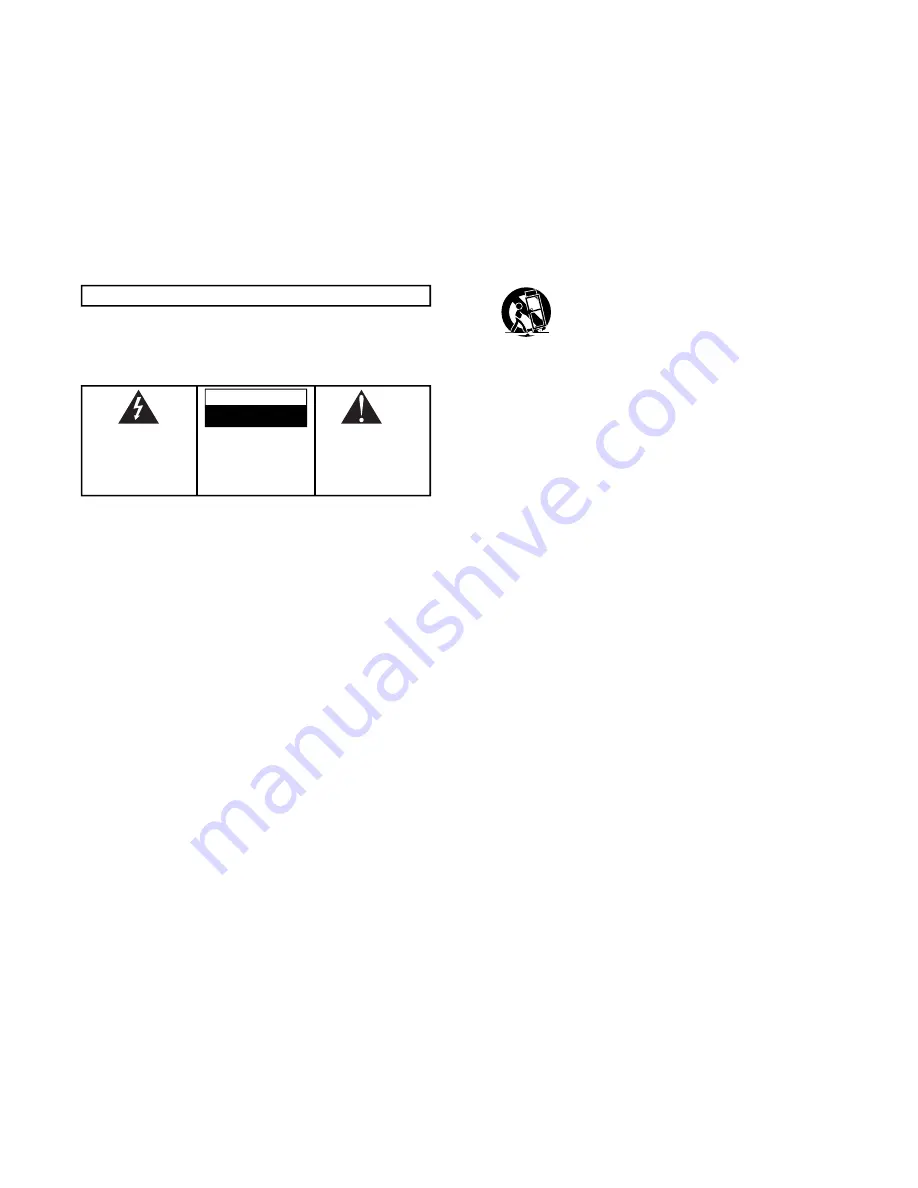
The lightning flash with arrowhead

symbol, within an equilateral triangle,

is intended to alert the user to the

presence of uninsulated “dangerous

voltage”  within  the  product’s

enclosure that may be of sufficient

magnitude to constitute a risk of electric

shock to persons.

The  exclamation  point  within  an

equilateral triangle, is intended to alert

the user to the presence of  important

operating and maintenance (servicing)

instructions  in  the  literature

accompanying the appliance.

CAUTION: TO REDUCE THE RISK OF

ELECTRIC SHOCK, DO NOT REMOVE

COVER  (OR  BACK).  NO  USER-

SERVICEABLE  PARTS  INSIDE.

REFER SERVICING TO QUALIFIED

SERVICE PERSONNEL.

CAUTION

RISK OF ELECTRIC SHOCK

DO NOT OPEN

12. 

Use only with the cart, stand, tripod, bracket, or table 
specified by the manufacturer, or sold with the apparatus. 
When a cart is used, use caution when moving the cart/
apparatus combination to avoid injury from tip-over.

13.  Unplug this apparatus during lightning storms or when unused for long 

periods of time.

14.  Refer all servicing to qualified service personnel. Servicing is required 

when the apparatus has been damaged in any way, such as power-
supply cord or plug is damaged, liquid has been spilled or objects have 
fallen into the apparatus, the apparatus has been exposed to rain or 
moisture, does not operate normally, or has been dropped.

15.  Grounding or Polarization–This product may be equipped with a 

polarized alternating-current line plug (a plug having one blade wider 
than the other). This plug will fit into the power outlet only one way. This 
is a safety feature. If you are unable to insert the plug fully into the 
outlet, try reversing the plug. If the plug should still fail to fit, contact 
your electrician to replace your obsolete outlet. Do not defeat the 
safety purpose of the polarized plug.


Alternate Warnings–This product is equipped with a three-wire 
grounding-type plug, a plug having a third (grounding) pin. This plug will 
only fit into a grounding-type power outlet. This is a safety feature. If 
you are unable to insert the plug into the outlet, contact your electrician 
to replace your obsolete outlet. Do not defeat the safety purpose of the 
grounding-type plug.

16.  Ventilation–Slots and openings in the cabinet are provided for 

ventilation and to ensure reliable operation of the product and to 
protect it from overheating, and these openings must not be blocked or 
covered. The openings should never be blocked by placing the product 
on a bed, sofa, rug, or other similar surface. This product should not 
be placed in a built-in installation such as a bookcase or rack unless 
proper ventilation is provided or the manufacturer’s instructions have 
been adhered to.

17.  The MAINS plug or an appliance coupler is used as the disconnect 

device, the disconnect device shall remain readily operable.

18.  CLASS II apparatus with double insulation, and no protective earth 

provided.

19.  CAUTION: Danger of explosion if the remote control battery is 

incorrectly replaced. Replace only with the same or equivalent type.

20.  WARNING: The remote control battery (battery or batteries or battery 

pack) shall not be exposed to excessive heat such as sunshine, fire or 
the like.

21.  No naked flame sources, such as lighted candles, should be placed on 

the apparatus.

Important Safety Instructions

1.  Read these instructions.
2.  Keep these instructions.
3.  Heed all warnings.
4.  Follow all instructions.
5.  Do not use this apparatus near water.
6.  Clean only with dry cloth.
7.  Do not block any ventilation openings. Install in accordance with the 

manufacturer’s instructions.

8.  Do not install near any heat sources such as radiators, heat registers, 

stoves, or other apparatus (including amplifiers) that produce heat.

9.  Do not defeat the safety purpose of the polarized or grounding-type 

plug. A polarized plug has two blades with one wider than the other. 
A grounding type plug has two blades and a third grounding prong. 
The wide blade or the third prong are provided for your safety. If the 
provided plug does not fit into your outlet, consult an electrician for 
replacement of the obsolete outlet.

10.  Protect the power cord from being walked on or pinched particularly at 

plugs, convenience receptacles, and the point where they exit from  
the apparatus.

11.  Only use attachments/accessories specified by  

the manufacturer.

Содержание Gatecrasher 1

Страница 1: ...343 Vanderbilt Avenue Norwood MA 02062 Telephone 781 762 6300 Fax 781 762 6868 Gatecrasher 1 Wi Fi Multiroom Loudspeaker USER GUIDE ...

Страница 2: ... only fit into a grounding type power outlet This is a safety feature If you are unable to insert the plug into the outlet contact your electrician to replace your obsolete outlet Do not defeat the safety purpose of the grounding type plug 16 Ventilation Slots and openings in the cabinet are provided for ventilation and to ensure reliable operation of the product and to protect it from overheating...

Страница 3: ...nt has been tested and found to comply with the limits for a Class B digital device pursuant to Part 15 of the FCC Rules These limits are designed to provide reasonable protection against harmful interference in a residential installation This equipment generates uses and can radiate radio frequency energy and if not installed and used in accordance with the instructions may cause harmful inerfere...

Страница 4: ...Carton Content Gatecrasher Music Player Spotify document Power Supply Adapter This User Manual Connection Cable i ...

Страница 5: ...including streaming audio sites on the internet content stored on your smart device content stored in shared folders on your home network a music source connected to the AUX input of Gatecrasher Table of Contents ii Carton Content i Table of Contents and Overview ii Controls and Input Diagrams iii Download The Gatecrasher app 1 Connect Gatecrasher 2 Configure Gatecrasher app 3 7 Selecting Sources ...

Страница 6: ...Push to go forward one track or selection Pause or restore playback Connect an analog audio source to this 3 5mm stereo minijack input Pushing this button re stores Gatecrasher 1 to its out of carton settings Choose Stereo output or L play just the Left channel signal through both speakers or R play just the Right channel signal through both speakers Connect the DC plug of the external power suppl...

Страница 7: ...ther iTunes or Google Play Once you have downloaded the Gatecrasher app to your smart device you use app to lo cate your new Gatecrasher and then establish communication between your Gatecrasher your smart device and your local wifi setup 01 The Gatecrasher app listing will appear similar to this in Google Play or iTunes Once it is installed run the Gatecrasher app on your smart device ...

Страница 8: ...r to AC power FIRST connect the small DC plug on the AC adapter to the 19VDC power input on the back of Gatecrasher SECOND connect the AC plug to a power receptacle DC plug AC adapter Gatecrasher can be connected to any 100 to 240 Volt 50 or 60 Hz AC power source 02 ...

Страница 9: ...r about 30 seconds touch the SETUP AUDIO SYSTEM button on the app screen Configuring the Gatecrasher app This is an app screen on an Android smart phone The position of the Set Up Audio System button will vary depending on the smart device App STEP 1 03 ...

Страница 10: ... the Gatecrasher app continued The app will begin a scan to locate the Gatecrasher When the app locates Gatecrasher it will display the default name for Gatecrasher Gatecrasher App STEP 2 Gatecrasher App STEP 3 04 ...

Страница 11: ...The app lets you to rename Gatecrasher The app next allows you to establish a network connection to Gatecrasher Gatecrasher App STEP 4 Gatecrasher App STEP 5 05 ...

Страница 12: ...the best choice for most users After selecting Wi Fi the app will present you with a list of names of nearby Wi Fi networks Selecting a Wi Fi network The log on screen for that network appears Enter the password for the network Gatecrasher App STEP 6 Gatecrasher App STEP 7 06 ...

Страница 13: ...municate with your smart device using the chosen Wi Fi network Once the Wi Fi communication link has been established Gatecrasher will show the credit screen and the READY TO PLAY SOME MUSIC link Gatecrasher App STEP 8 Gatecrasher App STEP 9 07 ...

Страница 14: ...reset list Touch this slider to adjust volume Mute UnMute Touch this to return to the Main Source Selection screen Touch this to see the Settings list 08 This entry shows if linked Gatecrasher systems are in use Listen to a streaming station Listen to TIDAL music service Listen to Deezer music service Listen to Qobuz music service Listen to Spotify music service Play content stored on the smart de...

Страница 15: ...se from a variety of sta tions streaming on the internet 09 Selecting The Source You Want To Hear continued Streaming Radio example This screen shows how streaming stations are listed when you browse for stations by choosing Stations Location California Jazz ...

Страница 16: ...ce press and hold BT button on GC control panel until you get a fast blink Then choose Atlantic Gatecrash er on the new device s pairing setting list Preset Audio Sources screen Store the current source here by touching the sign at the end of a rank Touch an entry to hear it Pressing P1 P2 and P3 on the Gatecrasher keypad directly selects the station ...

Страница 17: ...ew system to make it easy to identify You can choose to listen to a specific Gate crasher to hear by touching its entry AUX Source screen Connect an audio signal source to the Gatecrasher AUX IN minijack You can control playback volume from Gatecrasher but other playback func tions Play Pause Stop are controlled from your audio signal source 11 ...

Страница 18: ...he first device s sign to start the group creation routine Select the second device from the Group Setup window then choose a name for the Group Selecting OK creates the group Your devices are now synchronized Touch this icon to create a group Check this box to add Gatecrasher Second Room to Gatecrasher Main Room Touch RENAME to choose a Group name that fits your Gatecrasher installation 12 ...

Страница 19: ... the Now Playing screen touching the three dots in the upper right brings up a list with Settings at the top Touch Settings to see options that include a Sleep timer and the ability to fine tune a Gatecrasher s behavior 13 ...

Страница 20: ...om Settings you can rename a Gatecrasher and adjust the tone of the device equalizer Sleep timer Swipe up or down on the Sleep timer screen to choose between 15 and 120 minutes of playtime before an automatic turn off 14 ...

Страница 21: ... s service through Gatecrasher choose the Spotify option on Gatecrasher app Source selection page see page 8 of this manual Gatecrasher will now appear as a playback option with in the Spotify app on your smart device or computer Listen out loud with Spotify Connect 1 Connect Gatecrasher to your wifi network 2 Open up the Spotify app on your phone tablet or laptop using the same wifi network 3 Pla...

Страница 22: ...nterprise Co Limited Note Use this appliance in a temperature range between 20 C and 45 C 4 F and 113 F Safety Comments The appliance is only suitable for moderate climates The maximum ambient temperature during use of the appliance must not exceed 40 C 105 F Do not drop the appliance or expose it to any other type of impact Do not place the appliance in an area exposed to heat direct sunlight dam...

Страница 23: ... Directive 2014 53 EC Full text of the EU declaration of conformity is available at https www nyne com WIFI 2 4G RF Output 1 153 dBm BT 4 0 RF Output 0 619 dBm WIFI 5G RF Output 19 54 dBm CE Marking The test was performed according to the following European standards Draft ETSI EN 301 489 1 V2 2 0 2017 03 Draft ETSI EN 301 489 17 V3 2 0 2017 03 ETSI EN 301 893 V2 1 1 2017 05 ETSI EN 300 328 v2 1 1...

Страница 24: ...343 Vanderbilt Avenue Norwood MA 02062 Telephone 781 762 6300 Fax 781 762 6868 ...

Отзывы: