


60
Operating the KN9000 Remote Window
Once a connection to the KN9000 is established, local keystroke and mouse
input is captured and sent to the remote system. A window appears on the
user’s monitor portraying an exact duplicate of the remote system’s video
output display as captured by the KN9000.
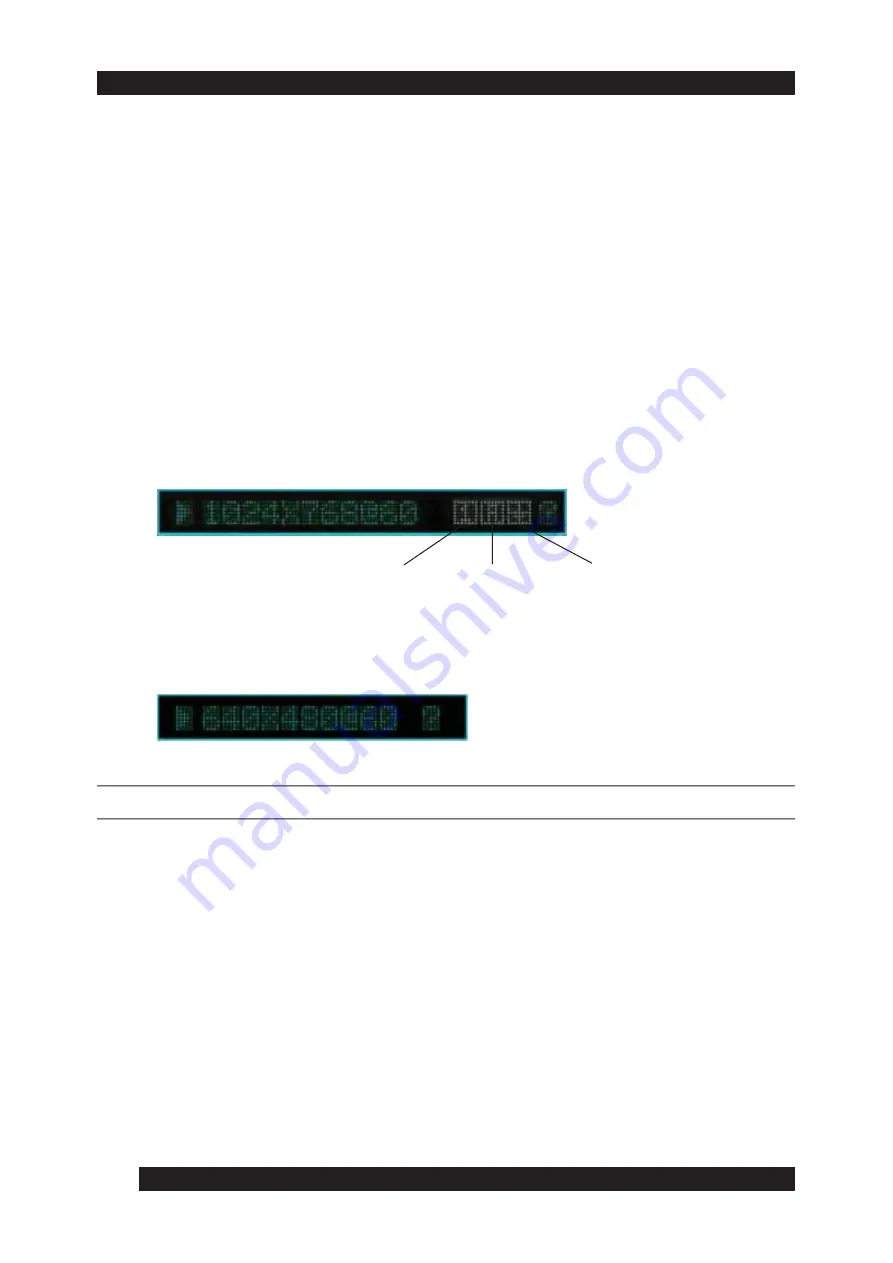
The remote system’s video resolution and refresh rate display in a small ON
Screen Display (OSD) located by default at the lower left of the screen. Also
displayed is a Help button represented by a question mark icon.
• For computers running XP or Win 2000, the keyboard LED status also
displays as shown below.
NumLock, CapsLock, ScrollLock
• For computers running Win 98 or Win ME, the KN9000 controls the LEDs on
the actual local keyboard as shown below.
NOTE:
To move the OSD, left-click the OSD window and drag to another screen location.
Keyboard Operations on Remote System
Keyboard input has no effect on the local user’s computer with the exception
of [Alt + Tab] and [Ctrl + Alt + Del]. These keys are reserved for use on the
local system in order to switch between applications or recover from system
disaster.
To provide the [Alt + Tab] and [Ctrl + Alt + Del] functions on the remote
system, a [Function Key] is used as substitute for the [Alt] key.
Содержание Altusen KN9000
Страница 1: ...1...
Страница 2: ...2...
Страница 4: ...4...
Страница 7: ...7 Appendix A Specifications Appendix B Stacking and Mounting Appendix C LimitedWarranty 93 95 97...
Страница 12: ...12...
Страница 23: ...23 5 Power up your server or KVM installation 6 Power up the KN9000...
Страница 24: ...24...
Страница 56: ...56 The Connection Window After initiating the Windows Client the Connection window appears as shown below...
Страница 78: ...78...
Страница 94: ...94...
Страница 98: ...98...


