AT-800D
AT-800D
AT-800D
AT-800D Quick
Quick
Quick
Quick Start
Start
Start
Start Guide
Guide
Guide
Guide
ATCOM TECHNOLOGY CO., LIMITED
1111
、
Installation
Installation
Installation
Installation and
and
and
and access
access
access
access
Installation:
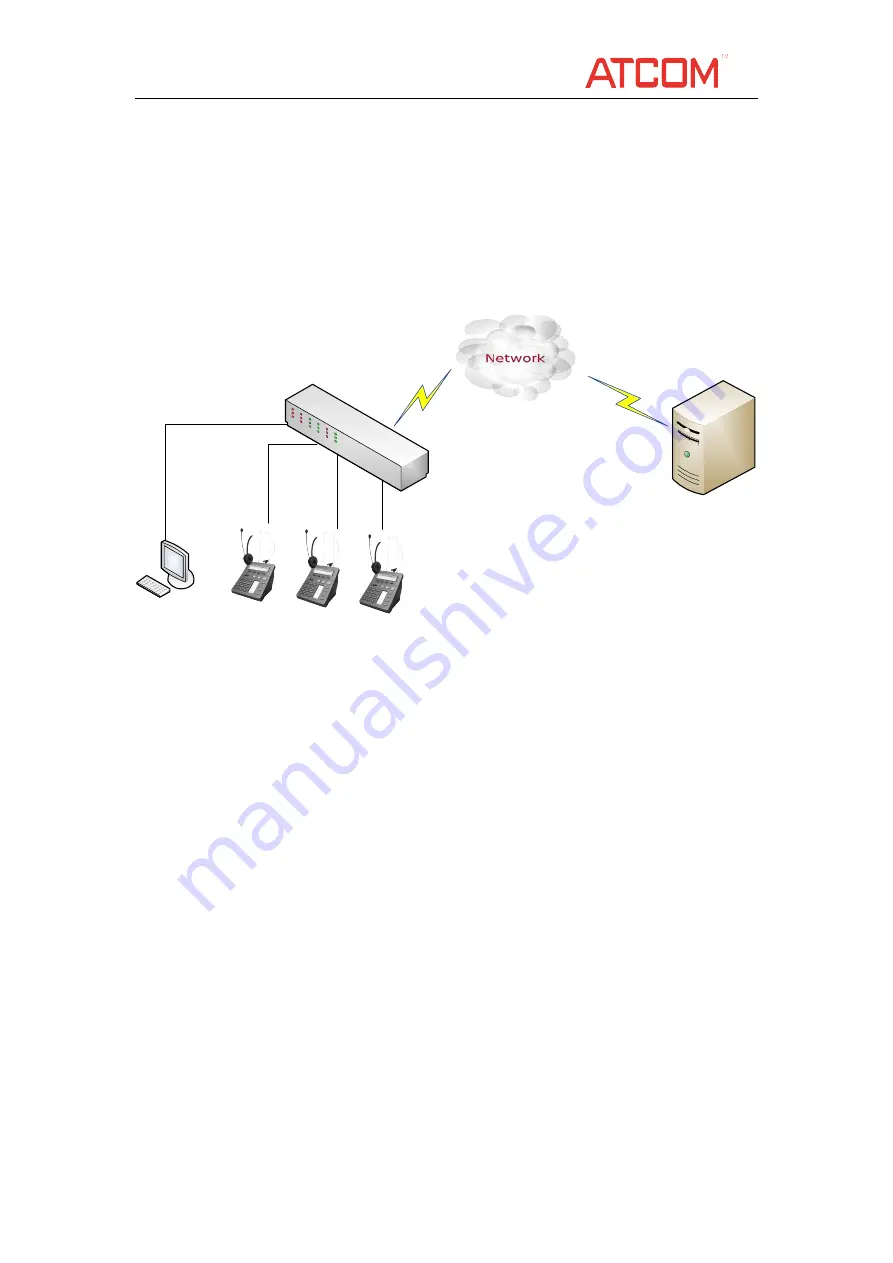
Using AT-800D as below scene:
Internet
P C
Switch
A T 8 0 0 D
A T 8 0 0 D
A T 8 0 0 D
SIP Server
1.1
1.1
1.1
1.1 Power
Power
Power
Power on
on
on
on
1.
Plug in network cable
at LAN port.
2.
Plug in the power jack with DC 12V/500mA.
3.
AT-800D will show loading bar and ATCOM logo, and then come into idle
display after boot up absolutely.
1.2
1.2
1.2
1.2 Connect
Connect
Connect
Connect to
to
to
to network
network
network
network
1. Press <menu> soft-key, inputting default password 123 to enter menu
settings. Then press <OK> key to enter menu settings. Check your IP
address at option 9.Network
�
1.WAN
�
2.Current IP.
2. Modify IP address of your PC to be in the same network as AT-800D.
3.
Inputting AT-800D IP address at browser and pressing enter key can
access the web interface of AT-800D.Default is in user login, and you can
click “admin” button at the left side of webpage(under the logo) to
change to admin login.


