


18
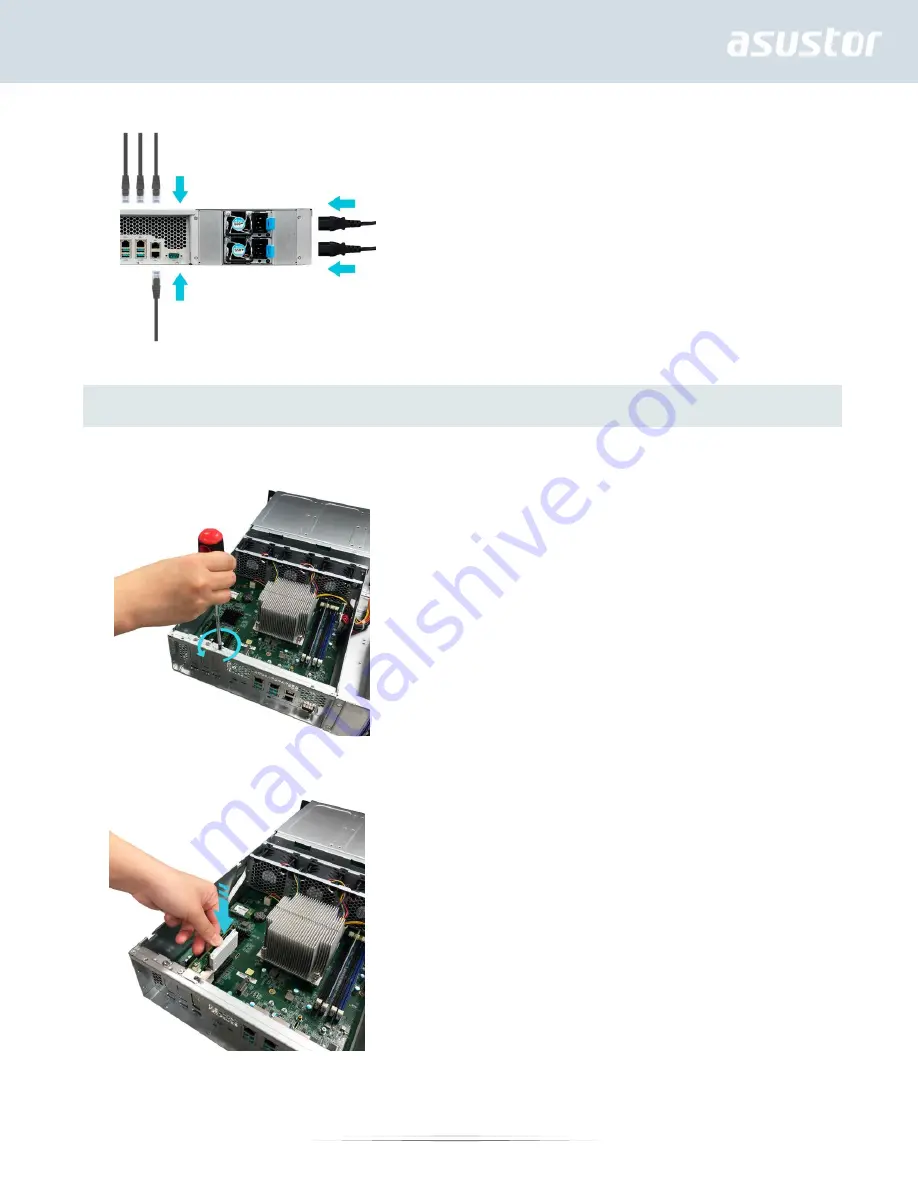
Installing Expansion Card
1. Unscrew the blanking plate retention screw and then remove the blanking plate for the expansion slot that
you wish to use.
2. Carefully insert your expansion card into the slot, making sure to line up the connector on the bottom of the
expansion card with the slot.
3. Using two fingers, carefully push the expansion card into place and then screw in the retention screw.


