41
Using the Notebook PC
4
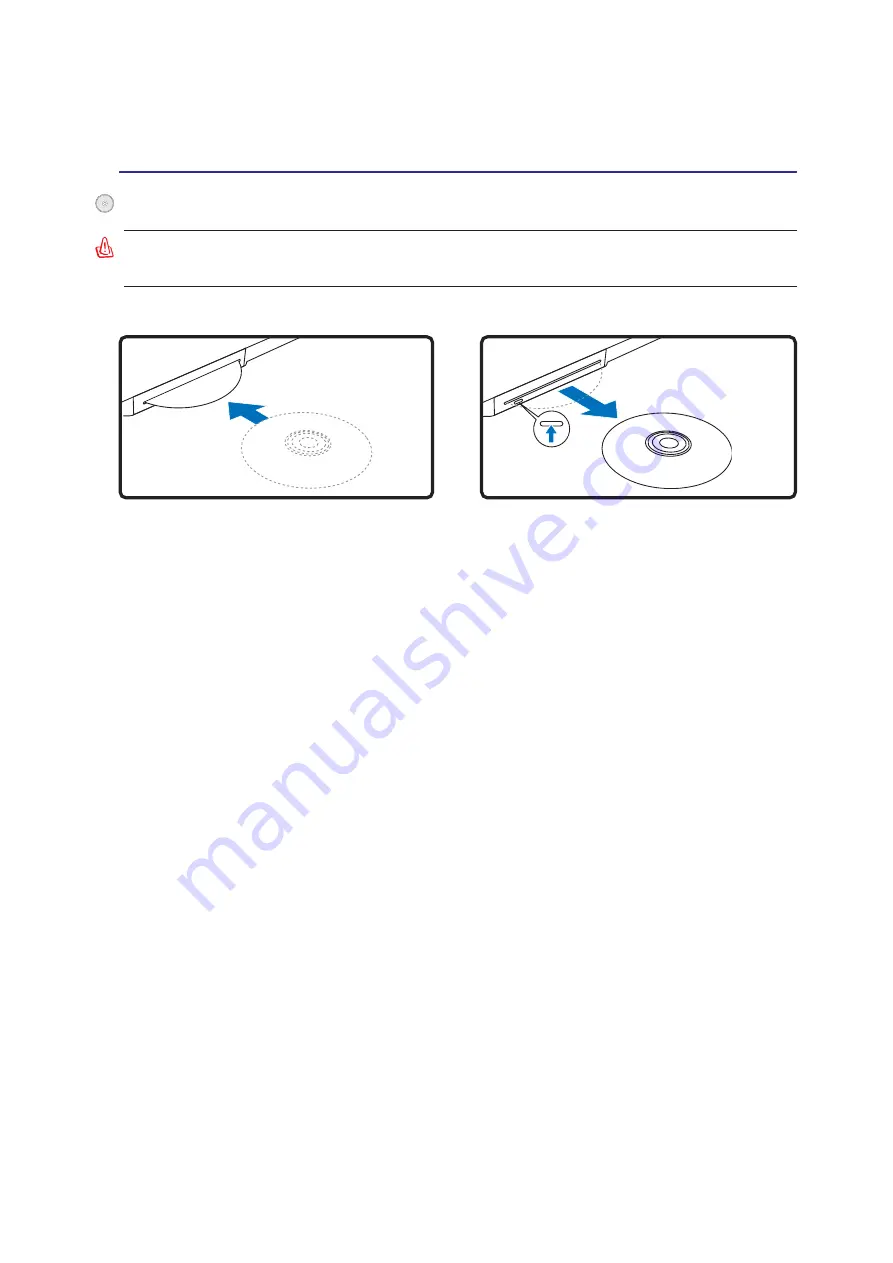
2. Gently grab the disc by the edges and pull
straight out.
1. While the Notebook PC’s power is ON, push
the electronic eject button (or use eject from
Windows operating system).
1. While the Notebook PC’s power is ON, in-
sert a disc slowly and the drive will receive
the disc and bring it in.
Inserting an optical disc
Removing an optical disc
Optical Drive – slot type
Using the Optical Drive
A CD drive letter should be present regardless of the presence of a CD disc in the drive. After the CD is
properly inserted, data can be accessed just like with hard disk drives; except that nothing can be
written to or changed on the CD. Using the proper software, a CD-RW drive or DVD+CD-RW drive
can allow CD-RW discs to be used like a hard drive with writing, deleting, and editing capabilities.
Vibration is normal for all high-speed optical drives due to unbalanced CDs or CD print. To decrease
vibration, use the Notebook PC on an even surface and do not place labels on the CD.
Listening to Audio CD
The optical drives can play audio CDs, but only the DVD-ROM drive can play DVD audio. Insert the
audio CD and Windows™ automatically opens an audio player and begins playing. Depending on the
DVD audio disc and installed software, it may require that you open a DVD player to listen to DVD
audio. You can adjust the volume using hotkeys or Windows™ speaker icon on the taskbar.
WARNING! The slot optical disc drive only supports a 16cm disc. The slot optical disc
drive does not support a 8cm disc. Inserting a 8cm disc may damage the slot drive.
Содержание W2P
Страница 1: ...E2778 Aug 2006 Notebook PC Hardware User s Manual ...
Страница 4: ...4 Contents ...
Страница 10: ...10 1 Introducing the Notebook PC ...
Страница 11: ...11 2 Knowing the Parts Basic sides of the Notebook PC ...
Страница 71: ...71 Appendix A ...


