
Setting up user accounts
Click the User Accounts tab to create user accounts for each user. User accounts
are required in order to control access to the shared folders on Windows Home
Server.
Windows Home Server has a 10 user account limit, not including the
built-in Administrator and Guest Account.
To create a user account
1. Log on to the Windows Home Server Console.
2. Click the User Accounts tab, and then the User Accounts Setup window
appears.
3. Choose to use the Guest account; or, set up a password policy to configure
the user accounts password complexity. Click OK.
A strong password is required if Remote Access is enabled.
To add, remove, disable, or modify a user account
• On the User Account tab, click Add and fill in the necessary information
under the General tab.
• Select a user account, and then click Remove to delete it.
• Select a user account, and then click Properties to change the user
account's password or disable the user account.
To disable the Guest account
1. On the User Account tab, right-click Guest, and then click Disable
Account.
2. A confirmation message appears. Click Yes.
•
Weak
– select this policy if you want shorter passwords for user accounts.
The network security is weak, though.
•
Medium
(default)
– passwords for user acounts must be at least five
characters long without complexity requirement.
•
Strong
– select this policy to mak access to your home network more
secure. Password complexity is required.
Sharing files on your home server
In shared folders, you can organize and store files on Windows Home Sever to
share them with other people on your home network.
To access shared folders on the home server
You may access the shared folders on your home server in several ways.
• from the Windows Home Server Console
• from the desktop shortcut
• from the Windows Home Server icon
• from the Windows Start Menu
• from My Network Places
• from the Internet
Then, you can copy files you want to share to the shared folders on the home
server.
To modify the folder sharing access
1. Click the User Accounts tab on the Windows Home Server Console,
and then double-click a user.
2. In the Properties for Guest dialog, click the
Shared Folder Access
tab.
3. Set the user’s access rights to existing shared folders on the home
server.
•
Full
– the user can create, change, and delete any files in the shared
folder.
•
Read
– the user can only read the files in the shared folder.
•
None
– the user cannot read, create, change, and delete files in the
shared folder.
3. Click OK.
For more detailed instructions, refer to the User Manual that came with
the product package.
Configuring a home-computer backup
You can customize the backup of each of your home computers from the Windows
Home Server Console.
To configure backups for a home computer
1. Log on to the Windows Home Server Console.
2. Click the Computer & Backup tab.
3. Right-click a computer and then click Configure Backup.
4. Follow the Backup Configuration Backup Wizard to select the volumes you
want to back up and the folders you want to exclude from the backup.
To adjust the backup time
By default, the backup time starts from 12:00AM to 6:00AM. You can adjust the
backup time from the Backup settings page.
To configure automatic backup management
You can configure how many monthly, weekly, and daily backups to keep for your
home computers. To do this:
1. Log on to the Windows Home Server Console.
2. Click Settings and then Backup.
3. In Automatic Backup Management, specify the number of months, weeks, and
days.
4. Click OK to complete the setting.
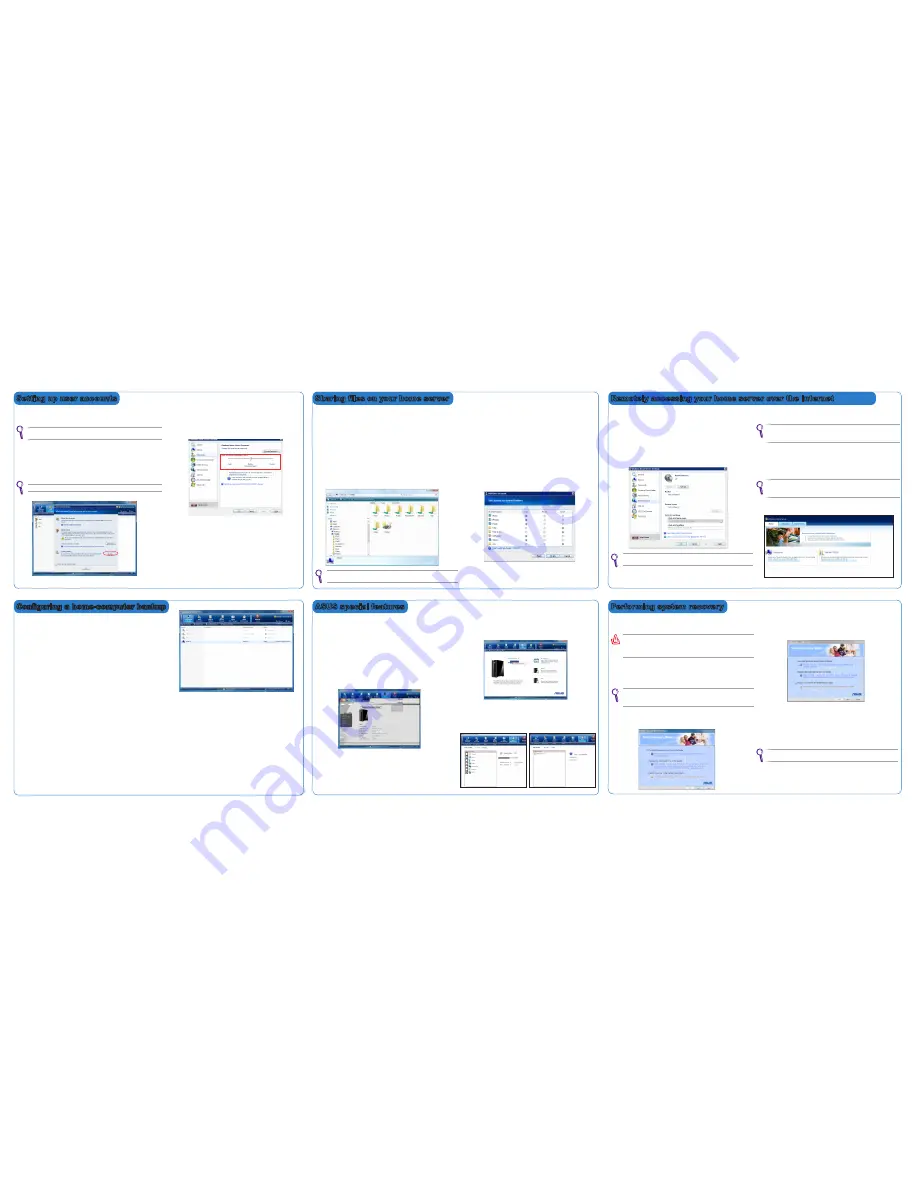
Performing system recovery
Remotely accessing your home server over the Internet
Enabling remote access on the Windows Home Server
To access your data and home computers from the internet whenever you are,
you need to configure Windows Home Server to allow Remote Access.
1. Log on to the Windows Home Server Console.
2. Click Settings on the upper right corner of the Windows Home Server
Console window, and then click Remote Access in the left pane.
3. Under the Remote Access heading, click Turn on to enable the remote
access configuration to your home server.
Accessing the TS mini home page
1. Open the Internet Explorer Web browser.
Ensure to use the Internet Explorer to access the home page. When you
use other Web browsers, you may not use some features like Remote
Access to Computers or Connect to your Home Server.
2. Enter the Internet domain name assigned to you during the remote access
setup procedures (For example,
https://tsmini.homeserver.com)
. Then,
the Logon web page appears.
3. Click the Log On button on the upper right corner.
4. Enter a personal user account and password.
You cannot use the Administrator account or the Guest account to
log on to the home page. You must log on with a user account that is
enabled for Remote Access.
5. Now you are on the TS mini home page. There are three tabs on the home
page: Home, Computers, Shared Folders. Click each tab to go on.
For more detailed instructions, refer to the User Manual that came with
the product package.
Restoring files from a backup
You can browse and restore lost files and folders from a backup.
To open files and folders from a backup
1. Log on to the Windows Home Server Console.
2. Click the Computers & Backup tab.
3. Select a home computer, and then click View Backups.
4. Select a backup, and then click Open.
5. Select a volume to open, and then click Open.
To restore lost files and folders from a backup
1. When you open the backup, browse and drag the files and folders
that you want to a folder on your home computer.
2. Close the window when you are done copying the files and folders
that you want to restore.
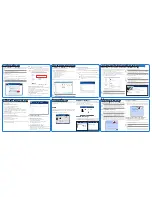
ASUS special features
ASUS TS mini provides three special features that enable you to conveniently
control the system status, manage files and folders, and enjoy one-year-free
large online space.
Use the bundled ASUS HOME SERVER TS mini Recovery DVD to recover your
home server, restore the home server to its factory default, or replace the main
hard disk in your home server .
If you perform Server Recovery, the server settings and all user
accounts will be deleted; the data in shared folders still exist. If you
perform Factory Reset, all data on the home server’s hard drives will be
deleted.
Recovering Windows Home Server
1. Insert the ASUS HOME SERVER TS mini Recovery DVD into the computer
that is connected to your home network. The Server Recovery wizard
starts.
If Autorun is NOT enabled in your computer, browse the contents
of the Recovery DVD to locate the
Install.exe
file. Double-click the
Install.exe
to run the Recovery wizard.
2. Click Next and follow the onscreen instructions to find your home server.
3. Select the option “ Re-install Windows Home Server software” and then
click Next. Follow the onscreen instructions to finish the recovery process.
Restoring Factory Defaults
1. Repeat step 1-2 in the previous section “Recovering Window Home
Server”.
2. Select the option “ Return my server to the default factory state” and then
click Next. Follow the onscreen instructions to finish the restore process.
Replacing the main hard drive in your home server
To install Windows Home Server on a new main hard drive
1. Follow the section “Removing a hard disk drive” under Server Storage to
remove the existing main hard disk drive.
2. Follow the section “Adding a hard disk drive” under Server Storage to
install a new main hard disk drive.
Always install the hard disk drive in which the OS is or will be installed
to the HDD1 bay.
3. Repeat step 1-2 in the previous section “Recovering Window Home
Server”.
4. Select the option “Replace the main hard drive in my server”, and then
click Next. Follow the onscreen instructions to complete the process.
ASWM
ASWM (ASUS System Web-based Management software) is an interface that
allows you to conveniently manage your home server status via Windows
Home Server Console.
Click the ASWM tab to control the system status.
ASUS WebStorage
ASUS WebStorage allows you to enjoy one-year-free online space and back
up files to your home server. With Internet connection, you can access and
share any files whenever you want and wherever you are.
ASUS Xtor Manager
ASUS Xtor Manager is an add-in tool that helps you easily and directly
back up, synchronize, and manage files and folders on external USB/eSATA
storage devices attached to the home server.
Click the ASUS Xtor Manager tab enter the main page.


