background image


System Info

: It displays the firmware version.


2. Video 

Select this option to open the detail setting for video display. 

Aspect Ratio

: Select one among these options “Pan Scan 4:3, Letter Box 4:3, 16:9”. 

Pan Scan 4:3

: Select for a full-height picture with both sides cut. 

Letter Box 4:3

: Select for the “wide screen” display with black bands on the upper and lower parts 

of the TV screen. 

16:9

: Select this for a wide screen 16:9 TV. 

*: When the video is in wider wide-screen-ratio such as 2.40:1, the both sides are still cut in 

16:9. 


HD Output

: Use 

▲▼

 key to adjust the relative lightness or darkness for the TV picture. 


Off

: This is the default value. If your TV set doesn’t support HD, please select this option. 


720P

: If your TV set is HDTV 720p, and you connect to the box via component video, you can 

choose this option to get the 720p output. 


1080i

: If your TV set is HD-ready or Full-HD 1080i, and you connect to the box via component 

video, you can choose this option to get the 1080i output. 

3. Photo 

Select this option to open the detail setting for the photo display. 

Slide Show Timing

: Choose from these options “Off, 2 Seconds, 5 Seconds, 10 Seconds, 30 

Seconds, 1 Minutes and 2 Minutes”. It decides the waiting time before changing 
to the next photo while viewing photos. 

Transition Effect

: Choose from these options “Off, Cross Fade, Left to Right, Top to Bottom, 

Waterfall, Snake, Dissolve, Strip Left Down and All Effect Shuffle”. It decides the 
transition effect for changing photos. 

4. Audio 

Select this option to open the detail setting for the audio playback. 

Digital Output

: Choose one between these options: “HDMI LPCM, HDMI RAW”. Select the correct 

7

Содержание Media Gear AP-32B

Страница 1: ......

Страница 2: ...ebox 8 Playback the media files 8 Movie 8 Music 11 Photo 12 Slide show with Music 12 Zoom in and pan the focus 13 Rotating the photo 13 All 13 Edit the media files 14 Rename 14 Delete 15 Maintenance 16 Reset the device 16 Firmware Upgrade 16 Power on Standby time 16 Battery 16 Black screen 17 Video Audio codec support 18 Specification 19 1 ...

Страница 3: ... is the USB 2 0 port Connect the external USB Flash disk or USB Mass Storage into it Panel Back side Video connection Please select one below to connect the TV set HDMI output Please connect the HDMI cable to the HDMI input of TV set YPbPr They connect the component YPbPr to the input of TV set VIDEO CVBS It connects the CVBS input of TV set AUDIO L R They connect the audio L R to the input of TV ...

Страница 4: ...h the subtitle None Blue Change the Angle Go to root directory c UP e LEFT f RIGHT d DOWN ENTER ENTER PAUSE STEP Pause and step in frame by frame PLAY Playback STOP Stop RETURN go up one folder Exit the current menu SLOW Slow motion PREV Previous NEXT Next MENU open System Setup page REPEAT 1 ALL repeat FR Fast Reverse FF Fast Forward EDIT Delete Rename the folders and the files AUDIO Change the a...

Страница 5: ...t HDMI connection Power Cord Connect the DC input in the device HDMI output 720p 1080i connect to HDMI input of TV set The HDMI port sends digital video and audio signal through the cable Setup Please check the battery of Remote Control first and then start the initial setup Initial setup When plugged in the power at the first time after the booting logo the setup page should pop up to start the i...

Страница 6: ... If you want HD output please make sure that you connect the component video from TV set to the device and then choose 720p or 1080i according to the specification of your TV set The initial setting can be configured anytime in the setup menu Please refer to the setup menu Setup Menu You can press MENU to open the setup menu Use key to select different pages among System Video Audio and Photo Use ...

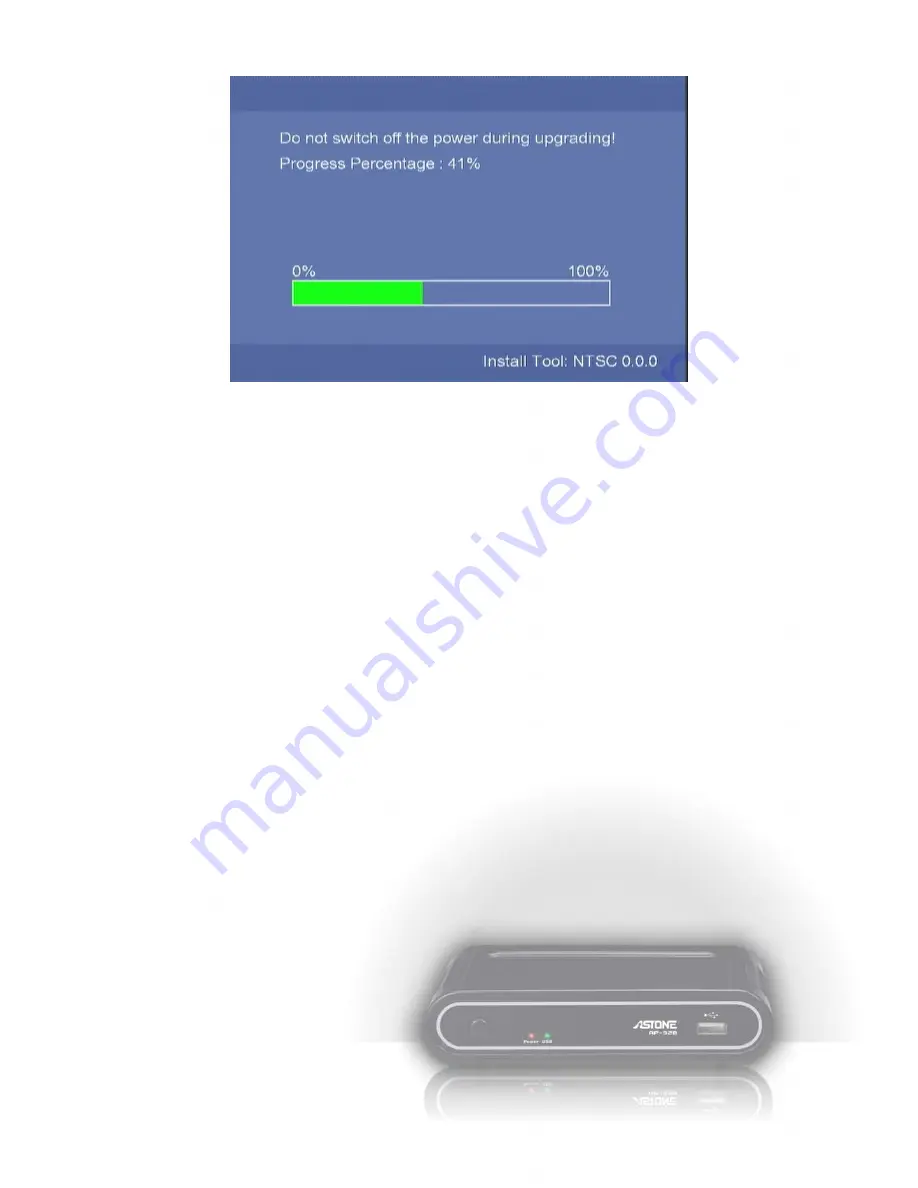
Страница 7: ...lt setting is Middle If the format of font is idx sub the font size option here won t be applied Restore Default Select this option to reset the setting to factory default Firmware Update Select this option to apply the new firmware When you are informed about the release of the new firmware please check the System Info below to see if the device needs to upgrade If so please obtain the firmware f...

Страница 8: ...set is HDTV 720p and you connect to the box via component video you can choose this option to get the 720p output 1080i If your TV set is HD ready or Full HD 1080i and you connect to the box via component video you can choose this option to get the 1080i output 3 Photo Select this option to open the detail setting for the photo display Slide Show Timing Choose from these options Off 2 Seconds 5 Se...

Страница 9: ...cted You can browse this device now Then you can continue to browse the USB device If the USB storage device is unplugged the USB LED on the player will be off and the following message will show on screen USB Removed The USB device has been removed You cannot browse it anymore When selecting USB the following message may pop up Please follow the instructions to continue USB Storage is not detecte...

Страница 10: ...in VOB IFO ISO file or Repeat Off to turn off the repeat mode Jump to the previous or next file To prevent the trigger accidentally the first time pressing would be blocked You have to press it twice to trigger this function Ban sign When pressing the irrelevant button it will be blocked and shows this sign on screen Press to play fast forward or fast reverse Press it again to switch the rate amon...

Страница 11: ... key All Chapter Title to repeat the current file or all files in the directory during the playback You can also use the playback control while playing the video If you press INFO key the video information will show on screen Subtitle This device supports the subtitle file including the formats of srt sub smi idx sub and ssa Please change the file name of subtitle file as the same as the video fil...

Страница 12: ... turn off the repeat mode Repeat Track repeat the highlighted music file Repeat All repeat to play all music files in the folder Shuffle Repeat randomly select music file in the folder to playback Shuffle Only randomly select music file in the folder to playback Press to leap forward or backward 6 files Press to play fast forward or fast reverse Press it again to switch the rate among 2X 4X 8X 16X...

Страница 13: ...at Off to turn off the repeat mode Press to leap forward or backward 3 files VOLUME Press volume keys to control the volume RETURN Press it to go up one folder in the browse window Blue key In the browser press it to go to the root directory Ban sign When pressing the irrelevant button it will be blocked and shows this sign on screen Slide show with Music Before viewing the photo you can enter the...

Страница 14: ...ys to move the focus on the photo You can see the overview window in the bottom right corner to indicate the current focus Rotating the photo When viewing the photos press arrow keys to rotate from 90 to 180 or 270 degree However if you zoom in the photo then you cannot rotate the photo All If the browse interface is already opened press keys to navigate to All category to 13 ...

Страница 15: ...ss the EDIT key to open the edit window You can rename or delete the files in the browser If you don t want to continue select Return or press Return key on the remote control Note The edit function of the disk format NTFS is not supported by this device If the connected USB storage is in NTFS format press the EDIT key and the warning message shows up NTFS not supported Rename Choose Rename and th...

Страница 16: ...Delete Choose the Delete and the confirm window will pop up Select OK to delete the file or Return to cancel 15 ...

Страница 17: ...C and copy all firmware files to its root directory 2 Plug it into this device 3 Press and hold the power button in the front panel and then click the reset button in the back panel of the device 4 Wait for 5 seconds and then release the power button 5 Wait for 5 minutes Do not unplug the power during the upgrade procedure When the upgrade is completed it will reboot and return to the main screen ...

Страница 18: ... TV to the device If the HD output is enabled the video connection should be component YPbPr In case of not connecting YPbPr but CVBS you can press MENU button to open the menu It should show menu picture via CVBS so you should be able to see the setup menu Then select Video HD output to turn off the HD output 17 ...

Страница 19: ...VI MKV Real Video Real Video 9 RPR unsupport 640x480 30fps Average 500 kbps Peak 1000kbps RM RMVB Video MPEG4 MJPEG MJPEG unsupport AAC MPEG Audio u law MP4 MPEG 1 Layer 3 2 channels 8 320kbps VBR mp3 WMA WMA ver 9 1 CBR up to 320kbps VBR up to 256kbps ASF wma MPEG 1 2 Layer 1 2 Multi CH WAV Microsoft PCM only wav LPCM AAC MPEG 2 4 LC HE profile AAC ver 1 2 UP to 288 kbps aac mp4 Audio OGG Vorbis ...

Страница 20: ...G 4 SP ASP XviD TS mpeg1 mpeg2 MP4 MPEG4 MJPEG Audio format MP3 MPEG 1 2 Layer 1 2 WAV LPCM AAC OGG Vorbis MP4 M4A AAC M3U Playlist Photo format jpg JPEG bmp BMP Playback Subtitle format srt sub smi idx sub ssa DVD subtitle Power rating 12V 1 5A Power consumption Operation 4 8W Standby 1 2W Size 101x146x30 6 mm L x W x H Housing Operation temperature 40 C When playing the HD video the display posi...

Отзывы: