


Before You S
t
ar
t,
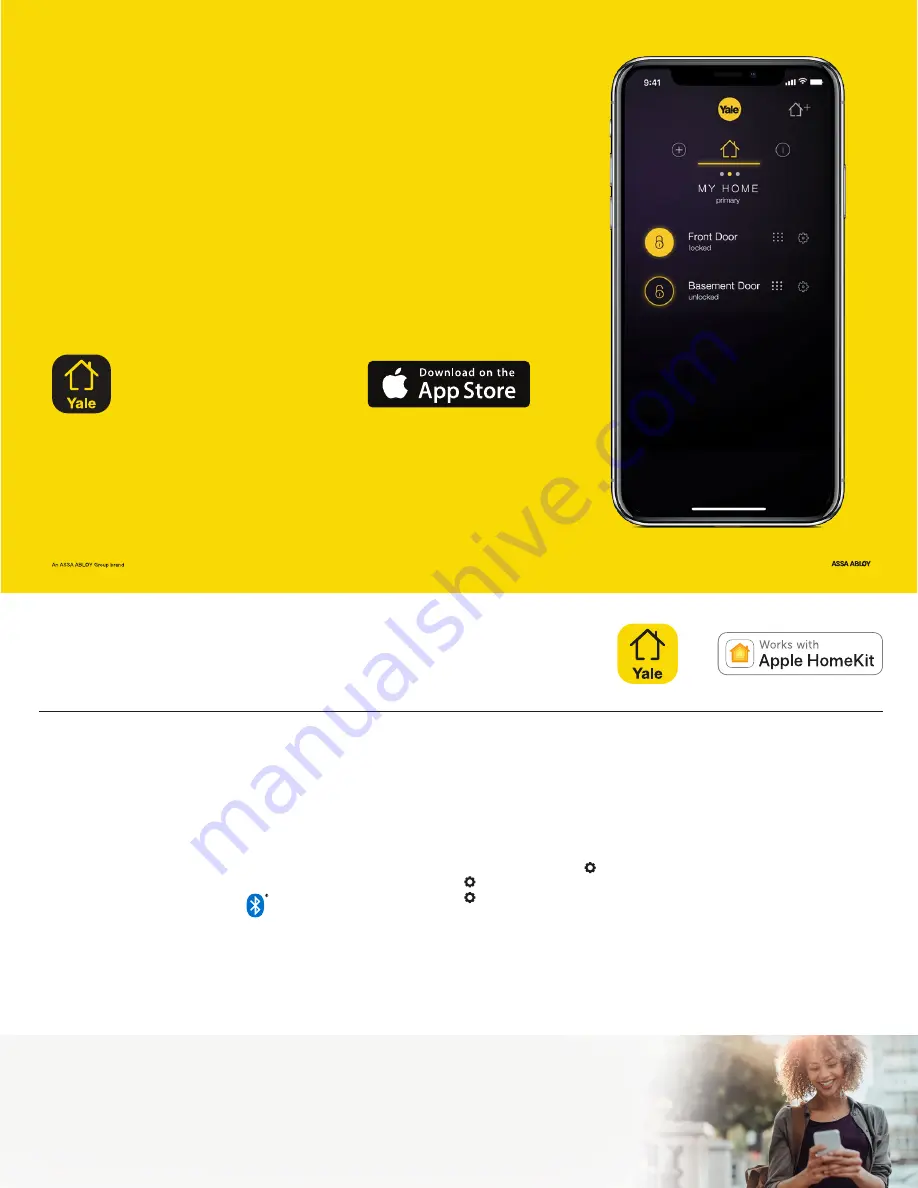
Download the
Yale Secure App
Follow the steps on the back of this guide
after you install your Yale Assure Lock.
®
Yale Secure app
Yale Customer Service: 1-855-213-5841
Yale
®
and Assure Lock
®
are registered trademarks of Yale Security Inc., an ASSA ABLOY Group Company.
Other products’ brand names may be trademarks or registered trademarks of their respective owners and are mentioned
for reference purposes only. © Copyright 2018. Yale Security Inc., an ASSA ABLOY Group Company. All rights reserved.
Reproduction in whole or in part without the express written permission of Yale Security Inc. is prohibited.
YA-SA-FLYER
Note: This lock is not for use with the Yale Assure app
1. Install your lock
Follow the printed installation manual in
the box for instructions on how to install
your Yale Assure Lock
®
. You can view
3D, interactive instructions on your
smartphone or tablet by downloading
the BILT app and searching for your
Yale lock.
2. Turn on Bluetooth
®
After installing your lock and downloading
the Yale Secure app, go into your iPhone
or iPad settings and ensure Bluetooth
is turned on.
3. Install the module
Now, install your Yale iM1 Network Module:
• Remove the battery cover and batteries
• Insert the iM1 Network Module, with its
visible pins in the bottom right corner,
into the slot above the battery compartment
• Reinstall batteries and battery cover
• Enter your
master pin code
followed by
• Press
7
, followed by
• Press
1
, followed by
4. Create your home
Open the Yale Secure app
and create a new home by tapping
the
+
icon in the top right corner.
5. Add a lock
Tap the
+
icon next to your home name
to add a new lock. Tap the Yale lock
when it appears as an available device.
Using your iPhone
®
or iPad
®
, scan the
8-digit Accessory Set-Up Code located
on the back of your iM1 Installation
Manual (inside the Network Module box).
You can also manually enter this code in
the app.
6. Name your lock
This is the name you’ll use for Siri
®
commands
so choose something simple like “Front Door”.
Lock and unlock from anywhere!
When you have an Apple TV
®
(4th Gen or later) or iPad
®
(iOS 10.3 or later) set up as a home hub,
you can lock and unlock your door, manage pin codes and receive notifications from anywhere!
Visit YaleHome.com/iM1RemoteAccess for steps.
Get Star
t
ed


