Aspen Touch Solutions ATM-173R Series Скачать руководство пользователя страница 6

■     ■     ■     ■     ■     ■     ■     ■     ■     ■     ■     ■     ■     ■     ■     ■     ■     ■     ■     ■     ■     ■     ■     ■     ■     ■     ■     ■     ■     ■

4

Display Setup and On Screen Display

Connect and secure cables to the display and the computer, except for the USB cable. The AC cordset provided
with your display should be appropriate for your region. If the proper cordset has not been provided, you may use
any cordset with an IEC320 connector at the appliance end to connect to the external power supply of your touch
display.

Notice:

Unless your Aspen touch display has a serial data interface, or you are connecting this touch display

to a computer that already has Aspen touchscreen MSR and Customer Display drivers installed, please leave
the USB cable disconnected until the appropriate drivers for your computer’s operating system have been
installed.

You can now set up the display for operation with your computer. Display setup requires use of some of the main
features of the OSD, listed below. Detailed use of the OSD is described later in this section.
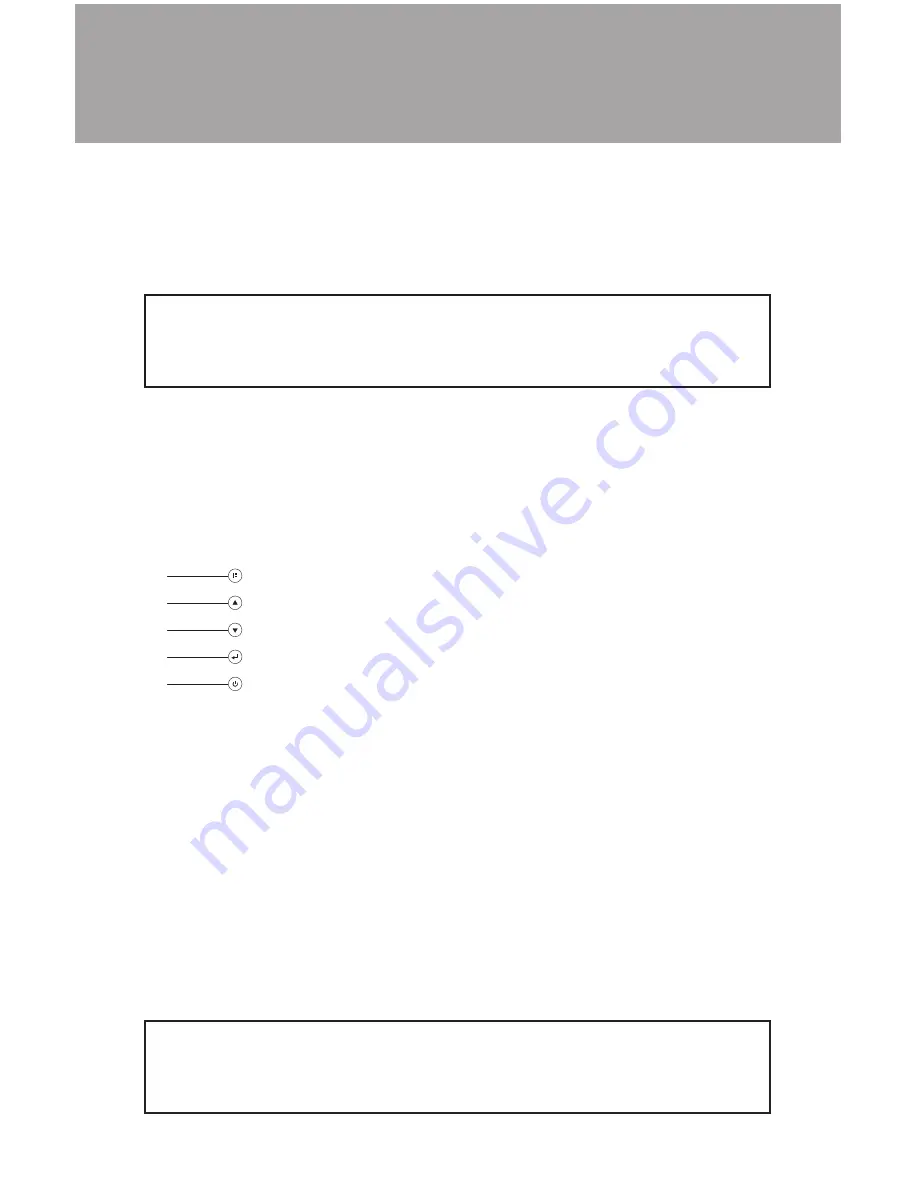
OSD Controls

The following table shows the OSD and Power control buttons, located on the right side of the display, and both
the normal and direct access functions of these buttons:

Button

Symbol

Button Name

Normal Function

Direct Access

Menu

Displays/Exits OSD Menu

Up

Increases selected item value

Display brightness

Down

Decreases selected item value

Audio ON/OFF

Enter

Selects highlighted menu item

Video auto adjust

Power 

Turns all display power ON/OFF

Use the OSD buttons as described above to set up the display:

• Turn on the display with the power switch 

• The display will initially be set to properly display the native resolution for the LCD panel, which is 

1280 X 1024 pixels. If your computer outputs a video signal at another resolution, further adjustment 
than described in this section may be required. Contact Aspen Technical Support if assistance is required.

• Press the Enter key on the OSD controls. A pop-up window on the display should appear with the message

“Auto Adjusting Please Wait.”

• Inspect the edges of a typical application to see if you can see the all edges of the image. If so, you are 

finished with the basic setup of the display.

If your application requires use of the display at another resolution than 1280 X 1024, such as 1024 X 768 or 
800 x 600, you may achieve satisfactory operation by using the Auto Adjust procedure described above, or you
may need to use the individual controls in the OSD to properly adjust the display. If so, access the OSD main
menu and use the picture size adjustment (see table below) to resize, move, or adjust the quality of the displayed
image.

Notice:

The OSD will not function if the monitor is operated at a resolution above 1280 X 1024. While the

monitor may actually display a video image at some higher resolution, it will be briefly accompanied by an
“Out of Range” message when the image is initially displayed. Reduce the video resolution from your computer
to 1280 X 1024 or less to restore the function of the OSD.

Содержание ATM-173R Series

Страница 1: ...EXPERIENCE THE ASPEN TOUCH Aspen ATM 173R Series Touch Monitor Product Manual...

Страница 2: ...with regard to this document including but not limited to any implied warranty of merchantability or fitness for a particular purpose Aspen Touch Solutions shall not be liable for any incidental or co...

Страница 3: ...ting Display Setup and On Screen Display OSD 4 On Screen Display Controls 4 Display Setup Display Resolution OSD Menu and Functions Power OSD Lock Unlock Auto Sensing Brightness Adjustment Touchscreen...

Страница 4: ...stry have been italicized on first use in this manual Definitions of these words have been included in the Glossary Product features of the Aspen ATM 173R series touchmonitor include 17 AMTFT LCD pane...

Страница 5: ...tertop or a wall if access to cable connec tions will be restricted when the stand mounting is complete To attach the stand to a countertop or wall print out the full size template file that accompani...

Страница 6: ...rns all display power ON OFF Use the OSD buttons as described above to set up the display Turn on the display with the power switch The display will initially be set to properly display the native res...

Страница 7: ...d Factory Reset Recalls original factory settings of image parameters OSD Language Selects the OSD menu language English French German Italian Spanish Japanese Traditional Chinese Simplified Chinese O...

Страница 8: ...Adjustment feature is intended to be used in situations where the ambient lighting can change significantly over time The brightness of the image tracks ambient brightness and dims the display as the...

Страница 9: ...h the screen with two fingers at the same time on opposite sides of the display the reported location to the application will be in the middle of the screen Consider this in navigation of your applica...

Страница 10: ...eaders in all applications Contact Aspen TechSupport if this format is not suitable for your application The Customer Display while hardware interfaced as a USB device is equivalent to a serial displa...

Страница 11: ...kg Brightness LCD 300 nit typical With touchscreen 240 nit Colors 16 2 million 6 Bit FRC Resolution Native 1280 X 1024 at 60 75 Hz Supported Preset Timing 1024 X 768 at 60 70 75 Hz 1024 X 768 at 65 Hz...

Страница 12: ...rial cable POS Options Magstripe Reader 3 Track Reader with Power and Error Indicator Light Customer Display 2 x 20 VFD Display with Dual Axis tilt swivel Movement Additional features Power indicator...

Страница 13: ...fety UL cUL CSA 22 2 No 950 3rd Ed EN60950 Low Voltage Directive 93 68 EEC Ergonomics EK 1 1TB 2000 EMI FCC B EN 55022 Class B 1998 EMS EN 55024 1998 Low Emission MPR II 1990 8 MPR 1990 10 Warranty 3Y...

Страница 14: ...odes are 800x600 and 640x480 In emulation modes a monitor cannot perfectly display the image sent from the computer when the monitor pixel to image pixel ratio is not an integral multiple FRC Frame Ra...

Страница 15: ...hin glass or plastic sheet that filters out light rays of all but a specific orientation Light passing through such a sheet is thus polarized POS Point Of Sale Serial A data transmission method where...

Страница 16: ...sed in whole or in part by failure to properly store install operate or maintain Products in accordance with good industry practices and Aspen s recommendations are excluded from warranty coverage Dam...

Страница 17: ...Aspen Touch www aspentouchsolutions com 31207 Keats Way Suite 104 Evergreen Colorado 80439 tel 303 468 4130 fax 303 468 4131 toll free 877 427 7393 web www aspentouchsolutions com email info aspentouc...

Страница 18: ...Template will print on one sheet of 11 x 17 paper...

Отзывы: