


3
Introduction
Steamix
ô
is
a
registered
trademark
of
Armstrong
Hot
Water
Group,
a
division
of
Armstrong
International,
Inc.
Steamix
is
a
brand
of
patented
steam/water
mixing
valves
and
hose
stations.
For
the
purposes
of
this
product
manual,
the
model
number
STEAMIX
203
refers
to
the
Mixing
Unit
featured
on
the
Steamix
Hose
Station.
Steamix
203
is
ideal
for
vessel
filling,
hose
down
and
similar
process
applications.
Steamix
is
available
in
multiple
derivative
assembly
configurations
and
subsequent
model
numbers.
This
Installation
&
Maintenance
Guide
covers
the
following
Steamix
Model
Numbers
along
with
the
Nickel
Plated
Premium
version
which
is
identified
with
suffix
ìSî.
Contact
us
Toll
Free
at
1-888-HOT-HOSE
to
request
a
specific
drawing.
Note:
CDLW
Drawings
will
denote
current
production
model
as
identified
and
may
not
be
relevant
for
historical
identification
purposes
This
Installation
and
Maintenance
Guide
covers
the
following
Steamix
production
generations.
Classic
1990-1999
Serial
Numbers
A1000-A10000
Millennium
1999-2003
Serial
Numbers
A-L10000
—
A-L13300
Infinity
2004
to
present
Serial
Numbers
A-L13300
and
Above
Product
modifications
and
non-compatible
replacement
parts
make
Steamix
generation
identification
mandatory
prior
to
valve
servicing
or
spare
parts
ordering.
Refer
to
Page
14
or
call
our
Customer
Hot
Line
1-888-HOT-HOSE
for
Steamix
identification
indicators.
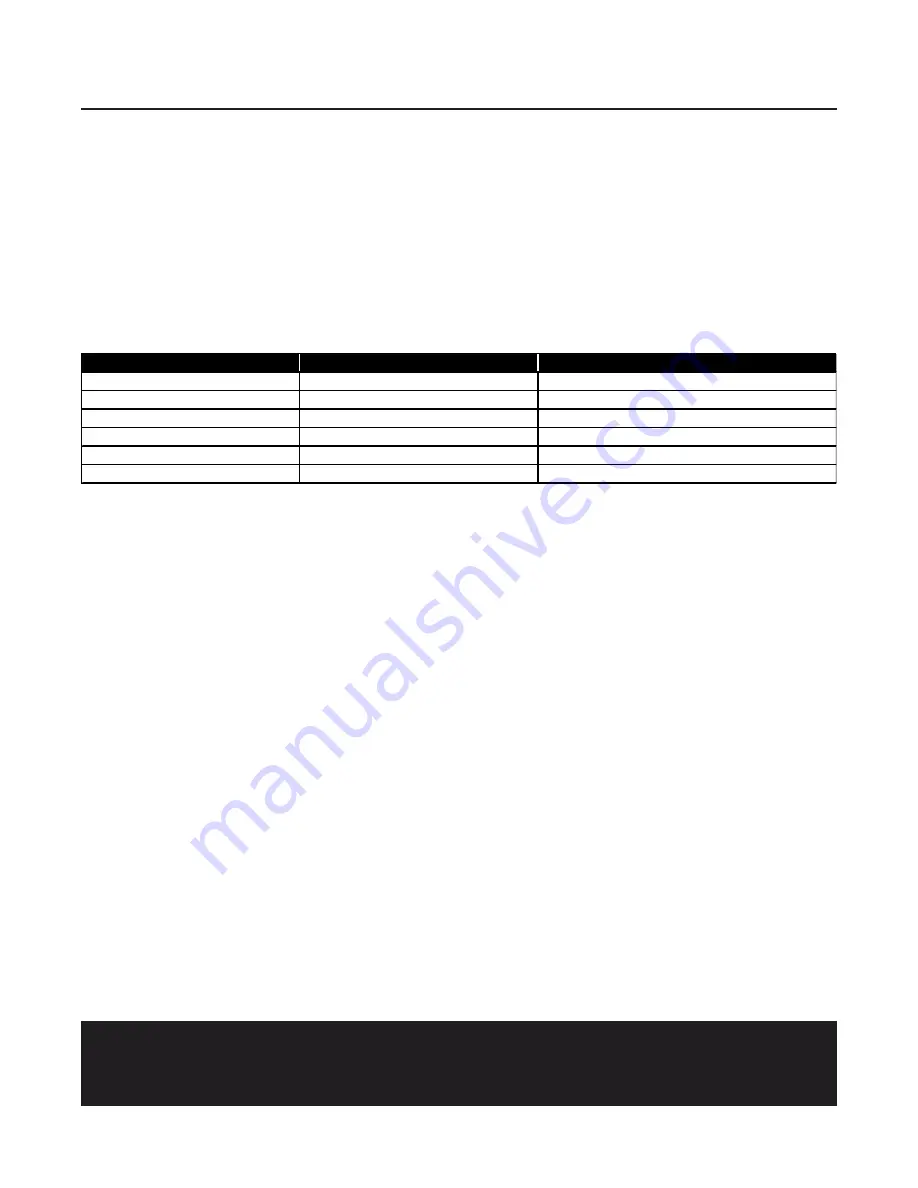
Model
Number
Drawing
Number
Standard
Drawing
Number
Premium
Steamix
VE-M
CDLW-1114
—
Steamix
VE-H
CDLW-1121
—
Steamix
2030H
CDLW-1116
CDLW-1117
Steamix
2031
CDLW-1031
CDLW-1054
Steamix
2032
CDLW-1032
CDLW-1055
Steamix
2033
CDLW-1033
CDLW-1056
Warning
:
This
product
is
designed
to
heat
water
for
industrial
washdown,
vessel
filling
and
process
applications
only.
Access
to
extreme
water
temperatures
and
flash
steam
is
a
possibility.
To
avoid
serious
injury
use
extreme
care
and
wear
protective
gloves,
garments
and
safety
glasses
at
all
times.


