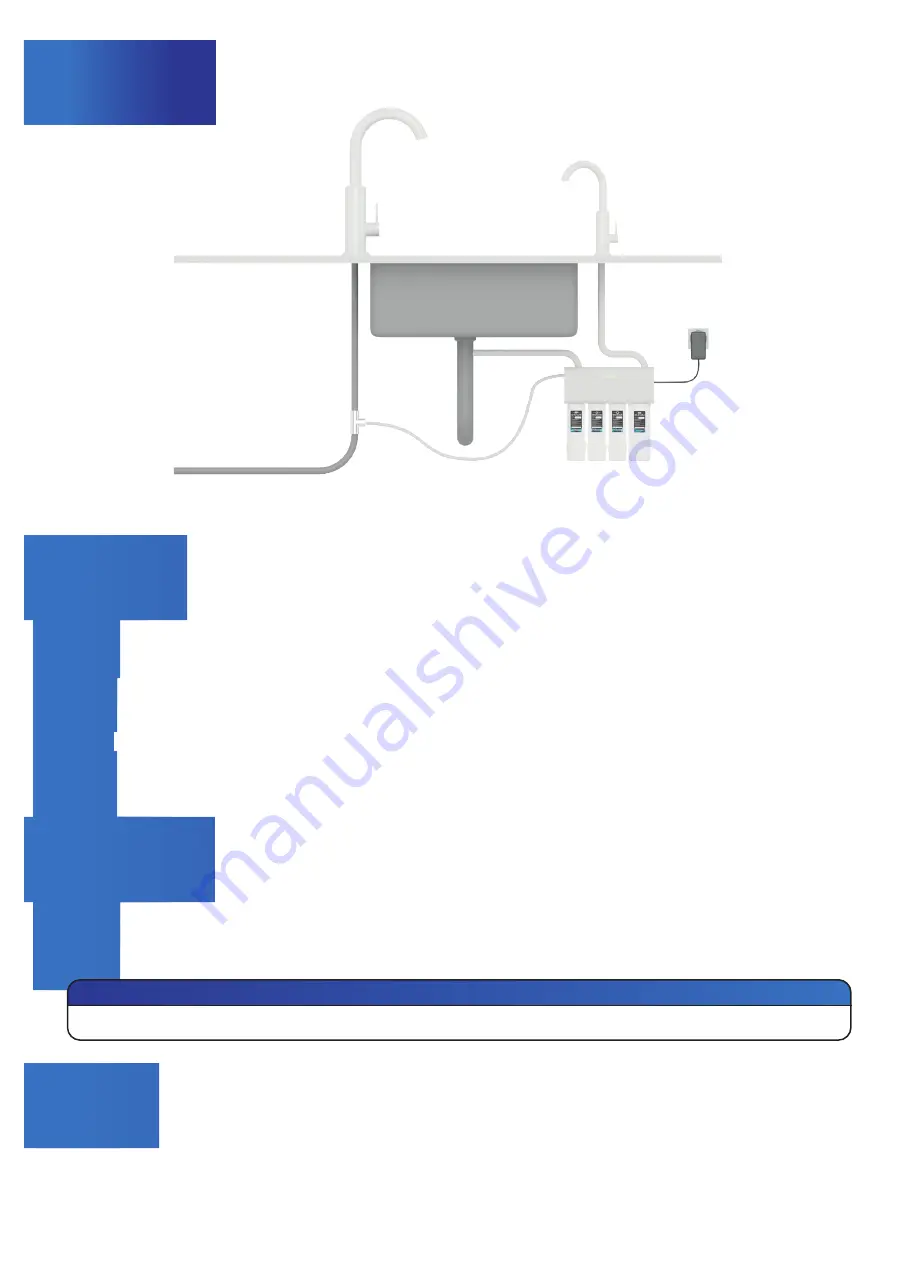
Briefly pressing the flush key once starts the system with a 60-second rinsing programme If you would like to this to stop earlier, press the
button again within 60 seconds
The assembly and connection of the osmosis system and accessories should be carried out by a trained specialists As soon as all components
are correctly installed, you can set the system up
Ensure that both the osmosis and waste water run freely (open the osmosis water tap, if necessary)
Open the valve on the T-piece of the water inlet
Ensure that the system is connected to the power supply The system now starts automatically (status LEDs flash briefly) and then starts
with the production of osmosis water (LEDs pulsate white)
Leave the appliance running for approx 30-60 minutes The osmosis water produced during this time should NOT be used and should be
discharged into the drain
The system is now ready for operation
Make sure that the valve on the T-piece of the water inlet is open
Ensure that the system is connected to the power supply The system now starts automatically (status LEDs flash briefly) and then starts
with the production of osmosis water (LEDs pulsate white)
The system is now ready for operation, the osmosis water can be used by opening the connected tap
Tip:
Rinse
the system at
regular intervals
to
maximise
the
service life
of the individual components
9
Electricity supply
Waste water
Inflow
Osmosis tap
T-valve
Osmosis water


