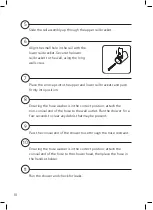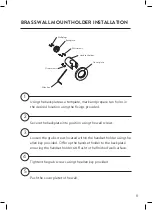
8
Run pipework from the shower valve to the desired location for the
wall outlet ensuring it terminates in a suitable ½” female connector
(not supplied). All pipework and connectors must be secured using
suitable fixings.
1
With rear access:
Connect the wall outlet to a suitable ½” female connector using
PTFE tape or similar, to achieve a watertight seal.
3
Temporarily cap off the wall outlet, open the shower valve and check
for leaks.
4
Feed the wall outlet thread through a 22-28mm hole in the wall
and secure with the backnut ensuring the backnut washer is fitted
between the backnut and the wall, if accessible.
2
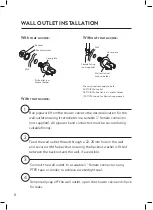
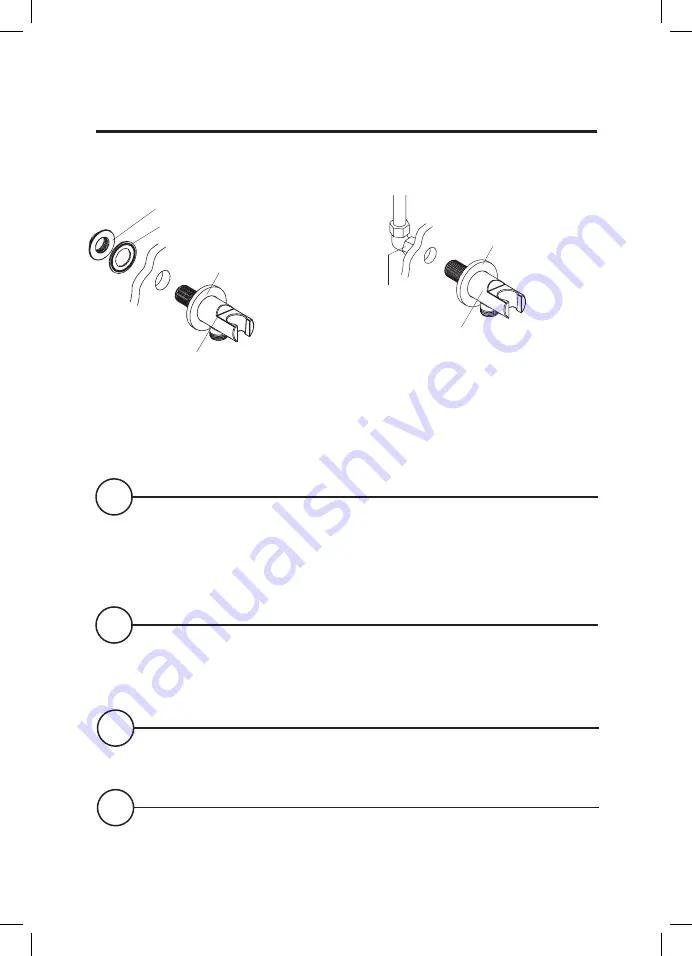
Wall outlet incl.
handset holder
Backnut washer
Backnut
Wall
Cover plate
Wall outlet incl.
handset holder
Cover plate
Female fitting
(not supplied)
Wall
WALL OUTLET INSTALLATION
With rear access:
Without rear access:
Wall outlet incl.
handset holder
Backnut washer
Backnut
Wall
Cover plate
Wall outlet incl.
handset holder
Cover plate
Female fitting
(not supplied)
Wall
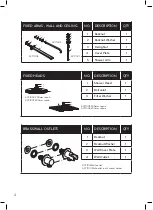
These instructions apply to both:
ACY1013 Wall outlet
ACY1014 Wall outlet incl. handset holder
(ACY1014 shown for illustrative purposes)
Содержание DCV ACY1001
Страница 1: ...DCV ACCESSORIES INSTALLATION GUIDE ...


