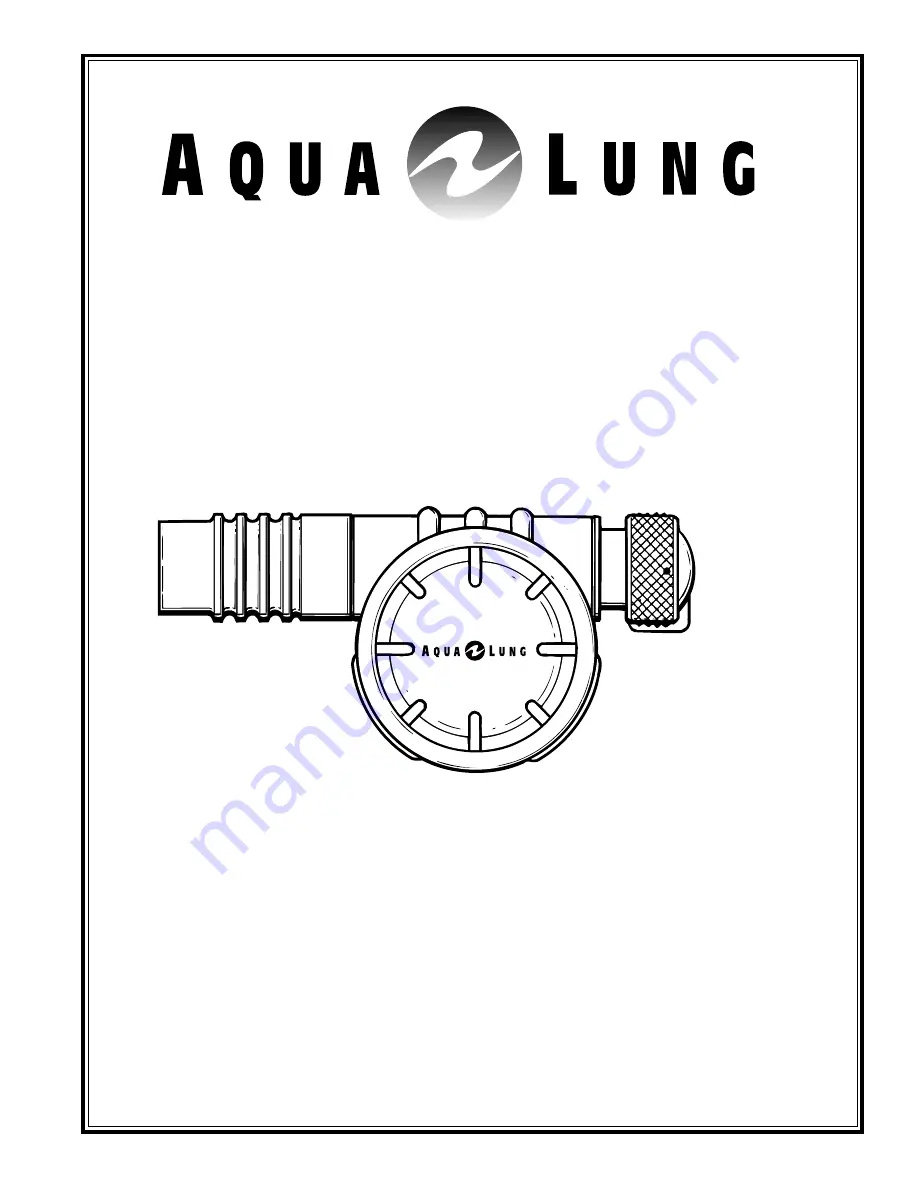
Micra ADJ
Second Stage Regulator
Copyright ©1999 Aqua Lung America, Inc.
Doc. No. 1008-89
Authorized Dealer
SERVICE & REPAIR MANUAL
®
Страница 1: ...Micra ADJ Second Stage Regulator Copyright 1999 Aqua Lung America Inc Doc No 1008 89 Authorized Dealer SERVICE REPAIR MANUAL...
Страница 2: ...rocedures 10 Final Adjustment Testing Procedures 15 Second Stage Air Flow Test 17 Second Stage Opening Effort Test 17 Second Stage Purge Flow Test 17 External Leak Test 18 Subjective Breathing Test 18...
Страница 3: ...GENERAL GUIDELINES 1 In order to correctly perform the procedures outlined in this manual it is important to follow each step exactly in the order given Read over the entire manual to become familiar...
Страница 4: ...st stage with a stable intermediate pressure of 140 psi 5 with no open ports or hoses 2 Connect the first stage to a cylinder that is filled with 3 000 psi and open the cylinder valve to pressurize th...
Страница 5: ...the mouthpiece 17 from the box bottom Inspect the mouth piece to ensure it is free of any tears or cuts that may cause leakage of water into the second stage or other discomfort Discard the mouthpiec...
Страница 6: ...REVISION A A10 Pull the cap nut off the stem of the adjustment screw and examine closely to ensure that no signs of cracking or other damage are present If damage is found discard the cap nut and rep...
Страница 7: ...ce is felt B13 To remove the lever insert the slotted end of the Lever Removal Installation Tool P N 1008 84 into the adjust ment end of the valve body and rotate the tool slightly until the keyed slo...
Страница 8: ...pt to reuse 22 Using a plastic or brass O ring tool lightly stick the center of the LP seat 23 inside the head of the poppet and lift the seat out being very careful to avoid damaging the poppet Dis c...
Страница 9: ...6 and set it aside 28 Pull the vane adjustment switch out of the box bottom Re move and discard the O ring 15 and set the switch aside 29 Place a medium blade screwdriver approximately 2 inch inside...
Страница 10: ...being positioned inside the box bottom 4 While holding the vane switch in place set the box bottom on a flat surface with the open side facing down and the switch at 12 o clock Guide the tool holding...
Страница 11: ...g down inside Gently place the spring 25 down over the metal shaft of the poppet so that it rests flush over the ribbed head inside the valve body 12 Place the washer 26 down inside the valve body so...
Страница 12: ...he box bottom secure apply a torque wrench with w crow foot to tighten the hex nut snug to a torque measurement of 45 55 inch lb s 18 Before proceeding it is important to become completely familiar wi...
Страница 13: ...stment end of the valve body facing straight up position the retaining sleeve above the opening to align the railed channel of the sleeve with the grooved feature of the lever arm When these two parts...
Страница 14: ...er 34 and the box bottom to identify the locking tabs and grooves of each respective part Press one corner of the exhaust cover onto the box bottom until the mating tab snaps audibly into place Press...
Страница 15: ...the following section titled Final Adjustment Testing Final Adjustment Testing Procedures NOTE Before performing the following procedure refer to Table 5 titled Test Bench Specifications Micra ADJ CA...
Страница 16: ...ntil the airflow has stopped without over adjusting When only a slight amount of airflow is present release the knob of the adjustment tool to ensure that it no longer makes contact with the crown 8 W...
Страница 17: ...imum of 15 SCFM 425 liters per minute The reading on the Magnahelic gauge inhalation exhalation effort gauge should indicate no more than 6 O H2O If the reading exceeds 6 0 H2O refer to refer to Table...
Страница 18: ...assembling to correct any leaks rinse the entire regulator thoroughly with fresh water and blow out all residual mois ture with filtered low pressure 50 psi air Disassemble and remedy the problem refe...
Страница 19: ...Guide 2 Lever 5 not properly engaged with 2 Disassemble and inspect condi retaining sleeve 27 tion of retaining sleeve 3 Crown 12 incorrectly adjusted 3 Reset crown and perform Final lever 5 set too...
Страница 20: ...wrench Hex nut removal installation N A n open end wrench crow foot IP hose fitting N A 2 box wrench hex socket Cap nut 1078 46 Circlip Retaining Ring Tool C clip retaining ring removal installation...
Страница 21: ...full out counterclockwise Slight leak Knob turned in clockwise 2 w turn None Intermediate pressure Inlet 2 500 3 000 100 psi 140 5 psi Intermediate pressure creep Inlet 2 500 3 000 100 psi 5 psi max b...
Страница 22: ...sidue Remove parts from the acid bath and place directly into this rinse Agitate lightly and allow to soak for 5 10 minutes Remove and blow dry with low pressure 25 psi filtered air and inspect closel...
Страница 23: ...kite Products Inc steel and brass parts 50 Valley Road Berkeley Heights NJ 07922 White distilled vinegar Acid bath for reusable stainless Household grade 100 gr steel and brass parts Liquid dishwashin...
Страница 24: ...24 Micra ADJ Second Stage Service Repair Manual 1997 U S Divers Co Inc TECHNICIAN S NOTES...
Страница 25: ...1058 48 Mouthpiece Comfo Snap on Small 17 1058 31 Mouthpiece Snap on Octopus 18 1049 13 Clamp Black 19 8601 37 C Clip 20 8200 46 O ring 21 1008 45 Valve Body 22 1001 32 Pin 23 1085 10 LP Seat 24 1008...