


ARCHMI-8XX Series User Manual
74
will be disabled. You will have direct access to BIOS setup without typing any
password after system reboot once the password is disabled.
Once the password feature is used, you will be requested to type the password each
time you enter BIOS setup. This will prevent unauthorized persons from changing
your system configurations.
Also, the feature is capable of requesting users to enter the password prior to
system boot to control unauthorized access to your computer. Users may enable the
feature in Security Option of Advanced BIOS Features. If Security Option is set to
System, you will be requested to enter the password before system boot and when
entering BIOS setup; if Security Option is set to Setup, you will be requested for
password for entering BIOS setup.
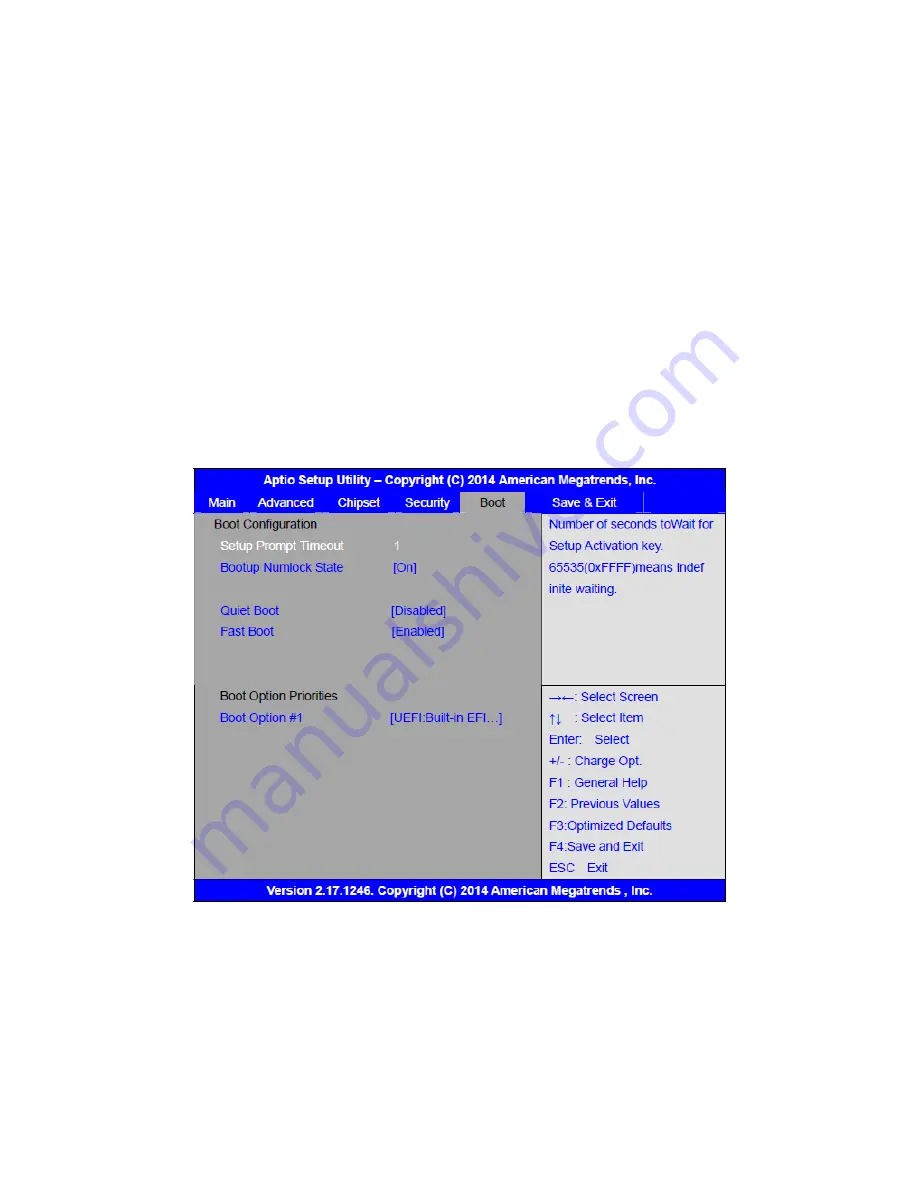
3.7 Boot Settings
Setup Prompt Timeout [1]
Bootup Numlock State
[On]
[off]
Quiet Boot
[Disabled]
Содержание ARCHMI-8XX Series
Страница 13: ...ARCHMI 8XX Series User Manual 12 Figure 1 3 Dimensions of ARCHMI 810 P Figure 1 4 Dimensions of ARCHMI 812 P ...
Страница 17: ...ARCHMI 8XX Series User Manual 16 Figure 1 11 Dimensions of ARCHMI 821P Projected Capacitive Touch ...
Страница 19: ...ARCHMI 8XX Series User Manual 18 Figure 1 13 Rear View of ARCHMI 807 808 Figure 1 14 Rear View of ARCHMI 810 ...
Страница 20: ...ARCHMI 8XX Series User Manual 19 Figure 1 15 Rear View of ARCHMI 812 Figure 1 16 Rear View of ARCHMI 815 ...
Страница 21: ...ARCHMI 8XX Series User Manual 20 Figure 1 17 Rear View of ARCHMI 816 Figure 1 18 Rear View of ARCHMI 817 ...
Страница 22: ...ARCHMI 8XX Series User Manual 21 Figure 1 19 Rear View of ARCHMI 818 Figure 1 20 Rear View of ARCHMI 821 ...
Страница 32: ...ARCHMI 8XX Series User Manual 31 units mm Figure 2 1 Motherboard Dimensions ...
Страница 83: ...ARCHMI 8XX Series User Manual 82 Step 3 Read license agreement Click Yes Step 4 Click Next ...
Страница 84: ...ARCHMI 8XX Series User Manual 83 Step 5 Click Install Step 6 Click Install ...
Страница 95: ...ARCHMI 8XX Series User Manual 94 Step 2 Select Resistive Touch Step 3 Click Next to continue ...
Страница 99: ...ARCHMI 8XX Series User Manual 98 Step 2 Select Projected Capacitive Step 3 Click Next to continue ...
Страница 102: ...ARCHMI 8XX Series User Manual 101 Step 9 Go to C Program Files eGalaxTouch Click Next Step 10 Click Next ...
Страница 120: ...ARCHMI 8XX Series User Manual 119 Hardware Saturn Hardware Configuration ...
Страница 121: ...ARCHMI 8XX Series User Manual 120 About To display information about eGalaxTouch and its version ...


