ARCHMI-7XX (SBC-7106A) User Manual
98
6.
“Touch this screen to start its calibration” appears on one of the screens. Touch the screen.
7.
“Touch the red square” messages appear. Touch the red squares in sequence.
8. Continue calibration for each monitor by clicking
Standard Calibration
and touching the red
squares.
NOTES:
1. If you use a single VGA output for multiple monitors, please do not use the
Multiple
Monitor
function. Just follow the regular procedure for calibration on each of your
desktop monitors.
2. The Rotating function is disabled if you use the Multiple Monitor function.
3. If you change the resolution of display or screen address, you have to redo
Map Touch
Screens,
so the system understands where the displays are.
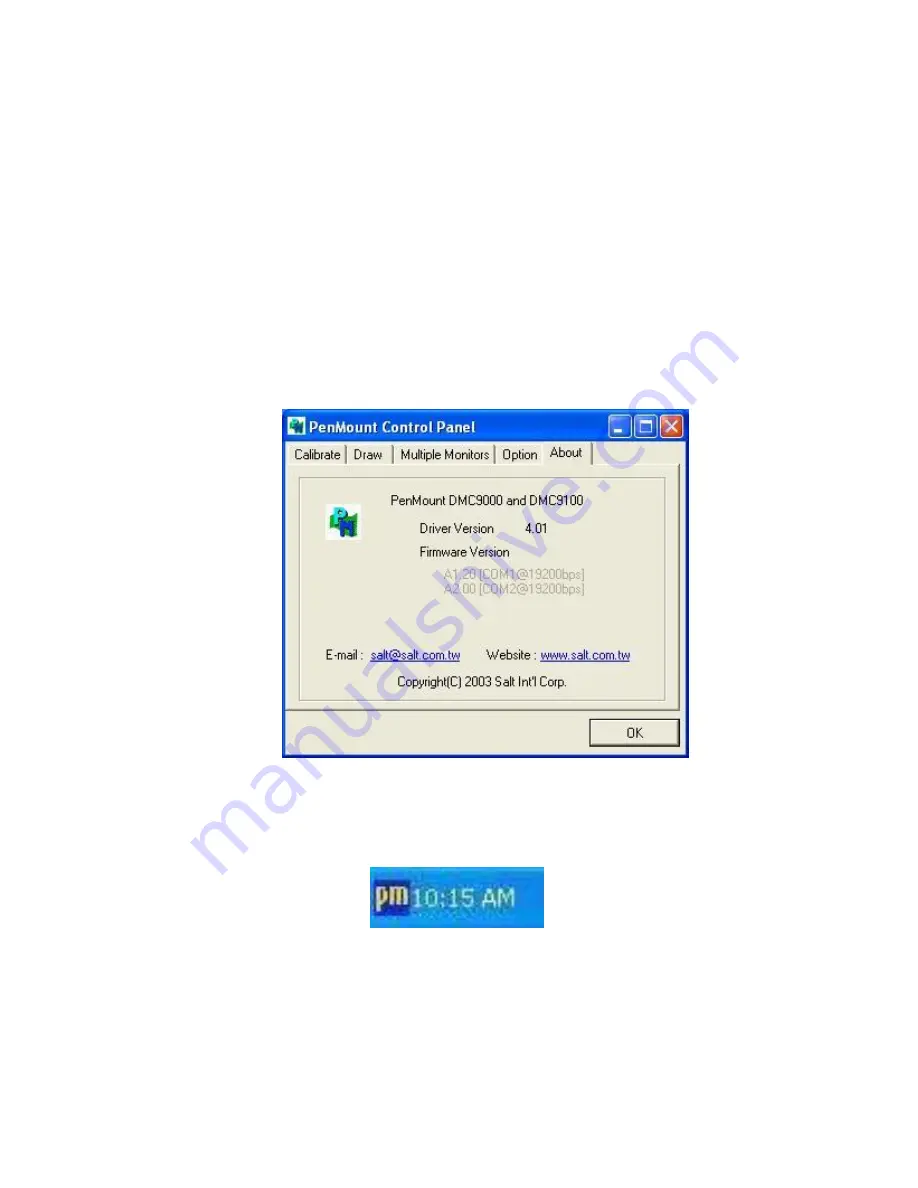
About
This panel displays information about the PenMount controller and this driver version.
PenMount Monitor Menu Icon
The PenMount monitor icon (PM) appears in the menu bar of Windows XP/2003/Vista/WIN7 system
when you turn on PenMount Monitor in PenMount Utilities.
PenMount Monitor has the following function
Содержание ARCHMI-716
Страница 9: ...ARCHMI 7XX SBC 7106A User Manual 9 1 3 Dimensions Figure 1 1 Dimensions of ARCHMI 716 ...
Страница 10: ...ARCHMI 7XX SBC 7106A User Manual 10 Figure 1 2 Dimensions of ARCHMI 717 ...
Страница 11: ...ARCHMI 7XX SBC 7106A User Manual 11 Figure 1 3 Dimensions of ARCHMI 718 ...
Страница 12: ...ARCHMI 7XX SBC 7106A User Manual 12 Figure 1 4 Dimensions of ARCHMI 721 ...
Страница 14: ...ARCHMI 7XX SBC 7106A User Manual 14 Figure 1 7 Front View of ARCHMI 717 Figure 1 8 Rear View of ARCHMI 717 ...
Страница 15: ...ARCHMI 7XX SBC 7106A User Manual 15 Figure 1 9 Front View of ARCHMI 718 Figure 1 10 Rear View of ARCHMI 718 ...
Страница 16: ...ARCHMI 7XX SBC 7106A User Manual 16 Figure 1 11 Front View of ARCHMI 721 Figure 1 12 Rear View of ARCHMI 721 ...
Страница 53: ...ARCHMI 7XX SBC 7106A User Manual 53 3 3 Main Settings ...
Страница 73: ...ARCHMI 7XX SBC 7106A User Manual 73 Step 3 Read license agreement Click Yes Step 4 Click Next ...
Страница 81: ...ARCHMI 7XX SBC 7106A User Manual 81 Step 2 Select Resistive Touch Step 3 Click Next to continue ...
Страница 85: ...ARCHMI 7XX SBC 7106A User Manual 85 Step 2 Select Projected Capacitive Step 3 Click Next to continue ...
Страница 88: ...ARCHMI 7XX SBC 7106A User Manual 88 Step 9 Go to C Program Files eGalaxTouch Click Next Step 10 Click Next ...
Страница 106: ...ARCHMI 7XX SBC 7106A User Manual 106 Hardware Saturn Hardware Configuration ...
Страница 107: ...ARCHMI 7XX SBC 7106A User Manual 107 About To display information about eGalaxTouch and its version ...


