background image

A P E X   D I G I T A L

A D V - 3 8 0 0

1

Safety Precautions

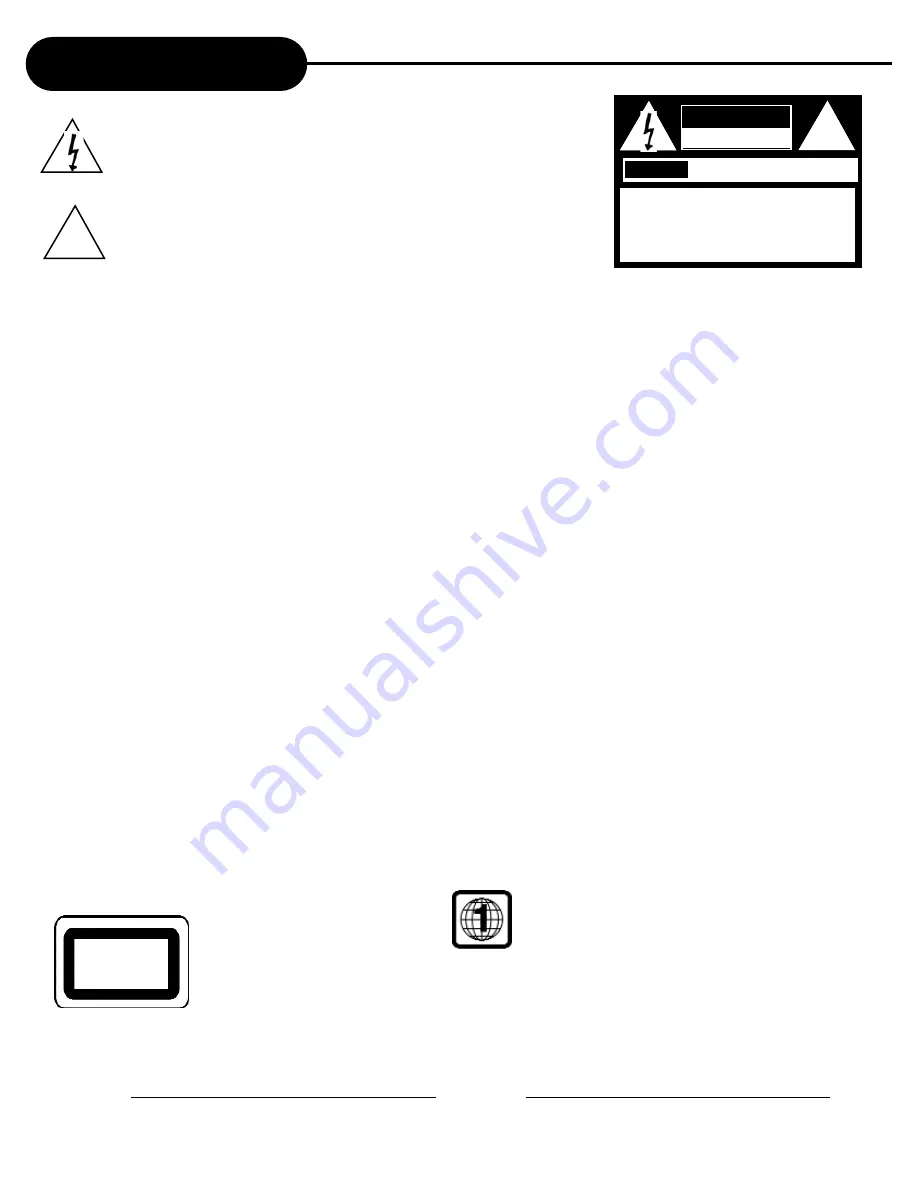
The lightning flash with an arrowhead symbol within an equilateral triangle is

intended to alert the user to the presence of uninsulated "dangerous voltage"

within the product's enclosure that may be of sufficient magnitude to constitute a

risk of electric shock to persons.

The exclamation point within an equilateral triangle is intended to alert the user to

the presence of important operating and maintenance (servicing) instructions in

the literature accompanying the appliance.

WARNING: 

DO NOT EXPOSE THIS APPLIANCE TO RAIN OR MOISTURE, DUE TO THE HIGH RISK OF FIRE

OR ELECTRIC SHOCK, DO NOT OPEN THE CABINET; DANGEROUS HIGH VOLTAGES ARE 

PRESENT INSIDE THE ENCLOSURE.  ONLY QUALIFIED SERVICE PERSONNEL SHOULD 

ATTEMPT THIS.

CAUTION:

TO PREVENT ELECTRIC SHOCK, MATCH WIDE BLADE OF PLUG TO WIDE SLOT, AND 

FULLY INSERT.

ATTENTION: 

POUR EVITER LES CHOCS ELECTRIQUE, INTRODUIRE LA LAME LA PLUS LARGE DE LA

FICHE DANS LABORNE CORRESPONDANTE DE LAPRISE ET POUSSER JUSQU' AU FOUD.

CAUTION:

This VCR&DVD PLAYER employs  a Laser System.  To prevent direct exposure to the laser beam, do not try to open the enclosure.

Visible laser radiation when open and interlocks defeated.

Use of controls or adjustments or performance of procedures other than those specified herein may result in hazardous radiation exposure.

DO NOT STARE INTO BEAM.

To ensure proper use of this product, please read this owner’s manual carefully and retain for future  reference.  Should the unit require

maintenance, contact an authorized service location, or contact APEX Digital Inc.Only qualified service personnel should remove the cover.

FCC NOTICE

This equipment has been tested and found to comply with the limits for a Class B digital device.  Pursuant to the part 15 of FCC Rules. 

These limits are designed to provide reasonable protection against harmful interference in a residential installation.

This equipment generates,uses and can radiate radio frequency energy and,if not installed and used in accordance with the

instructions,may cause harmful interference to radio communication.However,there is no guarantee that interference will not occur

in a particular installation.If this equipment does cause harmful interference to radio or television reception,which can be determined

by turning the equipment off and on,the user is encouraged to try to correct the interference by one or more of the following  

measures:

-  Reorient or relocate the receiving antenna.

- Increase the separation between the equipment and receiver.

- Connect the equipment into an outlet on a circuit different from that to which the receiver is connected.

- Consult the dealer or an experienced radio/TV technician for help.

FCC Caution:To assure continued compliance,(example-use only shielded interface cables when connecting to computer or

peripheral devices).Any changes or modifications not expressly approved by the party responsible for compliance could    

void the user’s authority to operate this equipment.

WARNING

Changes or modifications made to this equipment, not expressly approved by APEX or parties authorized by APEX will void all the 
manufacture warranties.

THE REGION CODE FOR THE UNIT IS 1.

Since it is very usual for DVD movies to be released at different times in different regions of the world, all players have region

codes and discs can have an optional region code.  If you load a disc of a different region code to your player, you will see
the region code notice on the screen.  The disc will not play, and should be unloaded.

For Customer Use:

In spaces provided below, record the Model and Serial No. located on the rear panel of your combo player.

Model No.                                                                      Serial No.

Retain this information for future reference.

CLASS 1

LASER PRODUCT

CAUTION

RISK OF ELECTRIC SHOCK

DO NOT OPEN

AVIS

RISQUE DE CHOC ELECTRIQUE NE

PAS OUVRIR

CAUTION: TO REDUCE THE RISK OF ELECTRIC

SHOCK, DO NOT REMOVE COVER (OR BACK).

NO USER-SERVICEABLE PARTS INSIDE.  REFER

SERVICING TO QUALIFIED SERVICE PERSONNEL.

CAUTION: (VISIBLE) LASER RADIATION WHEN OPEN.

DO NOT STARE INTO BEAM.

!

!

Содержание ADV-3800

Страница 1: ...ates uses and can radiate radio frequency energy and if not installed and used in accordance with the instructions may cause harmful interference to radio communication However there is no guarantee that interference will not occur in a particular installation If this equipment does cause harmful interference to radio or television reception which can be determined by turning the equipment off and...

Страница 2: ...ated on the marking label If you are not sure of the type of power supply to your home consult your product dealer or local power company For products intended to operate from battery power or other sources refer to the operating instructions 12 Grounding or Polarization This product may be equipped with a polarized alternating current line plug a plug having one blade wider than the other This pl...

Страница 3: ...t has been dropped or damaged in any way and f When the product exhibits a distinct change in performance this indicates a need for service 22 Replacement Parts When replacement parts are required be sure the service technician has used replacement parts specified by the manufacturer or have the same characteristics as the original part Unauthorized substitutions may result in fire electric shock ...

Страница 4: ...g discs DVD video disc Audio Video moving pictures Audio Audio 12 cm 12 cm 8 cm CD single 12 cm Audio CD MP3 CD Disc Mark Contains Disc Size Maximum playback time Approx 4 hours single sided disc Approx 8 hours double sided disc Approx 74 minutes Approx 20 minutes Approx 600 minutes NOTES ON REGIONAL NUMBERS DVDs are divided into separate regions The United States and Canada are designated as regi...

Страница 5: ... AFF Function 14 Playing Back a Disc 14 Locating a Specific Title Chapter or Track 16 Using the On screen Display 17 Playing Repeatedly 18 Playing in Random Order 18 Zooming a Picture On DVD 18 Selecting The Camera Angle Language Audio Settings 19 Selecting Subtitles 19 Playing in a Favorite order 20 MP3 Operation 20 WMA Operation 21 Playing Back Your Kodak Picture CD 21 Playing Your JPEG Files 22...

Страница 6: ...RD 15 FAST REVERSE 16 PROGRAM 17 SEARCH THE INSTRUCTIONS BELOW DESCRIBE THE FUNCTIONS ON THE REMOTE CONTROL 8 6 3 28 33 32 1 27 15 21 34 POWER button on the remote control is for standby power When displayed on TV function is not operational on the disc Child Lock Press the POWER button of the remote control for about 8 seconds No buttons of front panel and remote control can be operated now and L...

Страница 7: ...lose the cover BATTERIES PREPARING THE REMOTE CONTROL To operate the Combo Player you must first place the batteries in the remote control INCORRECT USE OF BATTERIES MIGHT CAUSE THEM TO LEAK CORRODE OR EXPLODE Do not place the batteries in the wrong direction It is dangerous to charge heat open or short circuit the batteries Do not leave dead batteries or mix new with old batteries in the remote c...

Страница 8: ...RF OUT jack with ANT IN jack of the TV with RF cable 3 Connect AV OUT jack on VCR DVD PLAYER to AV IN jack of the TV with RCA cables Connect with Audio Video terminal you can enjoy more clean video and audio Connecting With Optional Equipment 1 Connect AV OUT jack on camcorder or playback video to AV IN jack on rear panel or front panel of VCR DVD PLAYER with RCA cables How to Connect with RF cabl...

Страница 9: ...o your HDTV ready television using the component video inputs outputs Connect this Player with Y Pr and Pb if your TV has Progressive Scan and Component Video input Press I P button on remote control unit to switch between Interlace Progressive Scan mode How to Connect DVD only HOW TO SETUP THE VIDEO SCAN MODE WHAT IS PROGRESSIVE SCAN DTS and DTS Digital Out are trademarks of Digital Theater Syste...

Страница 10: ... Press REC button 6 press button to pause recording press again to resume If the pause status continues for five minutes the recording will be cancelled automatically 7 To stop recording press button If you want to playback DVD during recording with video insert a DVD disc Place the desired DVD disc on DVD tray press DVD button to switch into DVD mode and press button Then you can watch DVD Press ...

Страница 11: ...nd press ENTER button 4 Index NUMBER setting method If your search is forward direction press up button to select desired Index Number If your search is reverse direction press down button to select desired Index Number 5 After setting up Please Press ENTER Button Press VCR button to change into VCR mode 1 Press the SETUP button on the remote control 2 Press the button to select the Search and pre...

Страница 12: ...ges like the orders below SP SLP Press SETUP button to exit after completion Press NEXT and PREV button to fisnish 8 event programming Press the POWER button to activate timer recording Only operating in stop mode Press VCR button to change into VCR mode and follow the procedure below 1 Press the SETUP button on the remote control 2 Press the button to highlight and select Enter the Channel Set 3 ...

Страница 13: ...nction 1 AUTO REPEAT will replay a tape after it ends The machine will rewind the tape and replay the material automatically 2 AUTO REPEAT can be turned off by either powering off or through the SETUP menu 3 Buttons such as PLAY PAUSE STOP FF REW EJECT will be disable while in AUTO REPEAT mode You will still have the option to switch between DVD and VCR function however it will not reset the AUTO ...

Страница 14: ...eo input source which is connected to the Combo Player 1 Press the POWER button on the front panel Press DVD button of remote control to change into DVD mode 2 Press the OPEN CLOSE button This will open the disc tray Be sure the playback side is faced down 3 Place the disc on the disc tray 4 Press the button After closing the disc tray playback will start Moving the Combo Player during playback ma...

Страница 15: ...DISC Press the OPEN CLOSE button Wait until the disc tray is completely open before removing any discs After removing the discs press the OPEN CLOSE button to close the disc tray At the completion of each movie a menu screen will appear Be aware that the on screen setup menu may damage your TV by permanently burning that image onto the screen To avoid this press the STOP button at the completion o...

Страница 16: ...UDIO CD AND MP3 CD ARE DIVIDED INTO TRACKS YOU CAN CONVENIENTLY LOCATE ANY SPECIFIC TITLE CHAPTER OR TRACK WITH THIS COMBO PLAYER TITLE 1 DVD Video Disc TITLE 2 Audio CD LOCATING A TITLE USING THE TITLE MENU You can locate a specific title using the title menu function if a DVD video disc contains a title menu 1 Press the TITLE button On the TV screen the title menu will appear 2 Press the button ...

Страница 17: ...TO VIEW THE OPERATIONAL STATUS AND DISC INFORMATION ON YOUR TV SCREEN CHECKING THE OPERATIONAL STATUS With this function you can view on your TV the following Current title Track number Total playing time Press DISPLAY during playback Title Elapsed TT 01 12 CH 006 039 0 02 20 Chapter Elapsed TT 01 12 CH 006 039 0 03 50 Chapter Remain TT 01 12 CH 006 039 0 10 40 Current Title Total Title Current Ch...

Страница 18: ...utton HOW TO REPEAT A SPECIFIC SEGMENT 1 Press the A B RPT button at the beginning of the segment in which you want to repeat playback point A 2 Press the A B RPT button again at the end of the segment point B The Combo Player will automatically return to point A and start to repeat playback of the selected segment A B 3 Press the A B RPT button to cancel the A B repeat function The Combo Player w...

Страница 19: ...O SELECT FROM SEVERAL DIFFERENT ANGLES AND LANGUAGES HOW TO CHANGE THE CAMERA ANGLE Press the ANGLE button while playing back a scene recorded with multiple angles Each time you press the ANGLE button the angle will change NOTICE The angle function will not work on DVD video discs that do not contain recorded multiple angles The angle icon indicator will illuminate while playing back a title that ...

Страница 20: ...ll be removed Depending on the disc the program playback may not function To clear the numbers that you have programmed in just now press CLEAR button Program TT XX CH XX 01 TT CH 06 TT CH 02 TT CH 07 TT CH 03 TT CH 08 TT CH 04 TT CH 09 TT CH 05 TT CH 10 TT CH Exit NEXT Program TT XX CH XX 01 TT 05 CH 12 06 TT CH 02 TT 02 CH 07 07 TT CH 03 TT 04 CH 07 08 TT CH 04 TT CH 09 TT CH 05 TT CH 10 TT CH E...

Страница 21: ...rom the stop position After it is enabled up to twelve scaled down thumbnail pictures will be display on the screen The SKIP FORWARD REVERSE keys can be used to display the NEXT and PREVIOUS twelve pictures in the current directory mode 9 EXTEND FROM CENTER H mode 10 EXTEND FROM CENTER V mode 11 COMPRESS TO CENTER H mode 12 COMPRESS TO CENTER V mode 13 WINDOW H mode 14 WINDOW V mode 15 WIPE FROM E...

Страница 22: ...your TV screen Fifteen slideshow transition modes are provided Use PROGRAM key to select IMAGE ROTATION ZOOM mode 9 EXTEND FROM CENTER H mode 10 EXTEND FROM CENTER V mode 11 COMPRESS TO CENTER H mode 12 COMPRESS TO CENTER V mode 13 WINDOW H mode 14 WINDOW V mode 15 WIPE FROM EDGE TO CENTER RANDOM NONE by default mode 1 WIPE TOP mode 2 WIPE BOTTOM mode 3 WIPE LEFT mode 4 WIPE RIGHT mode 5 DIAGONAL ...

Страница 23: ...ock level and the way a DVD video disc can be controlled may vary from disc to disc For example if the disc allows you can edit out violent scenes unsuitable for children and replace them with more suitable scenes or lock out playback of the disc all together TO CHANGE YOUR PASSWORD 3 Select Preference Page press ENTER 1 Follow step 3 to select password select Change 2 Enter old password 3 Enter n...

Страница 24: ...l Setup Speaker Setup Dolby Digital Setup Video Setup and Preferences The selected category will provide you the setting details on screen General Setup Page TV Display PS Angle Mark On OSD Lang ENG SPDIF Output RAW Captions Off Screen Saver On Speaker Setup Page Downmix Normal PS Normal LB Wide On Off English French Spanish SPDIF Off SPDIF RAW SPDIF PCM On Off On Off LT RT Stereo Dolby Digital Se...

Страница 25: ... for a better picture by pressing the TRACKING button Cannot view a tape but the audio is OK Head cleaning may be necessary No or poor playback picture Select channel 3 or 4 on your TV Fine tune your TV TV programs cannot be seen normally Check the ANT IN and RF OUT connections Press the VCR button on the remote control Video or color fades in and out when making a copy of a video tape You cannot ...

Страница 26: ...unbalanced RCA JACK Audio input 8 8 dBm RCA JACK RF output 3 or 4 CH Video output 1 0 V p p 75 ohms RCA JACK S video output Y 1 0 V p p 75 ohms negative sync Mini DIN 4 pin x 1 C 0 286 V p p 75 ohms Component video output Y 1 0V p p 75 ohms Pb 0 7V p p 75 ohms Pr 0 7V p p 75 ohms Audio output DVD analog audio 1 8 0 2V p p rms 10k ohms pin jack L R x 1 Audio output VCR analog audio 8 8 dBm RCA JACK...

Страница 27: ...ication or adaptation to enable it to operate in any country other than the country for which it was designed manufactured approved and or authorized or repair of products damaged by these modifications Incidental or consequential damages resulting from the product Some states do not allow the incidental or consequential damages so the above exclusion may not apply to you This includes but is not ...

Страница 28: ...A P E X D I G I T A L A D V 3 8 0 0 28 ...

Отзывы: