- 1 -
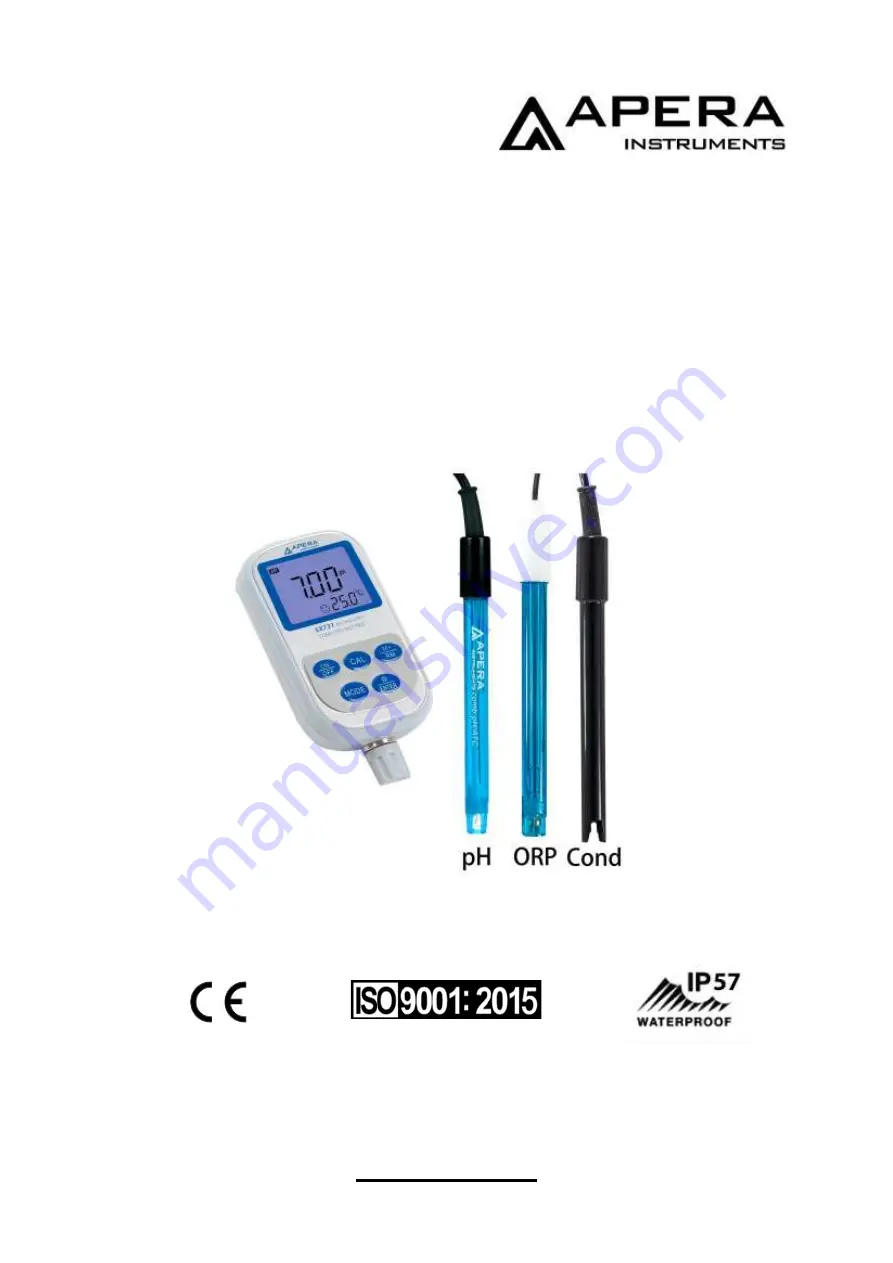
SX731 Portable pH/Conductivity/ORP
Meter
User Manual
APERA INSTRUMENTS (Europe) GmbH
aperainst.de
Страница 1: ...1 SX731 Portable pH Conductivity ORP Meter User Manual APERA INSTRUMENTS Europe GmbH aperainst de...
Страница 2: ...diagnose Information 14 6 9 Notes about pH 14 7 ORP Measurement 15 7 1 Sample Test 15 7 2 Notes about ORP 15 7 3 Clean and activate ORP electrode 15 7 4 ORP Parameter Setting 16 8 Conductivity Measure...
Страница 3: ...the intelligent functions of auto calibration auto temperature compensation auto salinity compensation manual baromatric pressure compensation data storage function settings auto power off and low vo...
Страница 4: ...uracy Meter 1 0 F S Overall 1 5 F S Temp compensation range 0 to 50 C automatic Electrode constant 0 1 1 10 cm 1 Reference temperature 25 C 20 C and 18 C 2 4 Other Technical Parameters Data storage 30...
Страница 5: ...ong press press time 2 seconds 3 2 1 Short press to power on or off 3 2 2 Calibration key a When in measurement mode short press to enter calibration mode b When in parameter setting mode short press...
Страница 6: ...g press the meter will recall the last saved data and the serial number RM icon will appear in the upper right corner of the screen Short press or again the meter will recall all the data in turn hold...
Страница 7: ...7 5 Preparation What you need in addition to what s in the kit Pure water RO distilled or deionized water for rinsing off the electrode...
Страница 8: ...CL storage bottle and put it aside do not dump or spill the KCL solution Rinse the electrode with distilled or deionized water Shake off excess water or blot dry with clean tissue or kimwipe Stir the...
Страница 9: ...the meter should be replaced within 3 months after opening The new buffer solutions should be made by a legitimate lab supply manufacturer Avoid sunlight and air contact when the buffers are not being...
Страница 10: ...ays Then save the measurement by pressing According to the pH isothermal measurement principle the closer the test sample s temperature is to the calibration solution s the higher the accuracy of the...
Страница 11: ...bSen851 S LabSen 851 H Wastewater or emulsion LabSen 333 An 8 pin to BNC convertor AI7103 is required to connect LabSen pH electrode to this meter Visit aperainst de or contact us at 49 202 51988998 f...
Страница 12: ...e factory default setting is OFF Note will appear in the upper right corner of the LCD if pure water temperature compensation function is set 6 6 3 Ammonia added pure water pH temperature compensation...
Страница 13: ...8 b Press or to choose meaning that the parameters have been restored to the producer setting mode and return to measurement mode after 2 seconds Returning to factory default setting is to restore th...
Страница 14: ...slope out of range 85 or 105 When or shows up 1 Make sure there is no damage on the electrode s glass bulb if so an electrode replacement is necessary Check if there is air bubble inside the glass bu...
Страница 15: ...ple solution and then hold it still Wait for the reading to get fully stabilized appears and stays Then save the measurement by pressing 7 2 Notes about ORP ORP measurement does not require calibratio...
Страница 16: ...Conductivity Measurement 8 1 Preparation Press to power on connect the 2301T S conductivity electrode See Section 5 for connection tutorial the meter will automatically change to conductivity measure...
Страница 17: ...e store the conductivity electrode in pure water 2 The sensor of 2301T S conductivity electrode is coated with platinum black to minimize electrode polarization and expand measuring range The platinum...
Страница 18: ...alue of temperature and then press to confirm 8 6 Parameter Setting Conductivity measurement parameter setting Table Table 6 3 Prompt Mark Parameter Setting Items Code Parameter P1 Standard solution s...
Страница 19: ...g of P2 is K 1 0 8 6 3 Reference temperature selection P3 a In P2 short press to enter P3 see picture 6 5 b Press or to choose 25 C 20 C 18 C c Press to enter the next parameter setting or press to re...
Страница 20: ...selection P6 In P5 short press and enter P6 for details please refer to Section 6 6 4 8 6 7 Backlight display time setting P7 In P6 short press and enter P7 for details please refer to Section 6 6 5...
Страница 21: ...Notes about conductivity parameter setting When the content of conductivity parameter setting is different to the factory default setting the correspondant code icon will appear on the upper right of...
Страница 22: ...y does not cover any damages due to Transportation storage improper use failure to follow the product instructions or to perform any preventive maintenance modifications combination or use with any pr...