AOpen MX46U2-VN Скачать руководство пользователя страница 6

14. BIOS Upgrade under Windows Environment 

You may accomplish BIOS upgrade procedure with EzWinFlash by the following steps, 

and it’s STRONGLY RECOMMENDED to close all the applications before you start the 

upgrading. 

1. 

Download the new version of BIOS package 

zip

 file from our official web site. Unzip 

the download BIOS package (ex: WMX46U2102.ZIP) with WinZip

(

http://www.winzip.com

) in Windows environment. 

2. 

Save the unzipped files into a folder, for example, WMX46U2102.EXE & 

WMX46U2102.BIN. 

3. 

Double click on WMX46U2102.EXE, EzWinFlash will detect the model name and 

BIOS version of your motherboard. If you had got the wrong BIOS, you will not be 

allowed to proceed with the flash steps. 

4. 

You may select preferred language in the main menu, then click [Start Flash] to start 

the BIOS upgrade procedure. 

5. 

EzWinFlash will complete all the process automatically, and a dialogue box will pop 

up to ask you to restart Windows. You may click [YES] to reboot Windows. 

6. 

Press <Del> at POST to 

enter BIOS setup

, choose "Load Setup Defaults", then 

“Save & Exit Setup”. Done! 

It is strongly recommended NOT to turn off the power or run any application 
during FLASH PROCESS.


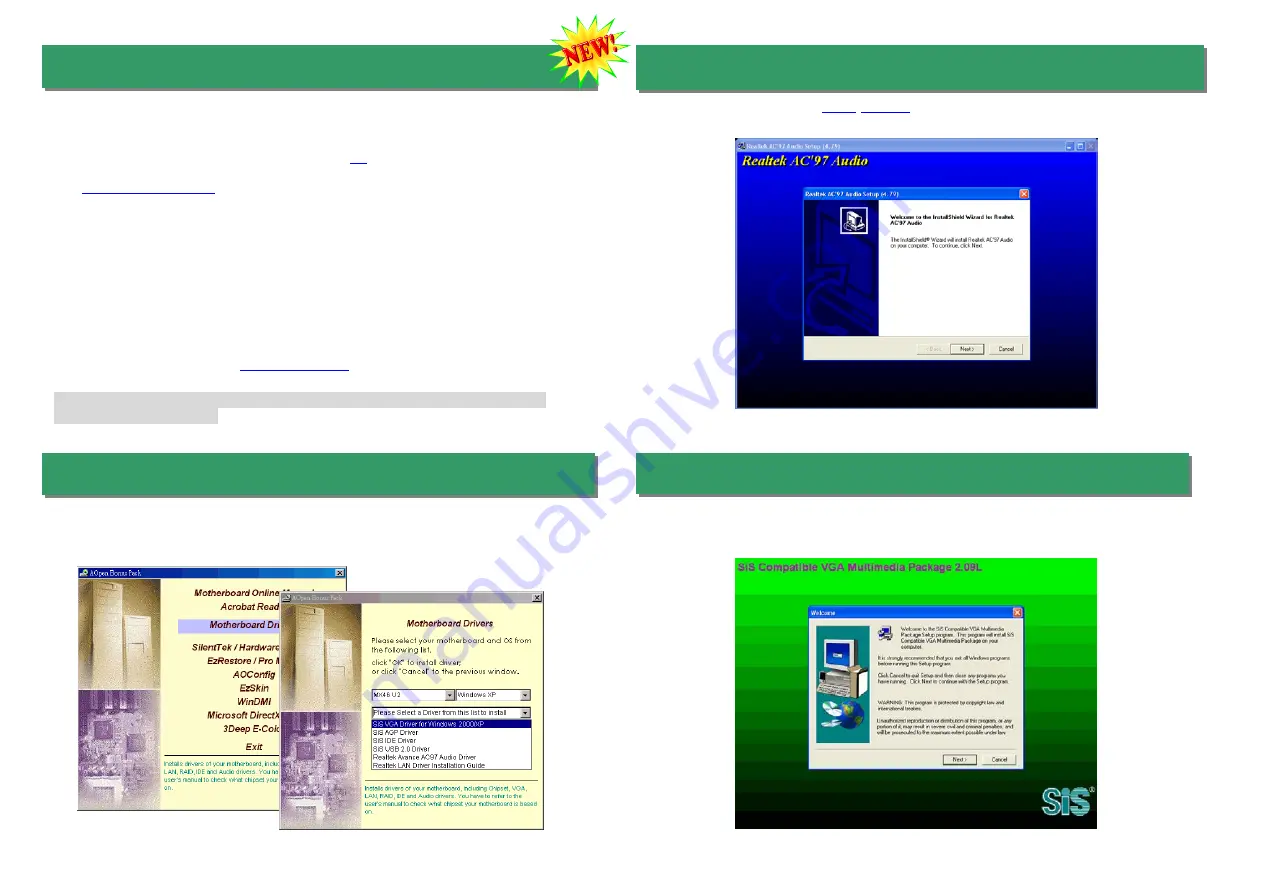
This motherboard comes with 

AC97


CODEC

. You can find the audio driver from the Bonus 

Pack CD auto-run menu. 

16. Installing Onboard Sound Driver 

15. AOpen Bonus Pack CD 

17. Installing Onboard VGA Driver 

You can use the autorun menu of Bonus CD. Choose the utility and driver and select 
model name.    After selecting the model name, you can install its AGP, VGA, IDE, Audio, 
LAN and USB 2.0 drivers from this CD.   

This motherboard integrates VGA Engine in chipset. You can install VGA driver from the 
Bonus Pack CD auto-run menu. 

Содержание MX46U2-VN

Страница 1: ...Fuse Front Audio Connector JP28 KB Mouse Wakeup Jumper Realtek RTL8201BL LAN Chip 4 pin 12V ATX Power Connector SYSFAN3 Connector IrDA Connector Low ESR Capacitors 32 bit PCI Expansion Slot x3 SYSFAN...

Страница 2: ...on a complete Online User s Manual can be found in the Bonus Pack CD Thanks for the help of saving our earth Pin 1 Tip When should I Clear CMOS 1 Boot fails because of overclocking 2 Forget password 3...

Страница 3: ...uency through the BIOS setup and no jumpers or switches are needed The default setting is table select mode You can adjust the FSB from CPU Host SDRAM PCI Clock for overclocking BIOS Setup Frequency V...

Страница 4: ...e way please remove the jumper cap from the Front Audio Connector before you connect the cable Do not remove these yellow jumpers cap if your housing doesn t have an audio port on the front panel Pin1...

Страница 5: ...s Del during POST Power On Self Test Choose Load Setup Defaults for recommended optimal performance Pin 1 1 Speaker IDE LED NC NC 5V IDE LED IDE LED 5V 5V GND NC SPEAKER 5VSB SPWR ACPI LED GND ACPILED...

Страница 6: ...n menu then click Start Flash to start the BIOS upgrade procedure 5 EzWinFlash will complete all the process automatically and a dialogue box will pop up to ask you to restart Windows You may click YE...

Страница 7: ...enter BIOS Setup Choose Load Setup Default The problem should be caused by the IDE cables or HDD itself Re install Windows 95 Windows 98 Windows XP or Windows NT Yes Yes Turn off the power and unplug...

Страница 8: ...should know your system configuration very well and should be able to solve your problem efficiently and provide important reference for you Contact Us Please prepare detail system configuration and...

Отзывы: