6
3. Operating Instructions
3.1 General Instructions
This monitor only has one external control function button; press the Power/Auto Configuration button to turn the
monitor on or off.
If you need to adjust other functions, please visit the official AOC website (www.aoc.com)to download and install
AOC’s exclusive i-Menu application software, and then perform related function adjustments to get the screen you
require.
• Connect the power cord properly.
• Connect the signal cable onto the PC’s graphics card.
• Push the button to start the monitor, and the power indicator will light up..
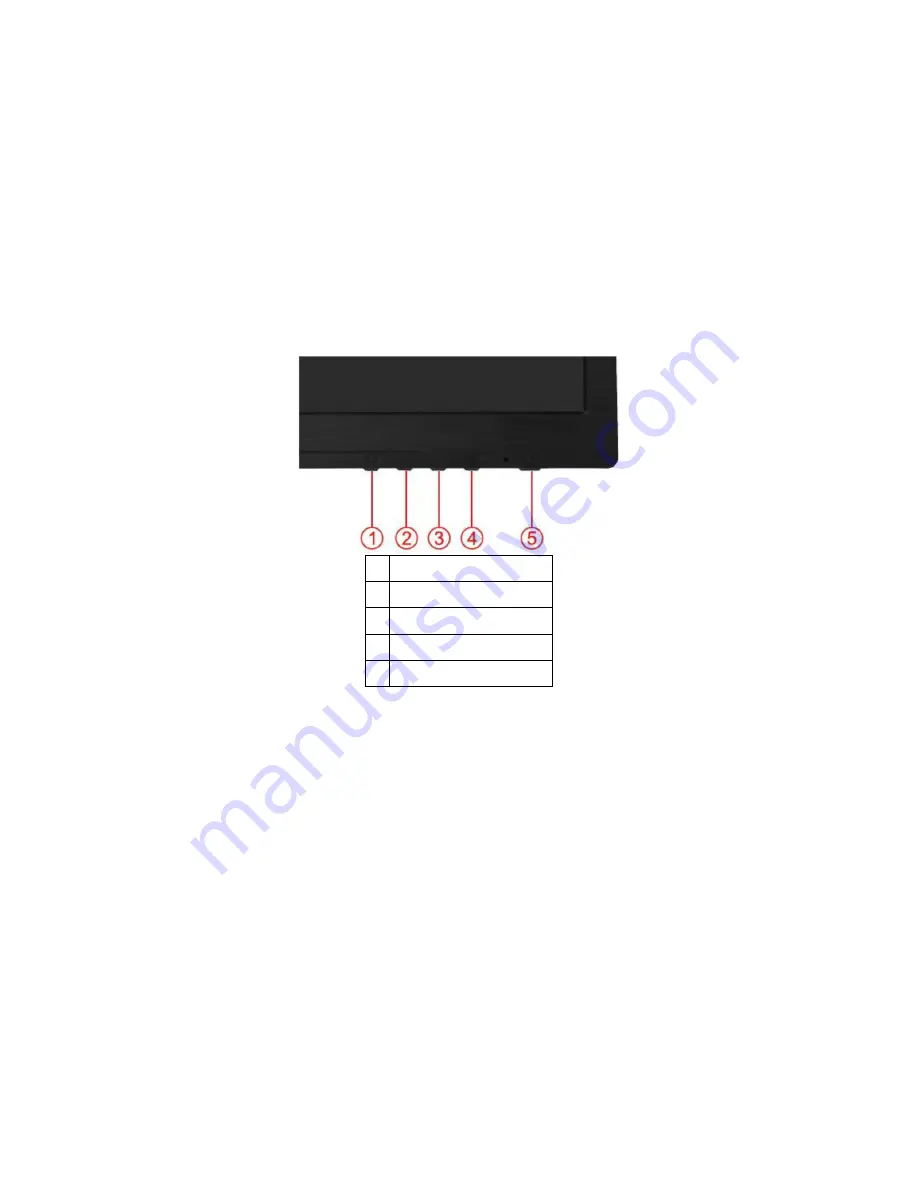
3.2 Control Buttons
1 Source/Auto/Exit
2 ECO(DCR/I-Care)/<
3 Volume / >
4 Menu/Enter
5 Power
Power
Press the Power button to turn on/off the monitor.
Eco (DCR/I-Care)/ <
Press the Eco key continuously to select the Eco mode of brightness and DCR/I-Care on when there is no OSD.
( Eco mode hot key may not be available in all models).
Volume / >
When there is no OSD,Press Volume button to active volume adjustment bar,Press <or + to adjust volume(Only for
the models with speakers)
Auto / Exit
When there is no OSD, press Auto/Source button continuously about 3 second to do auto configure .
Source hot key
When the OSD is closed, press Source button will be Source hot key function. Press Source button continuously to
select the input source showed in the message bar , press Menu/Enter button to change to the source selected
Содержание e2260Phu
Страница 4: ...4 1 Monitor Specifications ...
Страница 9: ...9 Luminance ...
Страница 10: ...10 ...
Страница 11: ...11 ...
Страница 12: ...12 Image Setup ...
Страница 13: ...13 ...
Страница 14: ...14 Color Setup ...
Страница 15: ...15 ...
Страница 16: ...16 Picture Boost ...
Страница 17: ...17 ...
Страница 18: ...18 OSD Setup ...
Страница 19: ...19 ...
Страница 20: ...20 Extra ...
Страница 21: ...21 ...
Страница 22: ...22 Exit ...
Страница 23: ...23 LED Indicator Status LED Color Full Power Mode Green or Blue Active off Mode Orange or red ...
Страница 24: ...24 4 Input Output Specification 4 1 Input Signal Connector Pin Assignments ...
Страница 25: ...25 4 2 Factory Preset Display Modes ...
Страница 27: ...27 4 3 4 Optical Characteristics Ta 25 2 ...
Страница 46: ...46 7 PCB Layout 7 1 Main Board 715G5436M01000004C ...
Страница 47: ...47 ...
Страница 48: ...48 ...
Страница 49: ...49 7 2 Power Board 715G5361P02000001S ...
Страница 50: ...50 ...
Страница 51: ...51 7 3 Key Board 715G5357K01000001S ...
Страница 52: ...52 7 4 IR Board 715G5368T01000004C ...
Страница 53: ...53 ...
Страница 54: ...54 7 5 USB Board 715G5370T01000004S ...
Страница 55: ...55 715G2727T01001001H ...
Страница 63: ...63 10 Monitor Exploded View ...


