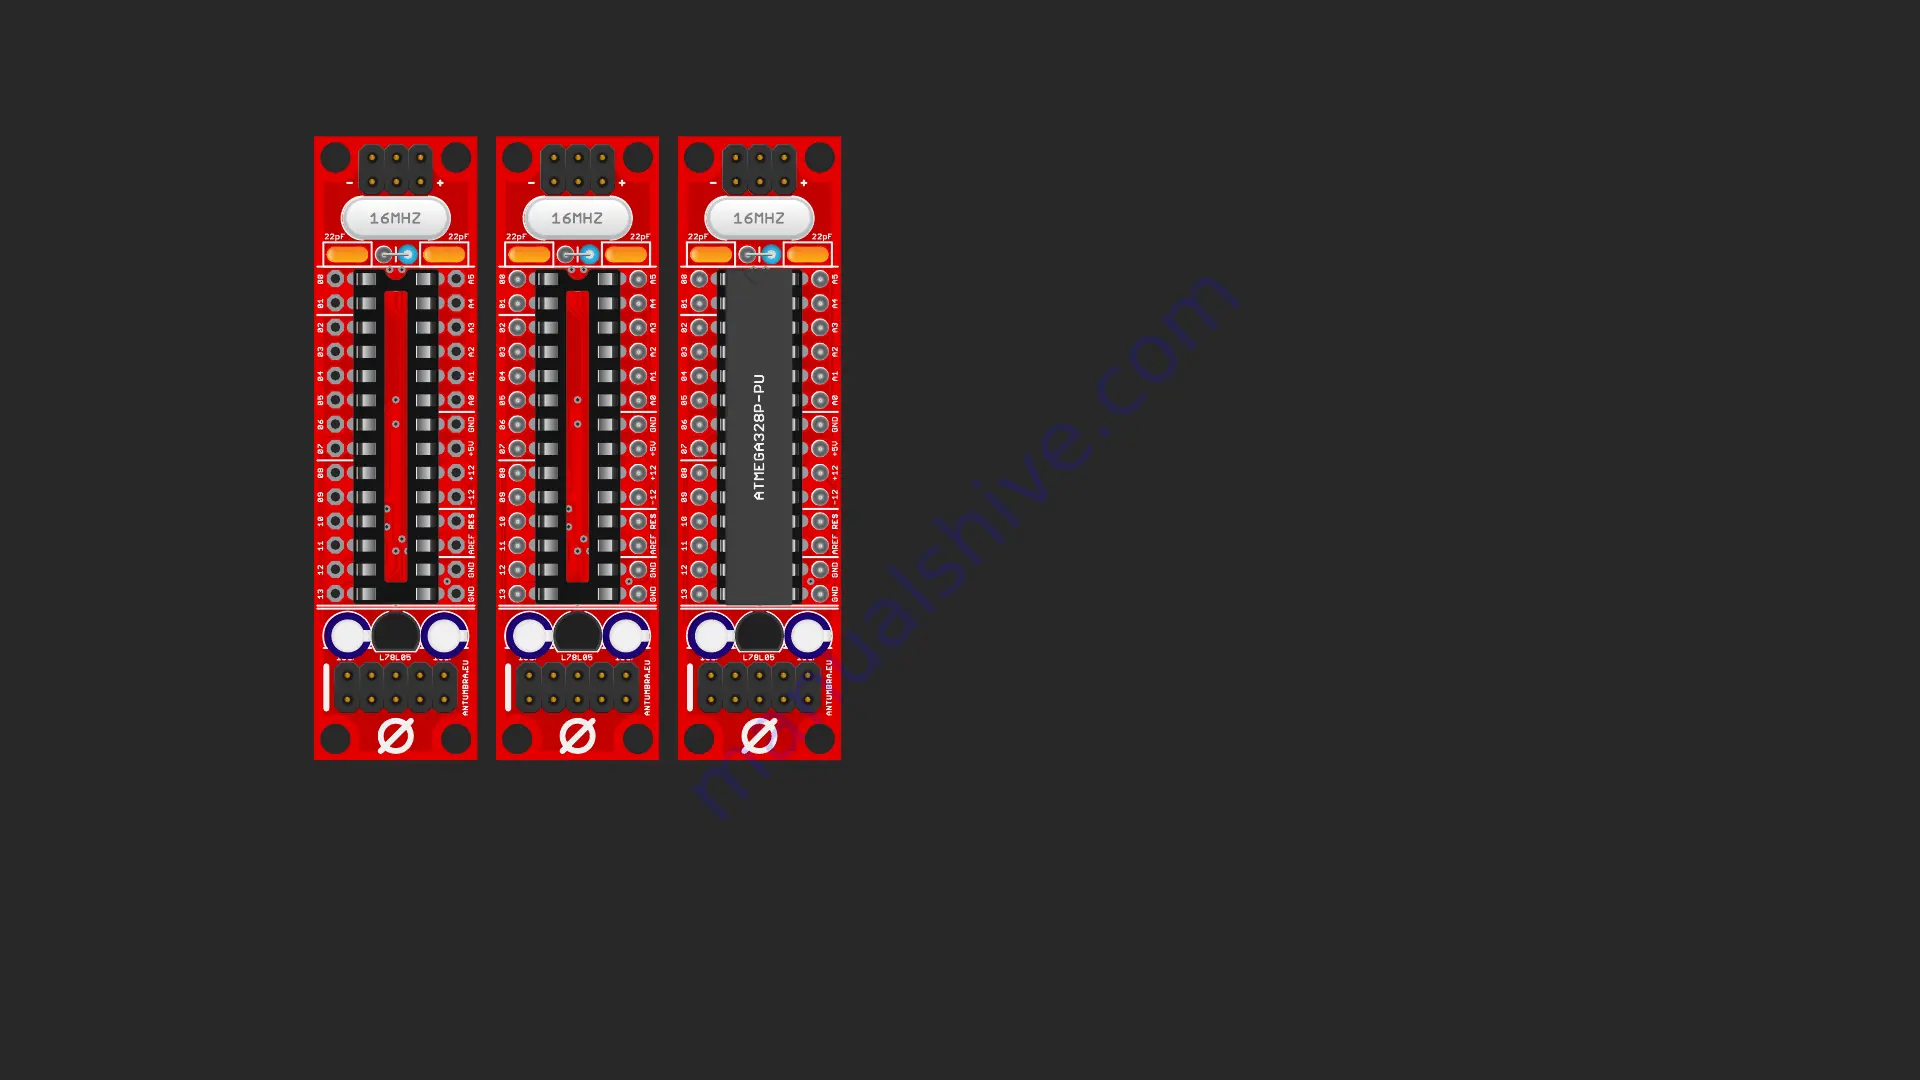
03. ASSEMBLY
7. Solder the 10uF capacitors. The orientation matters,
the shorter leg goes into the round hole marked with
- symbol.
8. Solder the single row pins on the other side of the
PCB so that the longer pins and the plastic part are on
the bottom of the PCB. You can solder here of course
female headers too, if desired.
9. Insert the ATMEGA328P-PU in the socket so that the
dent is on top. If the pins are too wide, use a snub
nose plier to bend them a bit inwards on both sides,
or put it on the table, on it’s side so that one row of
pins are flat on the table and apply a bit of pressure
to bend them in.
8
9
7
Содержание EURD
Страница 1: ...ANTUMBRA EURD MANUAL ...


