


Saving Radio Presets
1.
2. To manually set a preset, tune to the desired frequency (see above steps).
3. Press and hold the
Prog
button. The display will begin flashing a preset.
Ex: "P01".
4. Press the
/−
buttons to select the preset to be saved.
(P01 to P20).
5. Press the
Prog
button to save that preset.
6. To cycle through presets, press the
Prog
button, then the
/−
buttons to select.
Tuning the FM Radio
1. Press the
Power
button to turn the unit on.
2. Press the
Source
button to switch to
Radio mode
, then press the
/−
buttons
to select the desired frequency, or press and hold to quickly scan the frequencies.
FM RADIO
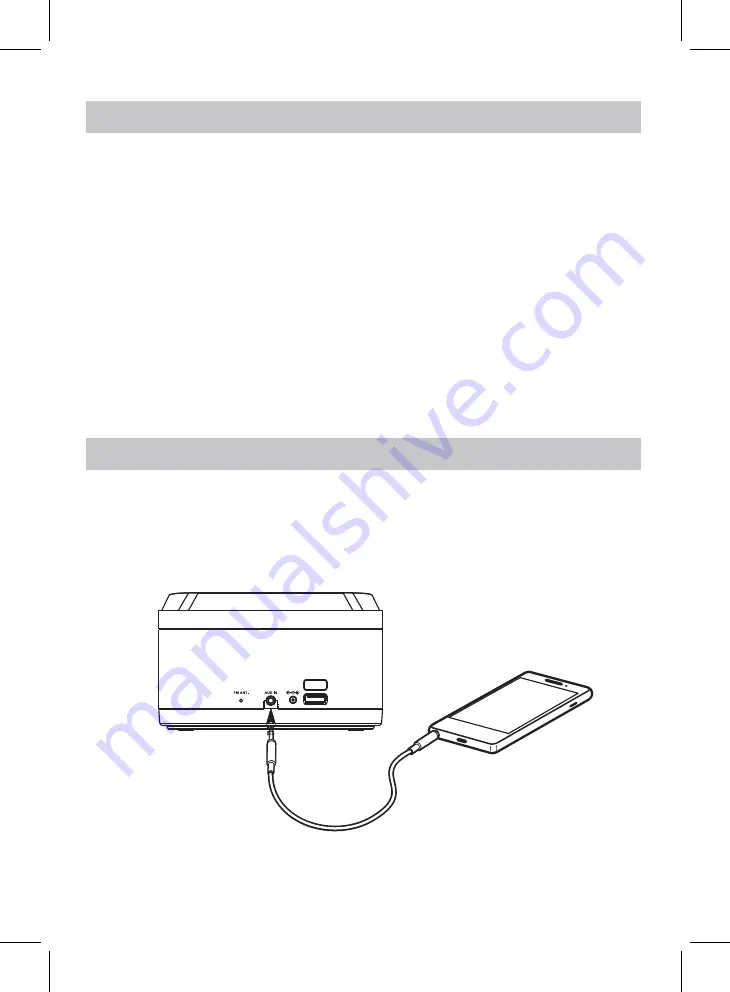
AUX IN
Requires a 3.5mm audio cable (not included).
1. With the unit powered ON, connect a 3.5mm audio cable to the
Aux In
on the rear of
the unit and the
audio output
on an audio device.
2. Press the
Source
button to select Aux-In Mode. Use the controls on the connected
device to play your audio through the unit.
9
Smartphone
Charging port
DC 5V 1A
DC
12V
Press and hold the
Scan
button to automatically scan and set radio presets.


