01-MAR-2021
EKS-4K - QSG
Code : 140204
For complete details and operations procedures, please refer to the
Midra™ 4K unit
User Manual and our website for further
information:
www.analogway.com
This
Analog Way
product has a 3 year warranty on parts and labor (back to factory). Broken connectors are not covered by warran
-
ty. This warranty does not include faults resulting from user negligence, special modifications, electrical surges, abuse (drop/crush),
and/or other unusual damage. In the unlikely event of a malfunction, please contact your local
Analog Way
office for service.
WARRANTY AND SERVICE
GOING FURTHER WITH THE EIKOS 4K
-
In the
MASTER area
, press the
PGM/PRW
key to select to work on Program Screens or Preview Screens.
-
In
Matrix mode
, in each
SCREEN area
, press
BKG Set
to select the Background layer (or press
Image
to select the Foreground
layer), then press a number key in the
SELECT area
to assign the corresponding background set (or foreground image).
-
In each
SCREEN area
, press
Layer 1
or
Layer 2
(it will blink), then press a number key in the
SELECT area
to assign the corresponding
live input.
-
In
Mixer mode
, the
SCREEN 1 area
works like in Matrix mode and the
SCREEN 2 area
is disabled.
In the
AUX area
, press
Input
or
Screen PGM
to select the source type, then press a number key in the
SELECT area
to assign the
corresponding content to the Aux layer.
-
In
Edge blending mode
, the
SCREEN 1 area
works like in Matrix mode, the
AUX
and
SCREEN 2 areas
are disabled.
-
Go to
Live > Screen 1 > Layer X
for more layer settings (position, size, transition, etc.) or to select Layer 3 and 4 (only in Mixer mode
or Edge blending mode with Split Layers).
-
To clear a layer, select the layer, then press
CLEAR
in the
SHORTCUTS area
.
-
Press
TAKE
to transition the source from Preview to Program output.
TIP:
To toggle/flipflop Preview and Program during each Take, enable it in
Live > Screen 1 > Global > Preset Toggle
.
-
Go to
Memories
to create Master, Screen, Aux. Screen and Multiviewer Memories.
-
Go to
Memories
or press a
Load Preset
key then press a number key in the
SELECT area
to load a memory.
ASSIGN CONTENT TO LAYERS AND CREATE MEMORIES
INSPIRED BY LIVEPREMIER
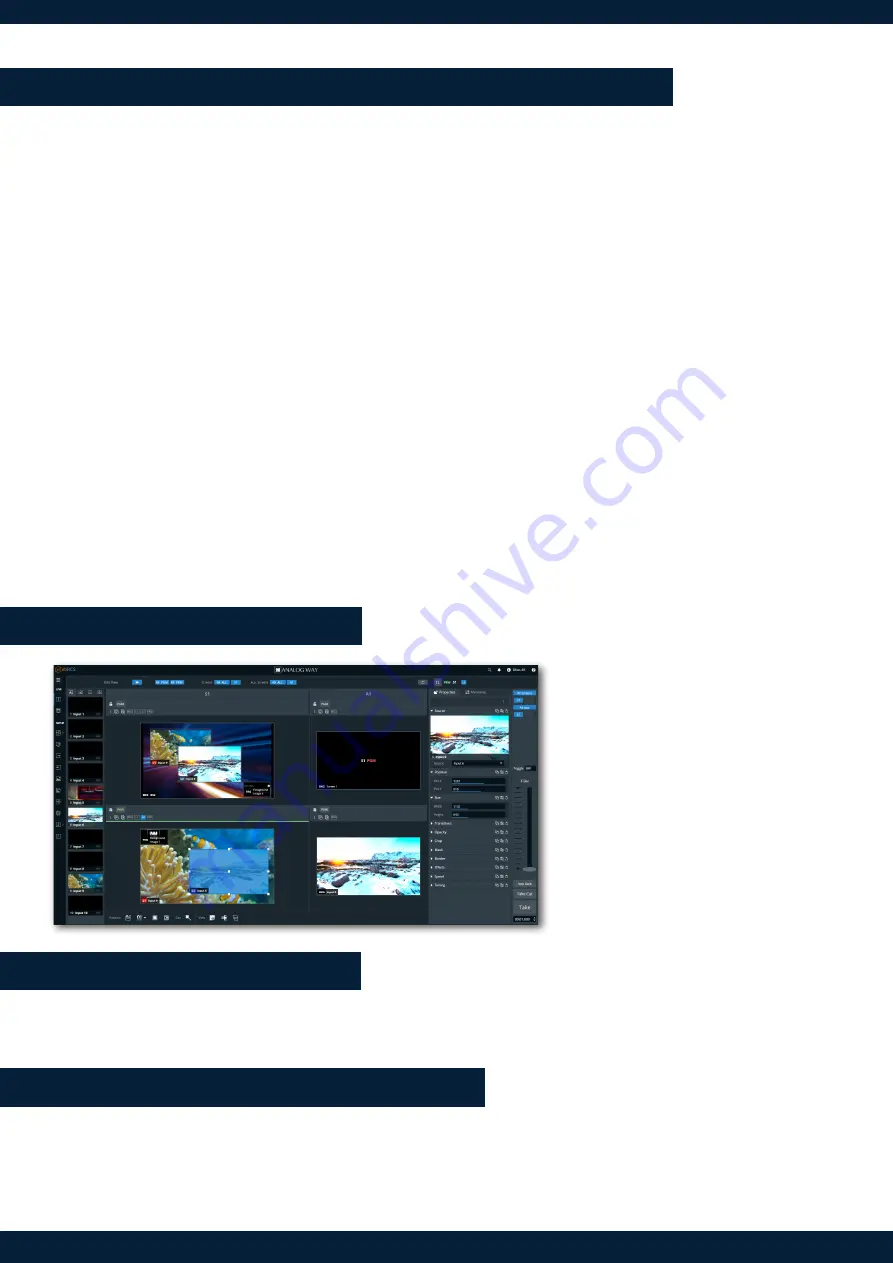
WEB RCS FOR MIDRA™ 4K
Familiar to LivePremier users, the Web RCS
for
Midra™ 4K
is the easiest way to setup
your configuration and manage your live
presentation.
The Web RCS for
Midra™ 4K
is embedded
in the device and requires no software
installation.
For detailed procedures, please refer to the
Midra™ 4K
unit User Manual.


