OPERA
TION
O
VER
VIEW
LIVE
Cr
ea
te pr
ese
ts in
LIVE > Scr
eens
and
LIVE > Multivie
w
er
s
.
•
Se
t la
yer siz
e and position in Pr
evie
w or Pr
ogr
am b
y clicking and
dr
ag
ging the la
yer
.
•
Dr
ag
sour
ces
in
to
la
yer
s
fr
om
the
le
ft
panel
or
select
them
in
la
yer pr
operties.
•
Se
t
tr
ansitions
and
use
the
Tak
e
butt
on
to
send
the
Pr
evie
w
con
figur
ation t
o Pr
ogr
am
For
mor
e
la
yer
s
se
ttings,
please
re
fer
to
the
Liv
ePr
emier
User
Manual.
A
Multivie
w
er
can
displa
y
up
to
24
Widg
ets
tha
t
act
lik
e
Scr
een
la
yer
s.
A
Widg
et
con
ten
t c
an
be
a
pr
ogr
am,
pr
evie
w,
input,
imag
e
or timer
.
LIVE
Scr
eens:
Se
t
Scr
eens
and
Aux
Scr
eens
la
yer
se
ttings
(c
on
ten
t,
siz
e, position, bor
der
s, tr
ansitions, e
tc.).
Multivie
w
er
s:
Se
t Multivie
w
er
s
widg
ets
se
ttings
(c
on
ten
t,
siz
e,
and position).
SETUP
Pr
ec
on
fig.:
Se
tup assis
tan
t f
or adjus
ting all basic se
tup
s.
Multivie
w
er
s:
Se
t
Multivie
w
er
s
signal
se
ttings
(Cus
tom
resolu
-
tion and r
at
e), pa
tterns or imag
e adjus
tmen
t.
Outputs:
Se
t
Outputs
signal
se
ttings
(HDCP
, cus
tom
resolution
and r
at
e), pa
tterns or imag
e adjus
tmen
t.
Inputs:
Se
t Inputs
signal
se
ttings
(r
esolution
and
ra
te),
pa
tterns,
imag
e
adjus
tmen
t,
cr
opping
and k
eying. It
is also
possible
to
Fr
ee
ze or Black an input.
Imag
e:
Import imag
es in
the unit.
Then
load
them as imag
e
pr
e-
se
ts t
o be used in la
yer
s.
Forma
ts:
Cr
ea
te and manag
e up t
o 16 cus
tom f
orma
ts.
EDID:
Cr
ea
te and manag
e EDIDs.
Audio:
Manag
e Dan
te Audio and audio r
outing.
Extr
as:
Timer
s and GPIO
.
Sy
st
em
Se
t the In
ternal r
at
e, Fr
amelock, Audio r
at
e, e
tc.
Multivie
w
er
s
Enable one or tw
o Multivie
w
er
s.
Scr
eens / Aux Scr
ens
Enable Scr
eens and Aux Scr
eens.
Select the la
yer mode per scr
een (see belo
w).
Se
t outputs c
apacity
.
Assign outputs t
o Scr
eens using dr
ag and dr
op.
Add la
yer
s t
o Scr
eens and se
t their c
apacity
.
Mix
er Seamless and Split la
yer
s mode
In Sp
lit
la
yer
s mode,
double
the number of la
yer
s displa
yed on
Pr
ogr
am.
(T
ransitions
ar
e
limit
ed
to
Fade
or
Cut.
Multivie
w
er
s
widg
ets displa
y Pr
evie
w in wir
efr
ame only).
WEB
R
CS
MENUS
PRE
CONFIG
MEMORIE
S
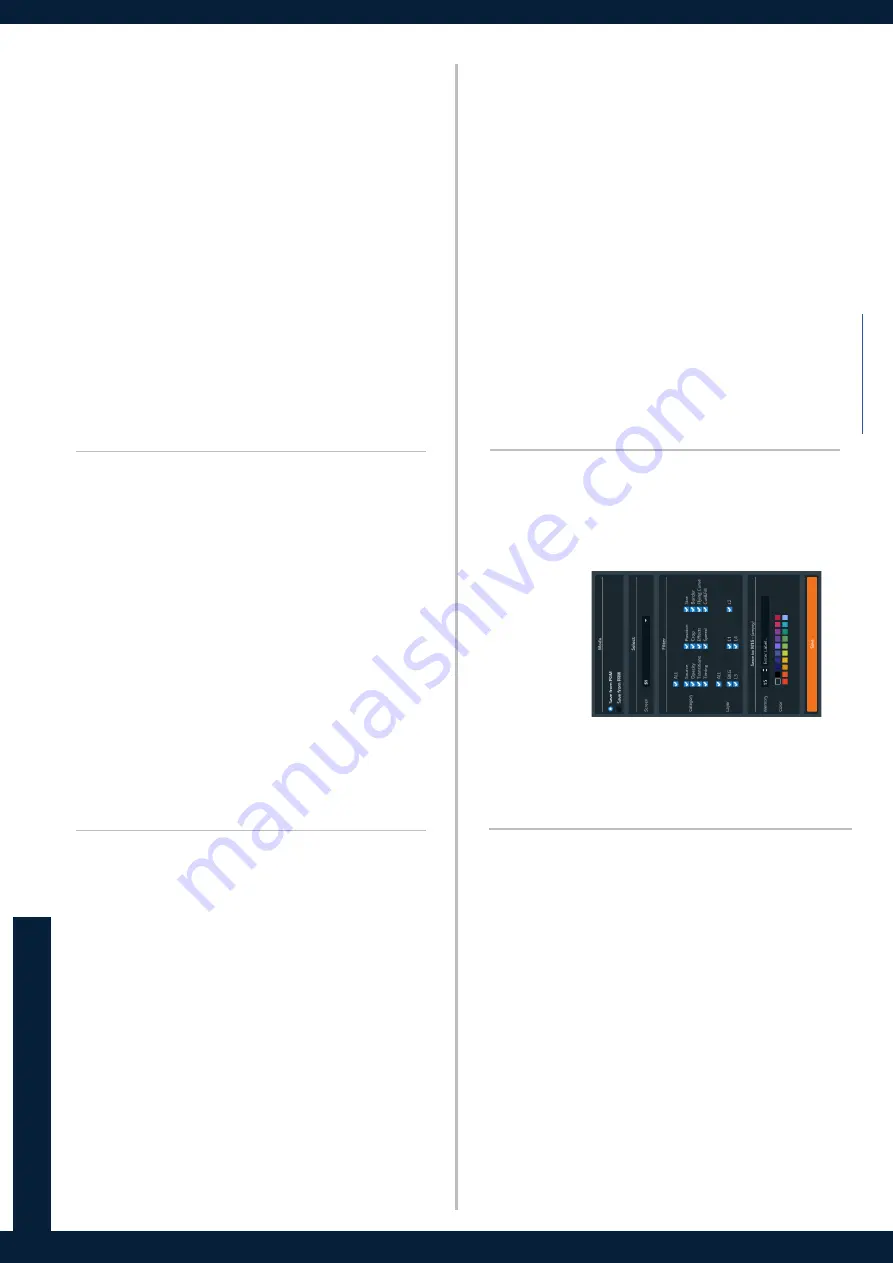
Once
a
pr
ese
t is
built,
sa
ve
it
as
one
of
the
1000
Scr
een
memor
y
slots the
Aquilon R
S1
off
er
s.
•
Click
Sa
ve
, filt
er wha
t t
o sa
ve and select a Memor
y.
•
Load
a
pr
ese
t a
t an
y
time
on
Pr
ogr
am
or
Pr
evie
w
by
clicking
on
the pr
ese
t numbe
r or using
dr
ag
and
dr
op the pr
ese
t in
to the
Pr
ogr
am or Pr
evie
w windo
w
s.
Sa
ve / Load
Export
and
Import
con
figur
ations
fr
om
the
W
eb
RCS
or
Fr
on
t
panel.
Sa
ve c
on
figur
ations dir
ectly in the unit.
Firm
w
ar
e Upda
te
Upda
te
the
unit
firm
w
ar
e
easily
fr
om
the
W
eb
RCS
or
fr
om
the
Fr
on
t panel.
Mask (Cut & Fill)
Use a sour
ce as a mask f
or a Cut & Fill e
ffect.
Ke
ying
Apply Chr
oma or Luma K
eying on an Input.
Mas
ter Memories
Use Mas
ter Memor
y t
o load multiple Scr
een pr
ese
ts.
For
comp
le
te
de
tails
and
oper
ations
pr
ocedur
es,
please
re
fer
to
the Liv
ePr
emier User Manual and our w
eb
sit
e:
MORE
FE
ATURE
S
Can
vas
Position the outputs in a virtual scr
een t
o cr
ea
te the Can
vas.
- Se
t Aut
o or cus
tom Can
vas siz
e.
- Se
t Outputs r
esolution and position.
- Se
t Ar
ea of In
ter
es
t (A
OI).
- Se
t Blending
Inputs
Se
t c
apacity and allo
w inputs t
o output Backgr
ound se
ts.
Imag
es
Se
t c
apacity and allo
w imag
es t
o output Backgr
ound se
ts.
Backgr
ounds
Select all
ow
ed Inp
uts and
Imag
es t
o cr
ea
te up
to 8 Backgr
ound
se
ts per Scr
een t
o be used in Liv
e.


