


_____________________________ CRA-200 Quick Installation Guide
___________________________________________________________________________________________________________________
Page: 3 of 7
IMPORTANT
SAFETY
INSTRUCTIONS
9
Place this router on a stable surface.
9
Only use the power adapter that comes with the package.
Using a different voltage rating power adaptor may damage
this ATA.
9
Do not use this ATA in high humidity or high temperatures.
9
Do not open or repair the case yourself
.
Connecting
Your
VoIP
ATA
1.
Power off your network devices, including your modem
and PC.
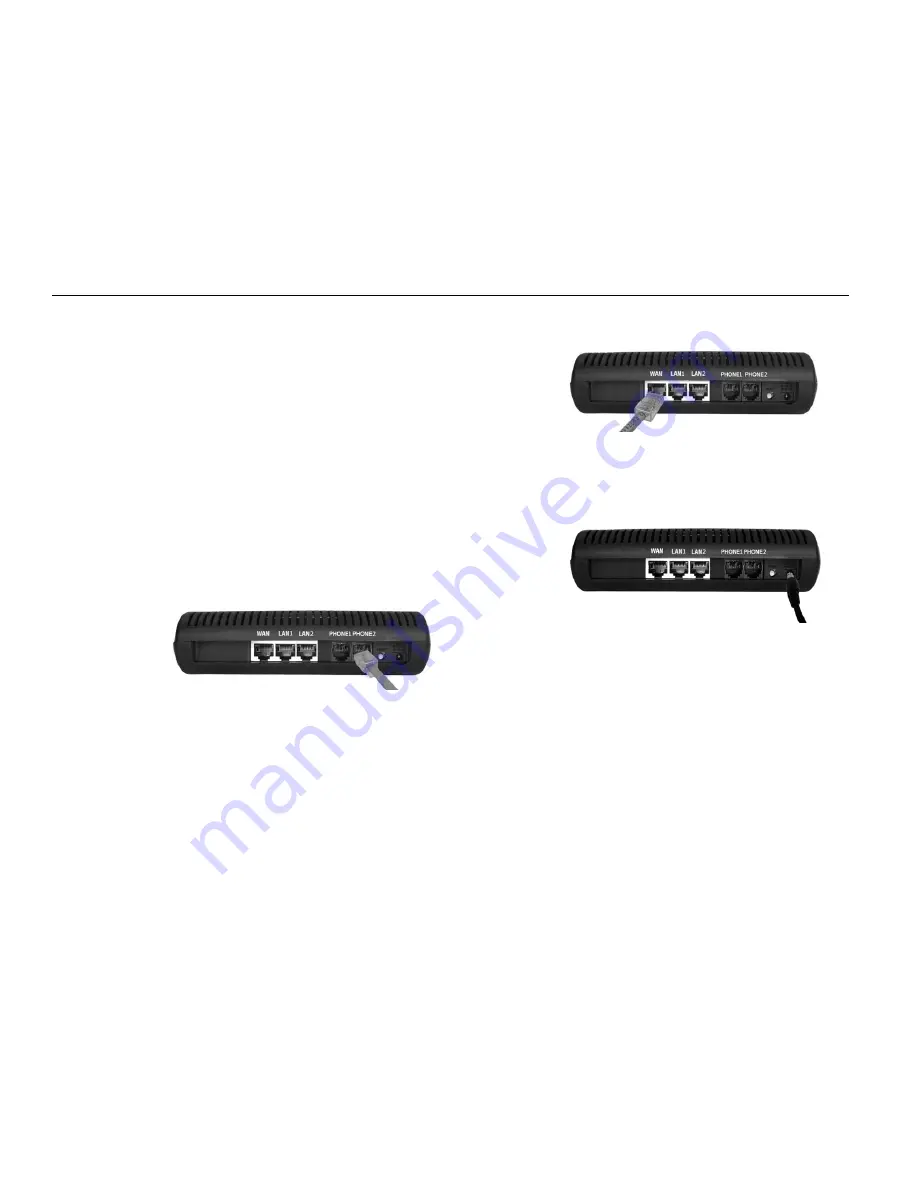
2.
Connect one end of an RJ‐11 phone cable to the Phone
Adapter’s PHONE 1 port. Connect the other end to your
analog telephone or fax machine as shown below:
3.
Connect one end of an Ethernet network cable to the LAN
port of the ATA. Connect the other end to the Ethernet
port of your PC.
4.
Connect one end of a different Ethernet network cable to
the WAN port of the ATA. Connect the other end to your
cable/DSL modem as shown in below figure
5.
Power on the cable/DSL modem.
6.
Connect the included power adapter to the ATA’s power
port, and then plug the power adapter into an electrical
outlet. The power LED on the front panel will light up as
soon as the Phone Adapter powers on.
7.
Power on your PC. Make sure your PC’s Ethernet adapter
is set to obtain an IP address automatically.
NOTE:
Wait until the POWER, LAN and WAN LED's turn
green and remain stable on the Front Panel of
your ATA.
Accessing
your
ATA
Web
Panel
1.
First, connect the ATA’s LAN port to your PC network
card and then disable & enable the Local Area Connection
available in the Control Panel ‐> Network Connections.
Then ATA will release the IP address in the series of
192.168.113.X. And then launch the web browser on the
PC. Enter http://192.168.113.1 in the Address field


