101
The following options appear on this page:
WebConsole - Switcher Options
Windows Page
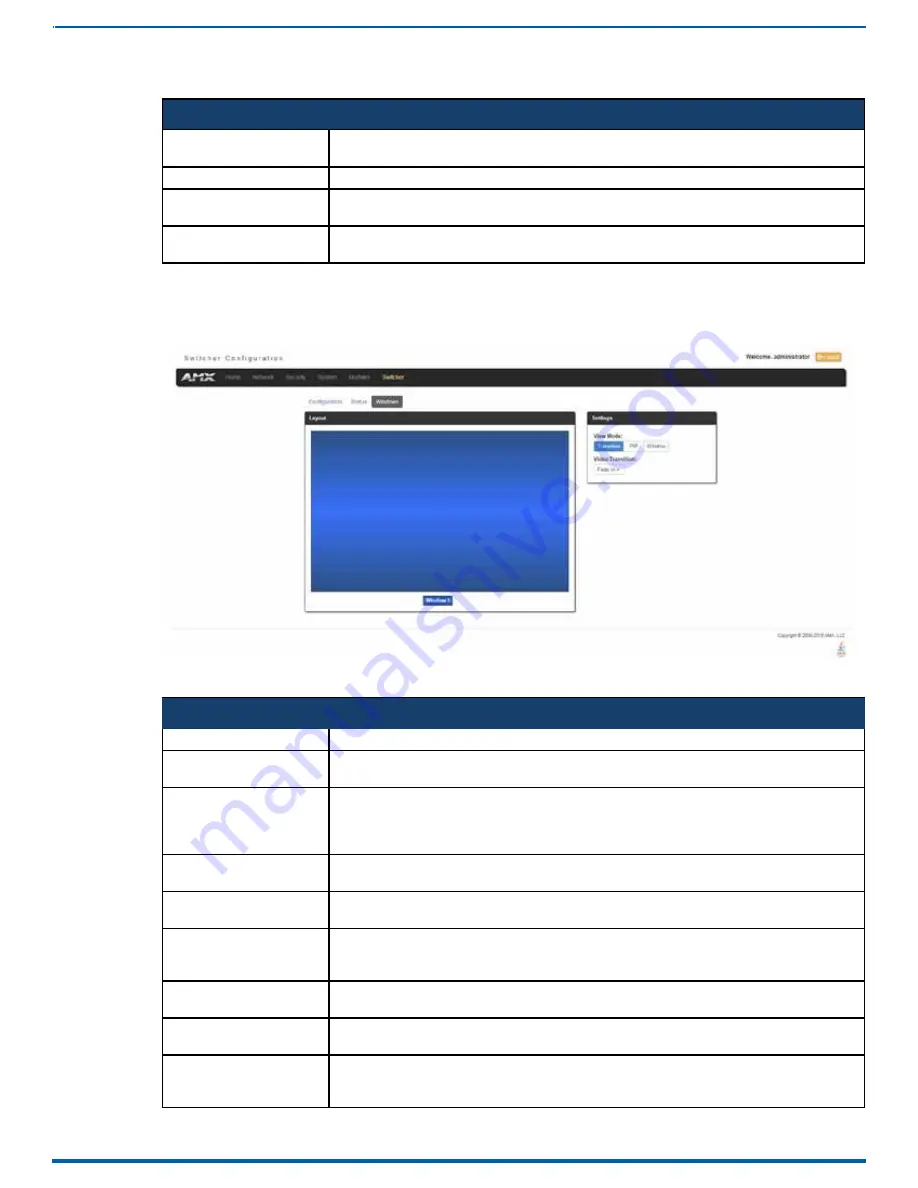
The Windows page (FIG. 99) is available when connected to an Incite Digital Video Presentation System. This page enables
you to set options for transitioning between video outputs or setting up Picture in Picture (PIP).
Instruction Manual - Incite Digital Video Presentation Systems
FIG. 99
Windows page enables you to set transitions between video outputs
The following options appear on this page:
Switcher - System Page Options
Lock Front Panel
Click to lock the front panel buttons and prohibit any manual switching or configuration by using the physical
buttons on the device.
Amp 70v Enable
Click to enable the 70V amplifier on the device.
Auto Switching
Click to enable auto switching on the device. With Auto Switching, the device responds to the most recently
added video input by switching the new input to display on the video output.
Video Mute All
Click to mute all video outputs connected to the device. Video mute results in a blank screen on the output
displays.
Switcher - Windows Page Options
Layout
This area provides a visual indication of how the video will appear on the output device. This area is view-only.
View Mode
Select a view mode by clicking one of the buttons. You can choose from Transition, PIP, and Window. With each
selection, a different set of options appears
Video Transition
Select a transition mode from the drop-down menu. The transition mode indicates how the current video selec-
tion will switch to a new video selection. You can choose from Diag Top Left, Diag Top Right, Diag Bottom
Left, Diag Bottom Right, Horiz From Left, Horiz From Right, Vert From Top, Vert From Bottom, and Fade In.
This option is only available when you select Transition as the view mode.
Window 1 Input
Choose a video input to set as the first window by using the drop-down menu. This option is only available when
you select PIP or Window as the view mode.
Window 2 Input
Choose a video input to set as the second window by using the drop-down menu. This option is only available
when you select PIP or Window as the view mode.
PIP Position
Use the drop-down menu to choose the positioning of the two windows on the video output. You can choose
from Top Left, Top Right, Bottom Left, and Bottom Right. With each position, Window 2 moves to selected loca-
tion on the video output. This option is only available when you select PIP as the view mode.
PIP Size
Use the drop-down menu to choose the size of the smaller window on the video output. You can choose from
Small, Medium, or Large. This option is only available when you select PIP as the view mode.
Window Position
Use the drop-down menu to choose the positioning of the two windows on the video output. You can choose
from Side By Side or Top Bottom. This option is only available when you select Window as the view mode.
Window Size
Use the drop-down menu to choose the positioning of the two windows on the video output. You can choose
from Top Large or Bottom Large. This option is only available when you select Window as the view mode and
Top Bottom as the window position.


