WebConsole - Security Options
40
NetLinx Integrated Controllers (Firmware v4)- WebConsole & Programming Guide
Modifying the Properties of an Existing Group
1.
Select the
Group Level
tab (in the
Security
section) to open the Group Security Details page.
2.
Click the
Edit
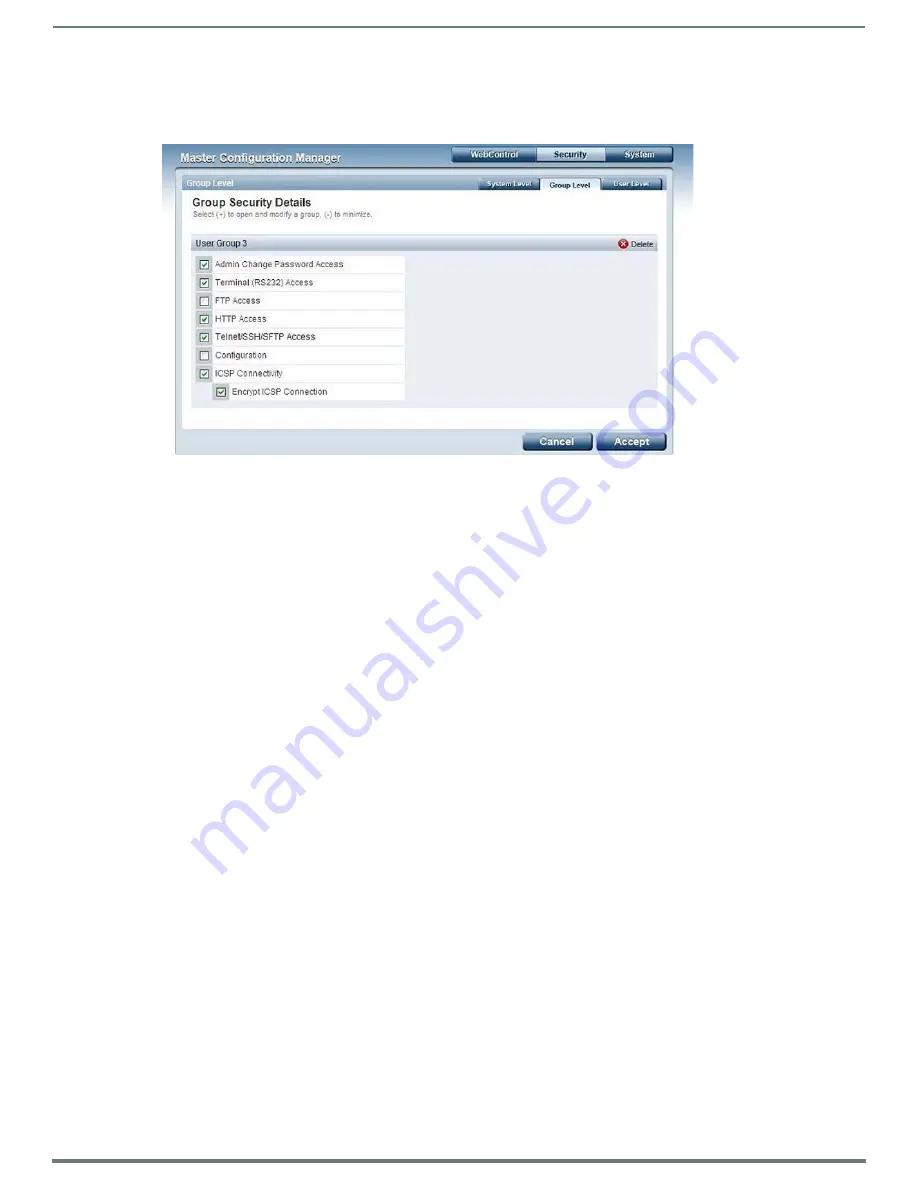
button to open the
Group Security Details
page for the selected group (FIG. 42).
3.
Modify the previously configured access rights by enabling / disabling the checkboxes. See the
section on page 39 for details.
4.
Click the
Accept
button to save your changes to the Master.
If there are no errors with the modification of any of this page’s parameters, a “
Group updated successfully
” is displayed at the
top of the page.
NOTE:
The "administrator" group account cannot be modified or deleted.
Any properties possessed by groups (ex: access rights, update rights, directory associations, etc.) are inherited by users assigned
to that particular group. Unchecking a security option (which is available within the associated group) does not remove that right
from the user. The only way to remove a group’s available security right from a target user is either to not associate a group to a
user or to alter the security rights of the group being associated.
Deleting a Group
1.
Select the
Group Level
tab (in the
Security
section) to open the
Group Security Details
page.
2.
Press the
Delete
button to remove the selected group and refresh the page. The system will prompt you to verify this action -
click
OK
to proceed.
If you are not logged into the Master, you receive a reminder message:
"You must login before Security Settings can be
changed"
. In this case, log into the Master and repeat the previous steps.
If the group is associated with several users, you might get an error while trying to delete the group. If this happens, change
the group association of those specific users utilizing the old group and either give them a new group or assign them
(none) as a group. When you return to delete the desired group, you receive a message saying
"Group deleted successfully"
.
3.
Click the
Accept
button to save your changes to the Master.
FIG. 42
Group Security Details Page (Edit Group Security Details)


