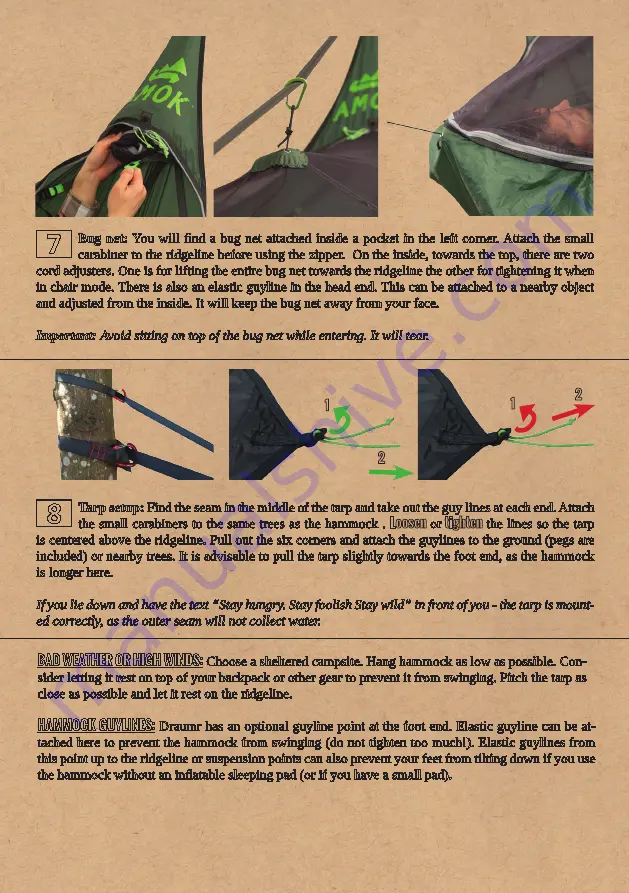
Bug net:
You will find a bug net attached inside a pocket in the left corner. Attach the small
carabiner to the ridgeline before using the zipper. On the inside, towards the top, there are two
cord adjusters. One is for lifting the entire bug net towards the ridgeline the other for tightening it when
in chair mode. There is also an elastic guyline in the head end. This can be attached to a nearby object
and adjusted from the inside. It will keep the bug net away from your face.
Important:
Avoid sitting on top of the bug net while entering. It will tear.
7
Tarp setup: Find the seam in the middle of the tarp and take out the guy lines at each end. Attach
the small carabiners to the same trees as the hammock .
Loosen
or
tighten
the lines so the tarp
is centered above the ridgeline. Pull out the six corners and attach the guylines to the ground (pegs are
included) or nearby trees. It is advisable to pull the tarp slightly towards the foot end, as the hammock
is longer here.
If you lie down and have the text “Stay hungry. Stay foolish Stay wild” in front of you - the tarp is mount-
ed correctly, as the outer seam will not collect water.
8
BaD weatHeR oR HiGH winDS:
Choose a sheltered campsite. Hang hammock as low as possible. Con-
sider letting it rest on top of your backpack or other gear to prevent it from swinging. Pitch the tarp as
close as possible and let it rest on the ridgeline.
Hammock GuYLineS:
Draumr has an optional guyline point at the foot end. Elastic guyline can be at-
tached here to prevent the hammock from swinging (do not tighten too much!). Elastic guylines from
this point up to the ridgeline or suspension points can also prevent your feet from tilting down if you use
the hammock without an inflatable sleeping pad (or if you have a small pad).
1
2
1
2


