background image

Use numerical button to select the channel directly

Display Status

Last Source

DISPLAY

In TV mode, press the "DISPLAY" button, the screen will display the Current
channel number/Channel name/Sound System/Dual Mode/Time/date/Week/
Mute Status/Freeze Status.
In PC mode, press the ''DISPLAY'' button, the screen will display Resolution/
Source/Time/Date/Week/

Not in the above two modes, the screen will display Source/time/date/week/

Mute Status/Freeze Status.

Mute Status/Freeze Status.

Function button Instruction

To select a one-digit channel: Press from 0-9 to directly input your desired channel
number.
To select a two-digit channel: Press from 1-9 to input the first digit and from 0-9 to

input the second digit

To select a three-digit channel: Press from 0-9 to input the three digits in turn

(100-199).

.

Press this button to switch between the last signal source and the current one.
For example, when the signal source is TV, last source is PC, press this button
to switch to PC and again to return to TV.

-31-

VIDEO OFF

Press this button to enjoy music without video. Press again to recover video.

Close video

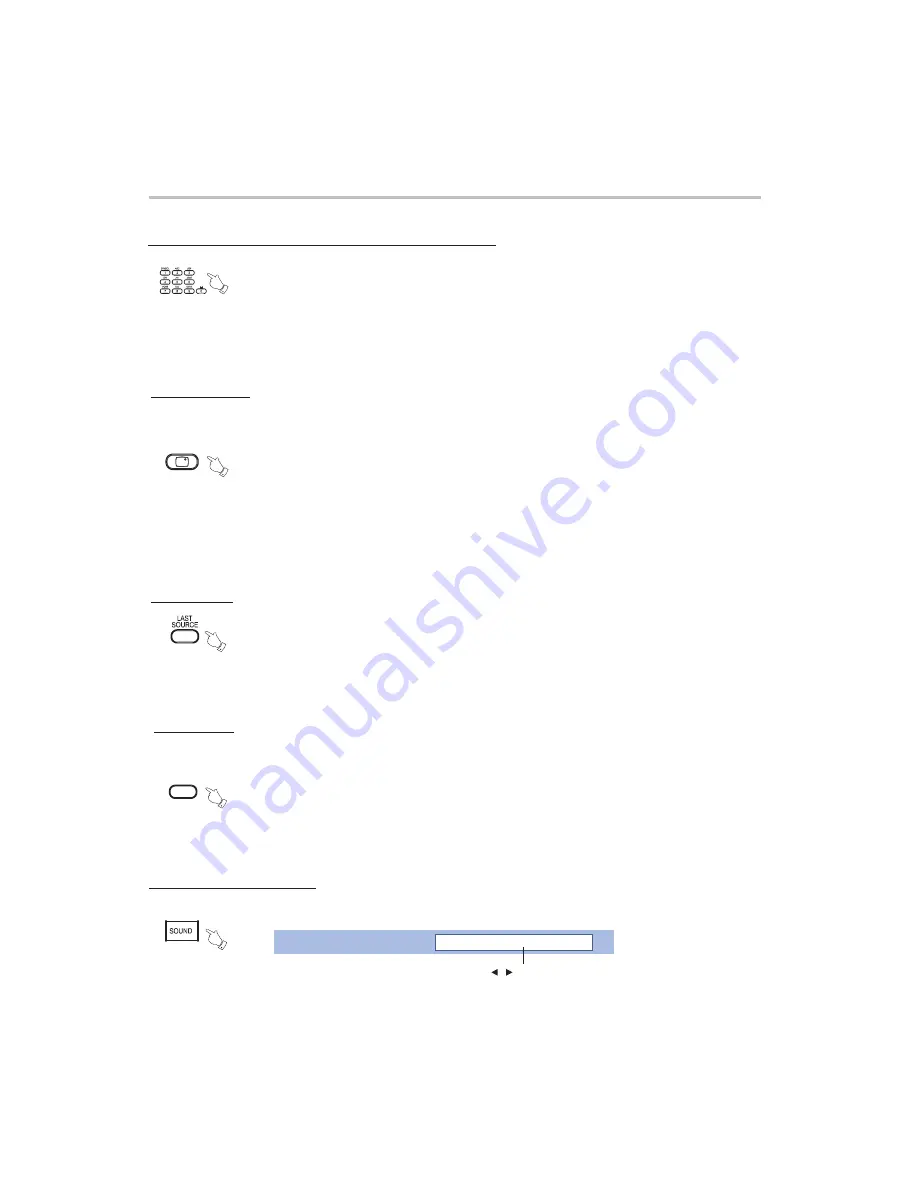
Press "Sound" button to enter the sound effect setting as follows.

Sound mode adjustment

Press ''

/

'' buttons or "Sound" button to select your favourite

mode( Five options: Standard/Soft/Music/Cinema/User).

Sound Mode

Standard

Содержание LC26A1E

Страница 1: ......

Страница 2: ...iii Channel Menu Iv Window Menu Iv Menu Description Function Button Instruction Remote Control Overview Teletext Functions Remote Control Overview All Functions Except Teletext Safety Precautions Impo...

Страница 3: ...cy energy and if not installed and used in accordance with the instruction manual may cause harmful interference to radio communications However there is no guarantee that interference will not occur...

Страница 4: ...olete outlet 10 Protect the power cord from being walked on or pinched particularly at plugs convenience receptacles and the point where they exit from the apparatus 11 Only use attachments and access...

Страница 5: ...zed substitutions may result in fire electric shock or other hazards 21 Safety Check Upon completion of any service or repairs to this product ask the service technician to perform safety checks to de...

Страница 6: ...3 CH Press to change the channel The two buttons also act as direction buttons 4 VOL Press to adjust volume The two buttons also act as direction buttons 5 Power on off the TV POWER 8 Remote control...

Страница 7: ...ion Overview of TV VIDEO L R AUDIO S VIDEO AV IN Video input S Video input Audio input Headphone Output PC AUDIO IN EXT1 EXT2 PC IN HDMI DVI IN ANTENNA 110 240 V 50 60HZ POWER OPT Rear interface Rear...

Страница 8: ...to the antenna converter and then connect the converter to the antenna jack on the TV When using 75 ohm round cable please do not bend the bronze wire it may make the video quality poor This type of a...

Страница 9: ...al sources Connect Component Cable and Audio Cable to corresponding jacks of DVD player or other component signal sources Please choose Component in the Source menu when you connect component signal s...

Страница 10: ...the Source menu when you connect DVD player 2 When S Video and composite video are connected at the same time S Video would be employed to approach the best video effect If composite video is necessa...

Страница 11: ...VBS EXT2 CVBS AV CVBS S Video RGB CVBS EXT2 EXT1 Connector 9 Please use the direction buttons or use numerical buttons to select Component directly to select EXT1 EXT2 or EXT3 then press the OK button...

Страница 12: ...PC Please choose PC in the Source menu when you connect disc player or STB with VGA source out Note 1 Audio Out is valid only in TV AV CVBS EXT1 CVBS EXT2 CVBS modes 2 Please refer to the manual of t...

Страница 13: ...1 If connecting with an HDMI cable it is not necessary to connect an audio cable 2 If connecting to equipment which has only a DVI output terminal DVI or HDMI adapter cables and an audio cable are ne...

Страница 14: ...Previous channel Enter OSD setup mode Fast Fast forward back Page up and down Zoom in out Play Pause Stop Nine pictures Dual sound selection Exit Function Sound mode Main source Last source MUTE Pictu...

Страница 15: ...iew Teletext Functions Teletext PageDown Teletext PageUp Teletext Subpage Up Teletext Subpage Down Teletext Index Teletext Hold Teletext Display Mix Teletext Reveal Teletext Color button Teletext Size...

Страница 16: ...irection Insert the batteries with correct polarity Replace the battery rear cover Make sure there are no objects between the remote control and its sensor Don t place the remote control near a heater...

Страница 17: ...r a long time please disconnect the power cord from the wall outlet Select viewing source Press the SOURCE button to display the sources list Please use the direction buttons to select desired signal...

Страница 18: ...Window Channel Setting Picture Window Channel Setting User Sound Sound Mode Bass Treble Balance Earphone Volume Picture Sound Window Setting Sound System Current Channel Skip Channel Rename Channel Ch...

Страница 19: ...buttons to reach the desired setting Press EXIT button to quit Picture Menu Picture Setting Press the MENU button to enter Picture menu Press buttons to select Picture Mode Press buttons to adjust th...

Страница 20: ...to change the setting Press buttons to select sub items 1 2 3 User Sound Press EXIT button to quit Press buttons to select Bass Treble Balance Press buttons to change the setting Press EXIT button to...

Страница 21: ...ip Channel Press the MENU button to select Channel menu If you like to skip a channel automatically when you browse programs by pressing CH button please use this function You can skip one channel or...

Страница 22: ...If you want to exchange channel 12 with channel 1 move to channel 12 at first Input 1 with the numerical buttons in Channel Exchange window Press OK button to confirm If you d like to exchange the cur...

Страница 23: ...ved once searching finished In the course of auto searching you can press EXIT to stop the searching process Press the MENU button to select Channel menu Press the buttons to select Channel Preset Pre...

Страница 24: ...s EXIT button to quit You can also set program list again one by one by Manual Search function Press the MENU button to select Channel menu Press the buttons to select Channel Preset Press the buttons...

Страница 25: ...menu Press the buttons to select Channel Preset Press the buttons to select Fine Tune Press the button to enter Channel Preset Fine tuning 4 1 5 2 6 7 3 1 VH 2 Current Channel TV Band Fine Tune Auto S...

Страница 26: ...nly valid in PC mode Press buttons to select the sub items Press buttons to change the setting Aspect PC window Frequency To adjust the horizontal frequency of the image Phase To adjust the image phas...

Страница 27: ...u Press buttons to change the setting Press buttons to select Country OSD Language Country Source Setting Other Color Setting Temperature Timer Setting OSD Language Country Source Setting Other Color...

Страница 28: ...the time TV switching to standby automatically You can select 0 10 20 30 60 90 120 180 240 minutes For example The current time is 8 25 You can set the timer of 30 Then the TV will be switched to sta...

Страница 29: ...arm Mode Ten options Daily Monday Tuesday Wednesday Thursday Friday Saturday Sunday Wake up Time Press the buttons to select and press to set the hour and minute 24 hours table Note Wake up timer is o...

Страница 30: ...ress the buttons to enter the sub menu Alarm Setting Alarm Alarm Mode Alarm Time Remind Message Your favarite program is on Sunday 00 0 0 HH MIN Off English U K Picture Sound Channel Setting Window OS...

Страница 31: ...s to change the setting Press buttons to select the sub item Press buttons to select the sub item English U K Picture Picture Sound Sound Channel Channel Setting Setting Window Window OSD Language Cou...

Страница 32: ...nnel shift Return to previous channel Press this button to return to the previous channel which you were watching just now For example Channel 5 is the previous one you just watched and channel 10 is...

Страница 33: ...ectly input your desired channel number To select a two digit channel Press from 1 9 to input the first digit and from 0 9 to input the second digit To select a three digit channel Press from 0 9 to i...

Страница 34: ...l when you are browsing the channel list Note OK You can input letters by numerical buttons on the remote control For example If you want enter AV01 press twice press four times continuously then ente...

Страница 35: ...ssing PICTURE button the following window will be displayed on the screen Bright PICTURE Image effect adjustment Press buttons or PICTURE button to select your favourite mode Four options User Soft St...

Страница 36: ...of A2 TV broadcasts A stereo signal A stereo signal A bilingual signal A bilingual signal A monaural signal A monaural signal Mono Mono Steteo Mono Nicam Dual_A Nicam Dual_B Nicam Dual_AB Dual_A Dual_...

Страница 37: ...Hard Disc and USB Convert Card Reader Flash Memory Card Flash memory card is a small portable and universal IC recordable card which has lager memory capacity than floppy disk About E album 1 Your TV...

Страница 38: ...elect Play speed Subtitle Audio form or Play mode 1 Play speed Normal fast Slow 2 Subtitles SSA SUB SRT SMI SAMI 3 Audio channel Left Right L R Standard 4 Play mode standard disc repeat file repeat In...

Страница 39: ...video or music Page down during digest To rotate pictures Press once to rotate 90 degrees rightwards FW REV To display nine small pictures when playing picture or music picture Press and to select on...

Страница 40: ...mode Press again to view the TV program with teletext page You can return to normal viewing by press the TXT MIX button for the third time SIZE Repeatedly pressing the SIZE button doubles the charact...

Страница 41: ...vate the teletext function buttons by pressing the TXT MIX button 2 The frozen display will exit automatically when entering Text mode 3 Image freezing function is invalid under TXT MIX mode The image...

Страница 42: ...e cloth until it is almost dry and then use it to wipe the screen 2 Make sure not be excess water put on the screen let it air dry before you turn on your TV Cabinet Cleaning 1 Use a soft cloth with a...

Страница 43: ...to check signal cords 1 Check whether the signal cords are connected to PC or video source Remote control is insensitive or does not work 1 Check the batteries of the remote control and make sure that...

Страница 44: ...ncy Hz Sync Polarity H V 37 7 48 077 31 5 37 500 37 9 67 500 46 9 60 000 35 1 63 981 48 4 79 976 56 476 75 000 60 023 93 750 72 000 72 188 60 000 75 000 75 000 60 000 60 000 75 000 56 000 60 020 60 00...

Страница 45: ...5KHz at 3dB Operating Temperature 5 40 Operating Humidity 10 80 Relative Humidity Display Colour 16 7M colours Resolution 1366 768 pixel Pixel Pitch 0 425 H 0 425 V View angle 85 85 85 85 Contrast 800...

Страница 46: ...45 TIYU RD XIAMEN FUJIAN 361012 CHINA URL www amoi com FKV2 025 079SSE AMOI ELECTRONICS CO LTD...

Отзывы: