Chapter 1 Hardware Installation
25
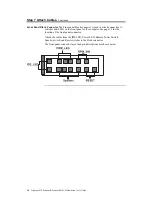
Step 7 Attach Cables,
Continued
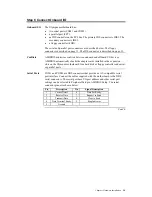
Connect Power Supply
The power supply should match the physical configuration of the chassis.
Make sure that the power switch is Off before assembly. Before attaching all
components, make sure that the proper voltage has been selected. Power
supplies often can run on a wide range of voltages and must be set (usually via a
switch) to the proper range. Use at least a 300 watt power supply, which should
have built-in filters to suppress radiated emissions. Attach the power supply
cables to the power connector on the motherboard. ATX-compatible power
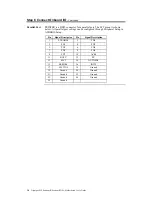
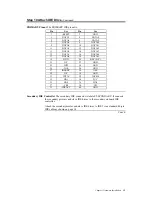
supplies have two 10-pin connectors. The power connector pinout is:
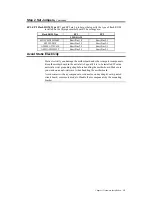
Pin Description Pin Description
11 +3.3V
1 +3.3V
12 -12V
2 +3.3V
13 Ground
3 Ground
14 -PWR_ON
4 +5V
15 Ground
5 Ground
16 Ground
6 +5V
17 Ground
7 Ground
18 -5V
8 PWR_GOOD
19 +5V
9 5V_VR
20 +5V
10 +12V
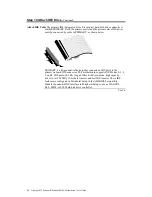
Keyboard and Mouse Cables
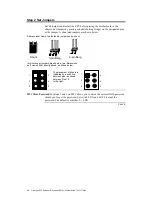
The keyboard and mouse attach via six-pin PS/2 connectors. The
keyboard connector is labeled PS2/KB. The pinout is the same for the PS/2
keyboard: and PS/2 mouse connectors:
Cont’d
Содержание Olympus Pentium II
Страница 1: ...Olympus Pentium II Pentium III PCI ISA Motherboard Guide MAN 781 6 24 99...
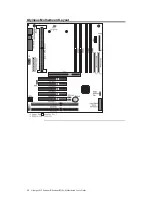
Страница 18: ...Olympus PCI Pentium II Pentium III ISA Motherboard User s Guide 12 Olympus Motherboard Layout...
Страница 44: ......
Страница 85: ...Index 79...

