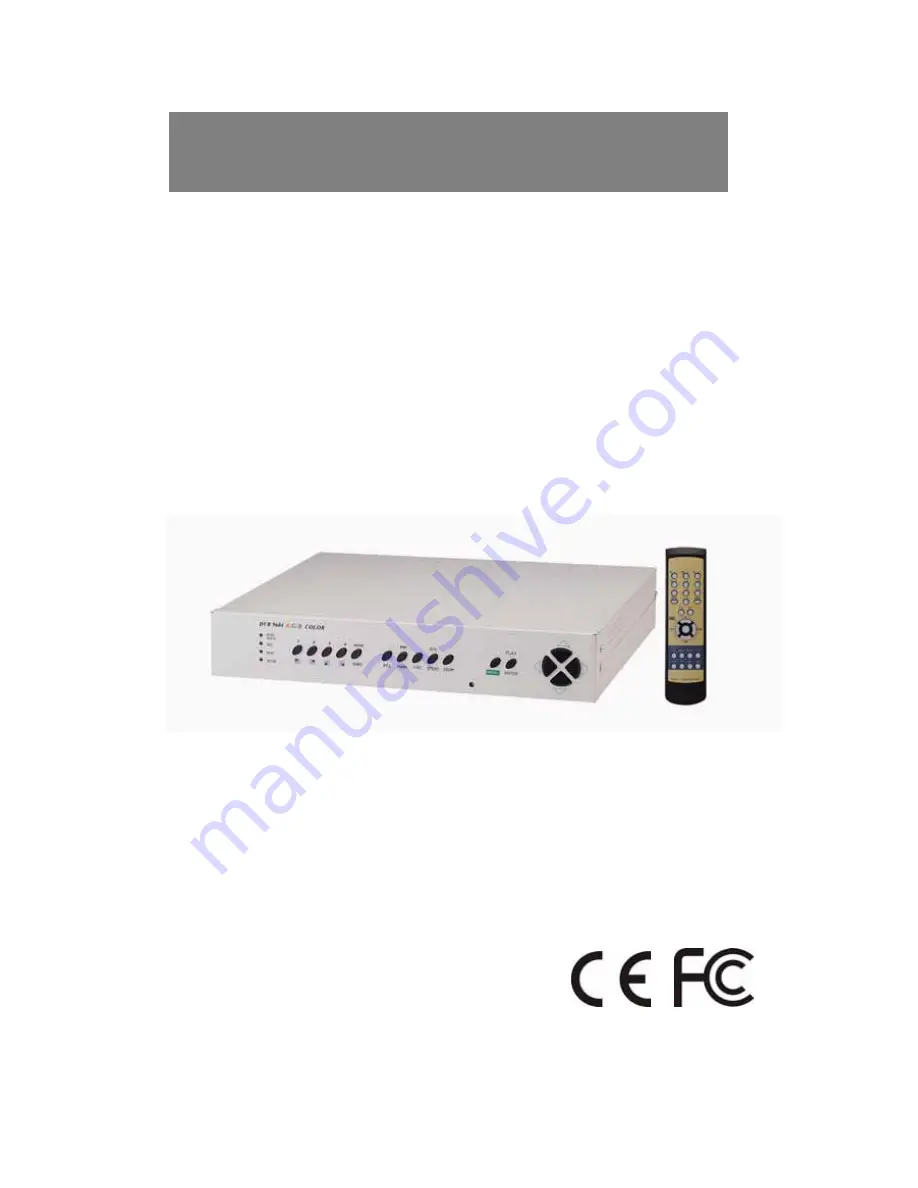
Digital Video Recorder
4 Channel Digital Video Recorder
V1.1
1
Страница 1: ...Digital Video Recorder 4 Channel Digital Video Recorder V1 1 1...
Страница 2: ...lamation point within an equilateral triangle is intended to alert the user to presence of important operating and maintenance Servicing instructions in the literature accompanying the appliance WARNI...
Страница 3: ...DEO PRINTER Connection 10 3 5Network connection 11 3 6HDD Connection 11 3 7Power connection 12 4 Operation 13 4 1LOG IN 13 4 2Record 14 4 3Play 18 5 SETUP 21 5 1 Basic Operation 21 5 2 DISPLAY SETUP 2...
Страница 4: ...Manual for Remote Viewer Software 41 1 General description 41 2 TCP IP SETUP in DVR unit 41 3 Static IP and Dynamic IP 41 4 Live view via IP network 42 5 Search recorded pictures via IP network 46 4...
Страница 5: ...ricity at the place you want to install the DVR unit is stable and meets our electricity requirements Unstable electricity will cause malfunction of the unit or give critical damage to the unit 2 Seve...
Страница 6: ...CH4 Camera 4 In Full Screen 5 QUAD Changes to quarterly split screen or Full display screen 6 REC Video Recode 7 PIP MARK Assigns PIP Picture in picture or MARK IMAGE to protect selected image rom be...
Страница 7: ...anel 1 2 3 4 5 6 7 8 1 RS232 Connection 2 Sensor Input Output 3 TCP IP Connect 4 Camera Connection 5 BNC Out 6 S Video 7 DC Power 8 Fan When connecting with other applications be sure to turn off the...
Страница 8: ...or Full display screen 6 PIP MARK Assigns PIP Picture in picture or MARK IMAGE to protect selected image room being overwritten 7 FRZ Display screen is pause while playback 8 SPEED SEQ The display scr...
Страница 9: ...1 CH2 CH3 CH4 CH1 CH2 CH3 CH4 MONITOR LOOP VIDEO LENS VIDEO DC AC24V DC12 V P DC LEVEL Rear part of CAMERA 3 2Monitor Connection Composite monitor Connect the monitor to the MONITOR OUT on the Rear Pa...
Страница 10: ...ect the Sensor to the SENSOR INPUT OUTPUT on the Rear Panel of the system C O M N C N O G N D D 3 D 2 D 1 D 4 ALARM RELAY Terminal block Pin 1 Alarm1 Pin 2 Alarm2 Pin 3 Alarm3 Pin 4 Alarm4 Pin 5 GND P...
Страница 11: ...lt HDD Option 1 Please make it sure to leave HDD cable as folded up small tied up 2 when you connect single HDD to I O Board of DVR unit and place port 1 at connector of I O Board and connect HDD to p...
Страница 12: ...3 7Power connection Connect the power to the POWER CONNECTION on the Rear Panel of the system system will work DC 12V 12...
Страница 13: ...5 After entering the password press MENU button to go back to the system menu If password entered does not match previously set number CURENT PW INPUT ERROR message Factory default password is as belo...
Страница 14: ...dicates recording speed 60FPS 60 Fields sec MOTION records when motion is detected Indicates recording mode REC represents recording in Field Switch Mode Nothing displayed in Quad Mode Indicates recor...
Страница 15: ...IP 1 Use1 2 3 4button to select a camera and set a full screen PIP is not available in quarterly split screen 2 Press PIP MARK button 3 With button select the camera channel in full screen and with bu...
Страница 16: ...rs and the LIVE screen of that channel will pause When pressed once more it will come back to LIVE screen When FRZ selected 1 2 3 4button or QUAD button do not work To move to full screen of each came...
Страница 17: ...between 1 second to 99 seconds CAM1 CAM2 CAM3 CAM4 2002 APR 01 PM 01 00 00 60FPS REC Quarterly split Quad screen 2002 APR 01 PM 01 00 00 60FPS REC SEQ Automatic rotation ofthe Full Screen A B C D D C...
Страница 18: ...g mode press Play button START 2002 APR 12 AM 07 40 38 END 2002 APR 20 PM 02 11 56 GOTO 2002 APR 15 AM 00 00 00 Time recordingstarted Timerecording ended Indicate timeto be played Play search Mode 1 2...
Страница 19: ...Setup 1 During playback press SEQ SPEED button 2 Display screen will appear as on the right 2002 APR 12 AM 07 40 38 1X PLAY SPEED CAM1 CAM2 CAM3 CAM4 Chosen 1XPLAYSPEED 2XPLAYSPEED 4XPLAYSPEED 8XPLAY...
Страница 20: ...r same seconds and replay at a little lower speed than before 5 Display Enlargement 1 Choose camera by pressing 1 2 3 4button 2 Press ZOOM button during Playback or PAUSE mode 3 The display will enlar...
Страница 21: ...utton to enter sub menu of selected SETUP 5 Press sub menu item with button and change the value with button 6 Press PLAY ENTER button to forward MENUbutton to go backward PLAY ENTER button enables to...
Страница 22: ...ed by setup A C E B D F PB TIME DATE On Playback screen Date and Time is indicated 1 2 TIME DATE Date and time is indicated on LIVE screen CAMERA TITLE Camera TITLE is indicated on LIVE screen PB CAME...
Страница 23: ...orsaturation Adjust colorhue Adjust imagesignal level Right adjustment of each element in COLOR setup will increase picture quarterly displayed We recommend you to adjust each element of COLOR SETUP f...
Страница 24: ...al cable condition it is indicated as ACTIVE and when the cable is disconnected or has problem it is indicated as LOSS LIVE Decides whether to show LIVE screen image or not REC Decides whether to reco...
Страница 25: ...nd Use button to assign Year Month Time Minute Second and use button to change the value 2 SET the notation of TIME DATE nHOUR DISPLAY Changes to AM PM or 24hour time indication oDATE DISPLAY Converts...
Страница 26: ...Duration of recording when an ALARM is activated ALARM POP UP When an alarm is activated display screen is switch to full screen of image from relevant channel and a color of camera number is changed...
Страница 27: ...cted MOTION REC DURATION 1 SEC CHANNEL NUM Selected camera number SENSITIVITY Adjusts motion Detection Sensitivity Not Sensitive Sensitive DETECT WINDOW NUM Detects moving objects bigger than DETECT W...
Страница 28: ...ted in Green and not detected area is indicated as colorless With MODE button select channel 1 2 3 4 QUAD to set for each camera Setup is possible only on the Full screen SELECT VER LINE Select all in...
Страница 29: ...2 HDD FULL Select OVERWRITE or STOP RECORD If OVERWRITE is selected it delete previous contents on HDD to overwrite when HDD is full 3 RECORD MODE 1 TIMER Records bytime TIMER ALARM Records by time o...
Страница 30: ...cluded in the package TCP IP SETUP IPADDRESS GATEWAY SUBNETMASK MACADDRESS SELECT PRESS 1 2 3 4 SYSTEM SETUP DISPLAY SETUP CAMERA TITLE TIME DATE SETUP ALARM MOTION SETUP RECORD SETUP TCP IP SETUP MIS...
Страница 31: ...ETUP CAMERA TITLE TIME DATE SETUP ALARM MOTION SETUP RECORDSETUP TCP IPSETUP MISCELLANEOUS FACTORY DEFAULT BUZZERSETUP ID PWSETUP SCHEDULERECSETUP PANTILTCMDSETUP HDD INFORMATION MARK IMAGESETUP PRODU...
Страница 32: ...cords according to schedule by day or a day of the week Two recording time spans can be set for a day and a day of the week respectively In total 4 recording time spans can be set in a day Scheduled R...
Страница 33: ...t record from 1 to 3 When both ON and OFF are set priority is on ON pNOTE for scheduled recording When scheduled recording is set DVR unit does not record before the set time It only starts recording...
Страница 34: ...lete MARK IMAGE SETUP for images you selected pTherefore all images in between PIP MARK button remain not deleted unless you delete marked image on purpose qWhen you want to mark large amount of image...
Страница 35: ...apacity connect HDD Box to DVR unit nConfiguration of Box connection to DVR unit oVery economical way to expand storage capacity If each of 22 HDD is 120GB in capacity total HDD capacity connected to...
Страница 36: ...a male Connector under the 4CH DVR and also there is a female connector above the hard disk bay rYou need to connect each other carefully before power on sAfter finishing above steps you can power on...
Страница 37: ...LL SCREEN RECORDING REAL TIME TIME LAPSE EVENT SEARCH STILL FULL QUAD DISPLAY Stand alone DVR TCP IP with client software 1 59SEC CONTINUOUS TIMING ESTABLISHMENT POSSIBILITY CONVENTIONAL VCR TIME LAPS...
Страница 38: ...port 1 Byte ASCII code MENU M PIP MARK I CH1 1 UP U PLAY P FRZ F CH2 2 DN J MODE D SEQ SPEED Q CH3 3 LEFT H PANTILT T ZOOM Z CH4 4 RIGHT K Factory Default 0 RS 485 RS 232 Pin No Definition 9 SD 10 SD...
Страница 39: ...Remote Viewer Software Thank you for purchasing our product Please read this User s Manual before using the product 4 Channel Digital Video Recorder 40...
Страница 40: ...and you must install Remote Viewer software included in the package on client PC before you try to access to DVR unit over IP network 2 TCP IP SETUP in DVR unit Before you install Remote Viewer softwa...
Страница 41: ...r switch button press disconnect button first Connect button Press connect button to connect to DVR unit via IP network to see live pictures of DVR unit You will see the same live pictures which are d...
Страница 42: ...lays Connection established and a circular fan on the left bottom is rotating when connection button is activated or Waiting for connection when disconnection button is activated Set button Setting It...
Страница 43: ...R in PASSWORD Default password is 1 Select type of PTZ camera if you connected PTZ camera to your DVR unit in the PT TYPE To control PTZ camera via IP networ k you first input PTZ command for your PTZ...
Страница 44: ...down load and save series of pictures in AVI format on client PC by pressing RECORD button and it is a very useful function because you can save this data on portable storage media to show to somebody...
Страница 45: ...screen 4 pictures from 4 channels at the same time Channel selection button Press any one from 1 to 4 to see picture of corresponding channel if you first chose full screen button Time displayed in gr...
Страница 46: ...green color and find an exact location for the time from which you want to search Search operation button You can search recorded data using various buttons useful for searching effectively as follow...
Страница 47: ...nt Save During searching recorded pictures you can save pictures one by one in the folder in client PC by pressing save button File name automatically designated shall be date and time when selected p...
Страница 48: ...ware may not be simply specified due to the characteristics of network that it is much related with not only PC hardware and operating system but also other software installed on the client PC and con...