background image

Ambir ImageScan


Pro  940u

8


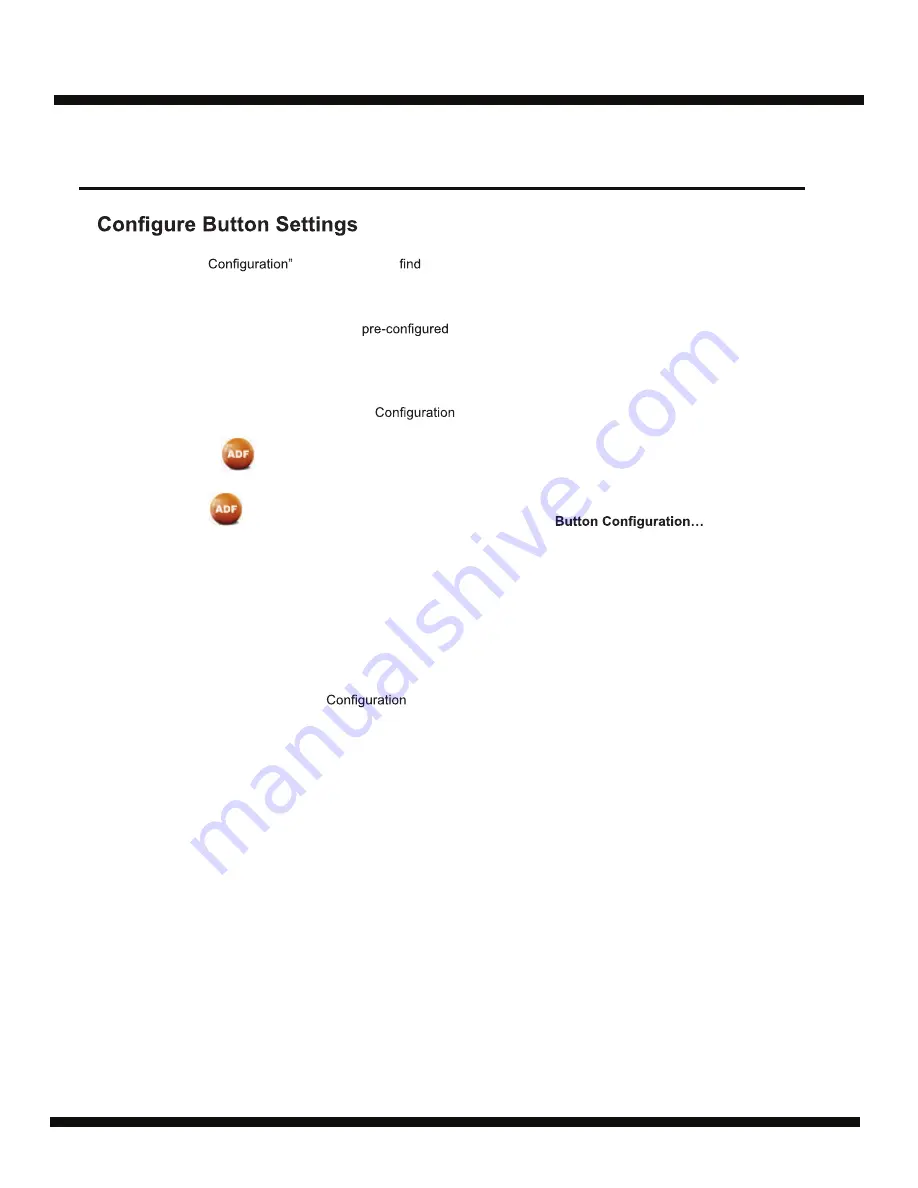
Within the “Button 

 window, you can 

 a row of icons running through the left side of 

the window.  Each icon represents a scanning task, and the number underneath corresponds to the 

function number displayed on the scanner front panel.  


Nine (9) frequently-used scanning tasks are 

 for your convenience. You may, however, 

customize the settings of the nine tasks to best meet your needs and preferences.   


Follow the steps below:

1.    Do one of the following to open the Button 

 window:

Double-click the            icon  in the Windows system tray.


Right-click the            icon  in the Windows system tray, and then choose 
in the pop-up menu that opens.

2.    Select a task number by clicking on the icon.

3.    Select the desired function from the drop-down list of Button Template and adjust  

button settings.

Click the Help button within the Button 

 window for more information about the button settings.

Scanning 

(Continued)

Guide

  User

®

p/n UG940u-1.2

Содержание ImageScan Pro 940u

Страница 1: ...Ambir ImageScan Pro 940u High Speed Document Scanner with UltraSonic Misfeed Detection User Guide www ambir com Ver 1 2 p n UG940u 1 2...

Страница 2: ...7 Cleansing Cloth Box Contents Guide Table of Contents Box Contents Installation and Setup Loading Documents Scanning Calibration Cleaning the ADF Replacing the Pad Module Clearing Paper Jams Scanner...

Страница 3: ...y b r e v o c F D A e h t e s o l C 3 until it snaps back into place Step 2 Connecting the Scanner to Your Computer 1 Plug the AC adapter into the scanner s power r o t p e c e r 2 Plug the other end...

Страница 4: ...ImageScanPro 940u Installation and Setup Continued Step 3 Installing the Software Visit www ambir com 900u series set to download your scanner driver and AmbirScan ADF software 4 Guide User p n UG940...

Страница 5: ...width slider for the paper size you are using The paper width slider should be gently touching both sides of the documents Attention DO NOT load more than 100 sheets of paper 70 g m2 18 lb to the ADF...

Страница 6: ...scanning from the buttons on the Scanner s front panel 3 By scanning from AmbirScan ADF s Execute menu on the screen Scanning via TWAIN Interface Select the Scan Source If you have more than one scan...

Страница 7: ...They are especially useful when you need to repeatedly scan with the same settings and send images to the same destination Before performing your scan via scanner buttons the button settings with your...

Страница 8: ...the nine tasks to best meet your needs and preferences Follow the steps below 1 Do one of the following to open the Button window Double click the icon in the Windows system tray Right click the icon...

Страница 9: ...on screen Execute menu to perform the same scanning tasks This program provides a quick and convenient way to perform various scanning functions Follow the steps below 1 Place the document or images o...

Страница 10: ...e h t s l l u p r e n n a c s e h T 5 completes thecalibration process After the calibration is complete click OK and then click Finish Calibration Cleaning the ADF 1 Open the ADF cover by pulling th...

Страница 11: ...s p a n s t i l i t n u n w o d k c a b t i g n i h s u p y b r e v o c F D A e h t e s o l C 4 back into place Replacing the Pad Module Clearing Paper Jams If a paper jam in the ADF happens please pe...

Страница 12: ...nic Sensor Appearance Status The program has been successfully launched and the scanner is connected with the computer ready to scan images The scanner is not connected with the computer or the scanne...

Страница 13: ...www ambir com p n UG940u 1 2...

Отзывы: