background image

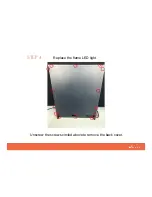
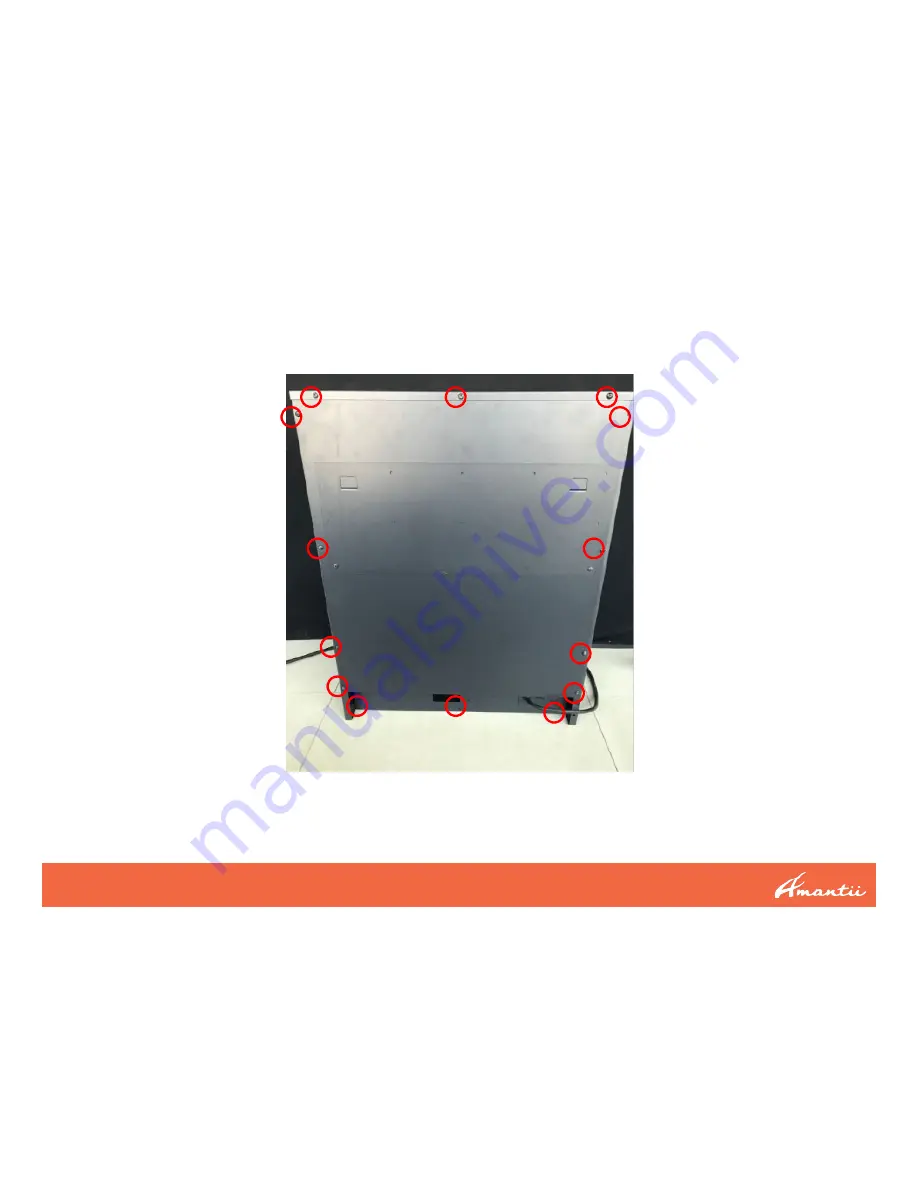
Replace the flame LED light.

Unscrew the screws circled above to remove the back cover.

STEP 4

Содержание CUBE-2025WM

Страница 1: ...CUBE REPAIR GUIDE CUBE 2025WM...

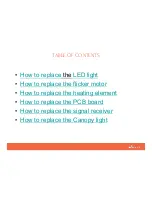
Страница 2: ...o replace the LED light How to replace the flicker motor How to replace the heating element How to replace the PCB board How to replace the signal receiver How to replace the Canopy light TABLE OF CON...

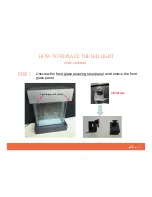
Страница 3: ...Unscrew the front glass securing steel panel and remove the front glass panel Securing panel locations Unscrew STEP 1 HOW TO REPLACE THE LED LIGHT CUBE 2025WM...

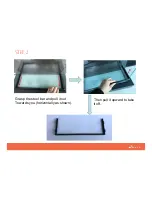
Страница 4: ...Grasp the steel bar and pull it out Towards you horizontally as shown Then pull it upward to take it off STEP 2...

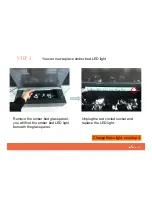
Страница 5: ...er bed glass panel you will find the ember bed LED light beneath the glass panel Unplug the red circled socket and replace the LED light You can now replace ember bed LED light Change flame light see...

Страница 6: ...Replace the flame LED light Unscrew the screws circled above to remove the back cover STEP 4...

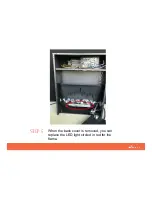
Страница 7: ...When the back cover is removed you can replace the LED light circled in red for the flame STEP 5...

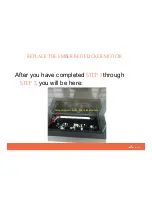
Страница 8: ...After you have completed STEP 1 through STEP 3 you will be here Flicker motor for ember bed is located here REPLACE THE EMBER BED FLICKER MOTOR...

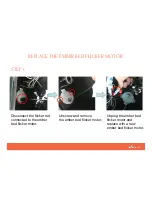
Страница 9: ...er rod connected to the ember bed flicker motor Unscrew and remove the ember bed flicker motor Unplug the ember bed flicker motor and replace with a new ember bed flicker motor REPLACE THE EMBER BED F...

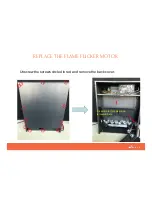
Страница 10: ...Flicker motor for ember bed is located here REPLACE THE FLAME FLICKER MOTOR Unscrew the screws circled in red and remove the back cover...

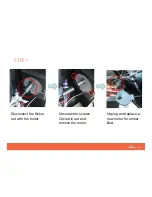
Страница 11: ...Disconnect the flicker rod with the motor Unscrew the screws Circled in red and remove the motor Unplug and replace a new motor for ember Bed STEP 1...

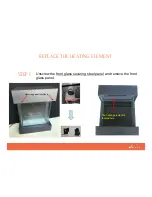
Страница 12: ...Unscrew the front glass securing steel panel and remove the front glass panel Securing panel locations Unscrew STEP 1 REPLACE THE HEATING ELEMENT The heating element is located here...

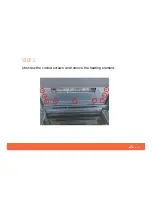
Страница 13: ...Unscrew the circled screws and remove the heating element STEP 2...

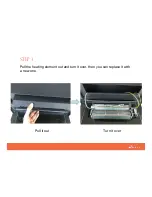
Страница 14: ...Pull the heating element out and turn it over then you can replace it with a new one Pull it out Turn it over STEP 3...

Страница 15: ...Unscrew the circled screws and remove the back cover The heating element is located here REPLACE THE PCB BOARD STEP 1...

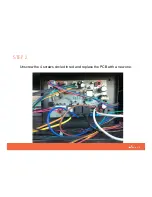
Страница 16: ...Unscrew the 4 screws circled in red and replace the PCB with a new one STEP 2...

Страница 17: ...Unscrew the screws circled in red and remove the back cover The signal receiver is located here REPLACE THE SIGNAL RECIEVER STEP 1...

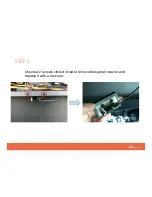
Страница 18: ...Unscrew 2 screws circled in red to removethe signal receiver and replace it with a new one STEP 2...

Страница 19: ...Unscrew the front glass securing steel panel and remove the front glass panel Securing panel locations Unscrew REPLACE THE CANOPY LIGHT STEP 1...

Страница 20: ...The Canopy light is located here ZOOMED IN VIEW Unscrew 2 screws circled in red and remove the Canopy light set STEP 2...

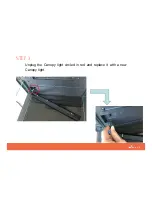
Страница 21: ...Unplug the Canopy light circled in red and replace it with a new Canopy light STEP 3...

Отзывы: