Getting started
Before you begin, make sure the ezSecure is properly
connected to the USB port of your computer using the
cable provided.
(You will notice there are two USB male ends that can be connected to your
computer. The main end is for power and data. The secondary end is for
additional power as some older computers may require additional power.)
Switch the power on.
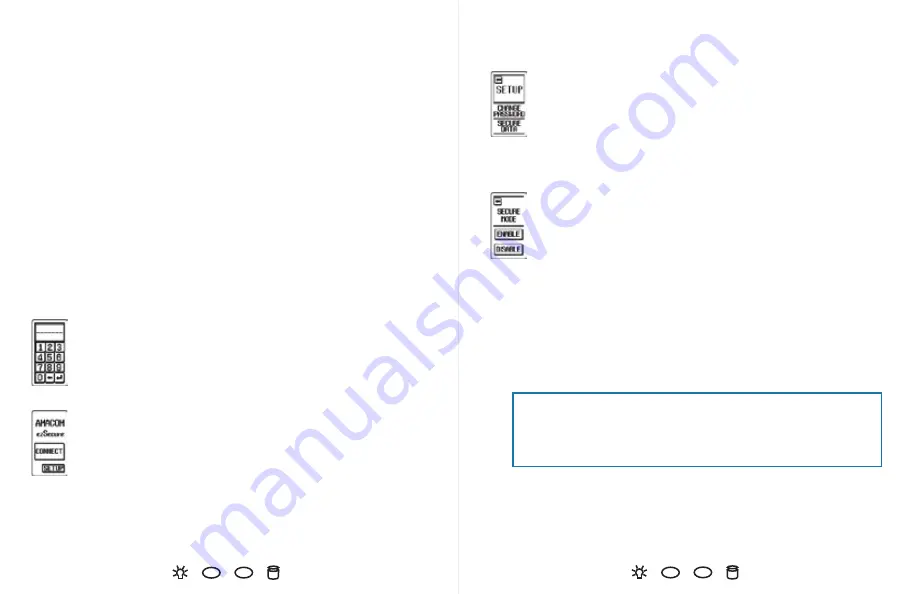
You will see a numeric keypad on the LCD touch screen.
Enter the factory default password: ‘000000’ and press the enter button.
You will see two buttons: CONNECT and SETUP.
To access your data, press the CONNECT button.
You can now access your data.
To change your password or secure your data, press the SETUP button.
See the Setup section at right.
Setup
Changing your password
To change your password, press CHANGE PASSWORD. If you decide
not to change your password between the menus, simply press
the enter button, and you will return to the Setup menu.
ezSecure will ask you for your old password once and your new password twice.
Remember the factory default password is ‘000000’.
Securing your data
When secure mode is enabled, the hard drive cannot be accessed
though a non ezSecure enclosure. When secure mode is disabled,
the hard drive can be accessed through a non ezSecure enclosure.
Choose ENABLE or DISABLE.
If secure mode is already enabled, you will see the DATA LOCKED icon when the
ezSecure is connected.
Hard Disk Drive Installation Instructions (for enclosure only purchasers)
ezSecure requires a 2.5" SATA hard disk drive.
Remove the back cover of your ezSecure.
Push the hard disk drive interface pins into the ezSecure's connector.
Make sure the pins are fully inserted into ezSecure's connector.
Return the back cover to its original position and secure the cover.
For more details, see the online manual at
www.originstorage.com
.
IF YOU REMOVE AND TRY TO USE THE HARD DRIVE IN A NON EZSECURE
ENCLOSURE YOU MUST DISABLE SECURE MODE FIRST TO PREVENT DATA
LOSS.


