


AMACAM AM-M80
USER MANUAL
1.
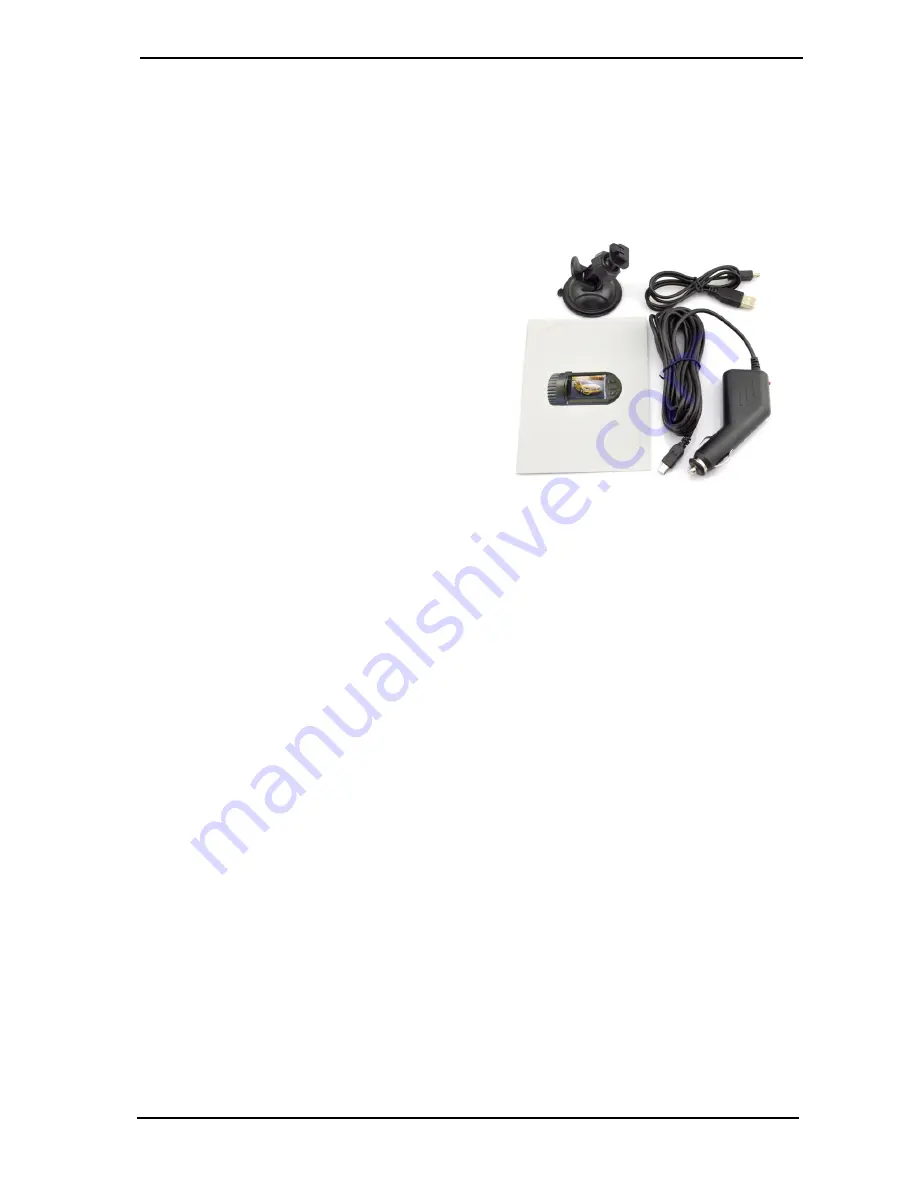
PACKAGE CONTENTS
−
Camera – Note that the camera requires a micro SD memory card, which is not
supplied with the camera. (See Section 4.1 Below)
−
Mounting Bracket for car windscreen
−
Charging lead for use in car (Car
Cigarette lighter to Mini-USB cable)
−
Connection lead for computer (Mini USB
to USB Cable)
−
User Manual
2.
OVERVIEW
The Amacam AM-M80 camera is designed primarily as a small video camera for
mounting on the front or rear windscreen of a car. This is for the purpose of
recording the car movements and externals activities, and would be of use in
providing evidence for Insurance purposes. It is designed in this mode to start
recording as soon as the car ignition is switched on.
In addition it can be used for short periods hand held outside the car, but the
battery life in this instance is limited to approximately 40 minutes of recording
before being reconnected to the car or a charger for recharging..
The camera may also be used to take still photos as a manual operation.
The video or still pictures recorded can be reviewed on the inbuilt small screen, or
the camera can be connected to a PC computer for review of all photos and
videos taken.
Page 2
Содержание AM-M80
Страница 1: ...AM M80 USER MANUAL...


