010-353-B9-001 Rev. A1 (09/2015)
8
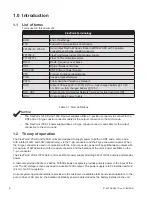
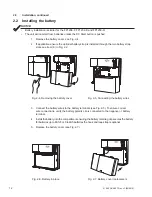
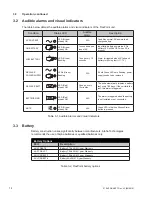
Battery Options
AX-STDBAT-5
Battery 5.1 Ah AGM, 1-year warranty
AX-STDBAT-7
Battery 7.2 Ah AGM, 1-year warranty
AX-LONGBAT-7
Battery 7.2 Ah AGM, 3-year warranty
AX-LONGBAT-8
Battery 8 Ah AGM, 3-year warranty
FTTH-CBL
ONT hook-up cable, 2x16 AWG and 5x24 AWG, CMX UL listed
Optional battery strap
Alpha p/n 660-112-10
FlexPoint
™
1215, 1232, 1250 Quick Start Guide
FTTx UPS System for ONTs
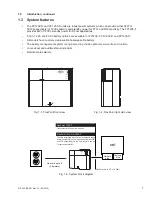
Fig. 1, System Block Diagram
Review the drawings and illustrations contained in this guide
before proceeding. For
additional details on installation
and operation, visit www.alpha.com and download a copy of the FlexPoint
TM
1215, 1232, 1250 Series Technical
Manual (p/n 010-353-B0).
The FlexPoint 1215, 1232 and 1250 units are optical network terminal (ONT) providing of 12Vdc primary and
standby power. A customer-provided 90Vac to 264Vac, 50/60Hz power receptacle provides primary power to the
input of the unit. The AC voltage is then converted to a usable 12Vdc output. Backup power and batteries are long
life, easy to replace, purchase, and install. Power status is provided to the customer via audible alarms and visual
indicators. Upon loss of AC service, the duration of standby power is determined by the battery installed in the unit.
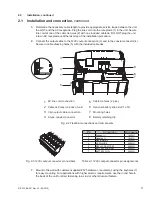
1. Unpack and inspect the FlexPoint power supply.
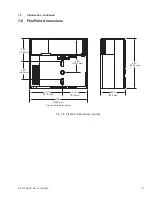
2. Install the unit within 8' (2.4 m) to an AC outlet with 6" (15.2 cm) of space above and below, 2–4" (5–10 cm)
in front and 2" (5 cm) of space on either side to provide adequate thermal ventilation.
3.
the cover bottom away from the unit and down.
4. Determine the necessary cable length to provide appropriate service loops between the unit, the ONT, and
the AC receptacle. Plug the line cord into the receptacle in the unit. Secure line cord at one of the cable
tie holes with one included cable tie. Do not plug the unit into an AC receptacle until the last step of the
installation procedure.
5. Determine output cable length. Connect cable into 7 position connector. Attach connector to header located
on back of unit. Route cable down provided channel. Secure the cable tie and the optional battery strap
through the unit.
6. Mount to the wall with #12 fasteners or equivalent, using the keyholes for easy mounting. For applications
with higher seismic requirements, use the round hole in the back of the unit for direct fastening to a stud or
other structural feature.
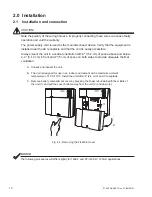
Installing and Connecting the FlexPoint Unit
•
The unit is designed for use in an indoor environment protected from rain and snow. Its
operating temperature range is -10°C to 45°C / 14°F to 113°F (ambient).
•
The power supply cord is used as the main disconnect device. Verify the AC receptacle is
located/installed near the equipment and is easily accessible.
CAUTION!
ONT
Line Cord Up to 8',
(2.4 meters)
Network
Area
Customer
Area
FlexPoint 1215, 1232, 1250
7-position output cable (Class 2 wiring)
FlexPoint: Up to 50' (~15.25 meters)
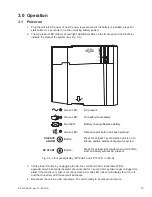
During normal operation, press the Silence Alarm button to get the recommended battery capacity:
5Ah – 1 chirp; 7Ah – 3 chirps; 8Ah – 4 chirps.
NOTICE
:
PRELIMINARY
1
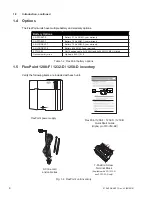
FlexPoint power supply
7-Position Screw
Terminal Block
(
Available with FP-1232-D
and FP12-50-D only)
AC line cord
and cable ties
1.0
Introduction, continued
1.4 Options
The FlexPoint units have multiple battery and warranty options.
FlexPoint 1208-F / 1232-D / 1250-D
Quick Start Guide
(Alpha p/n 010-353-B8)
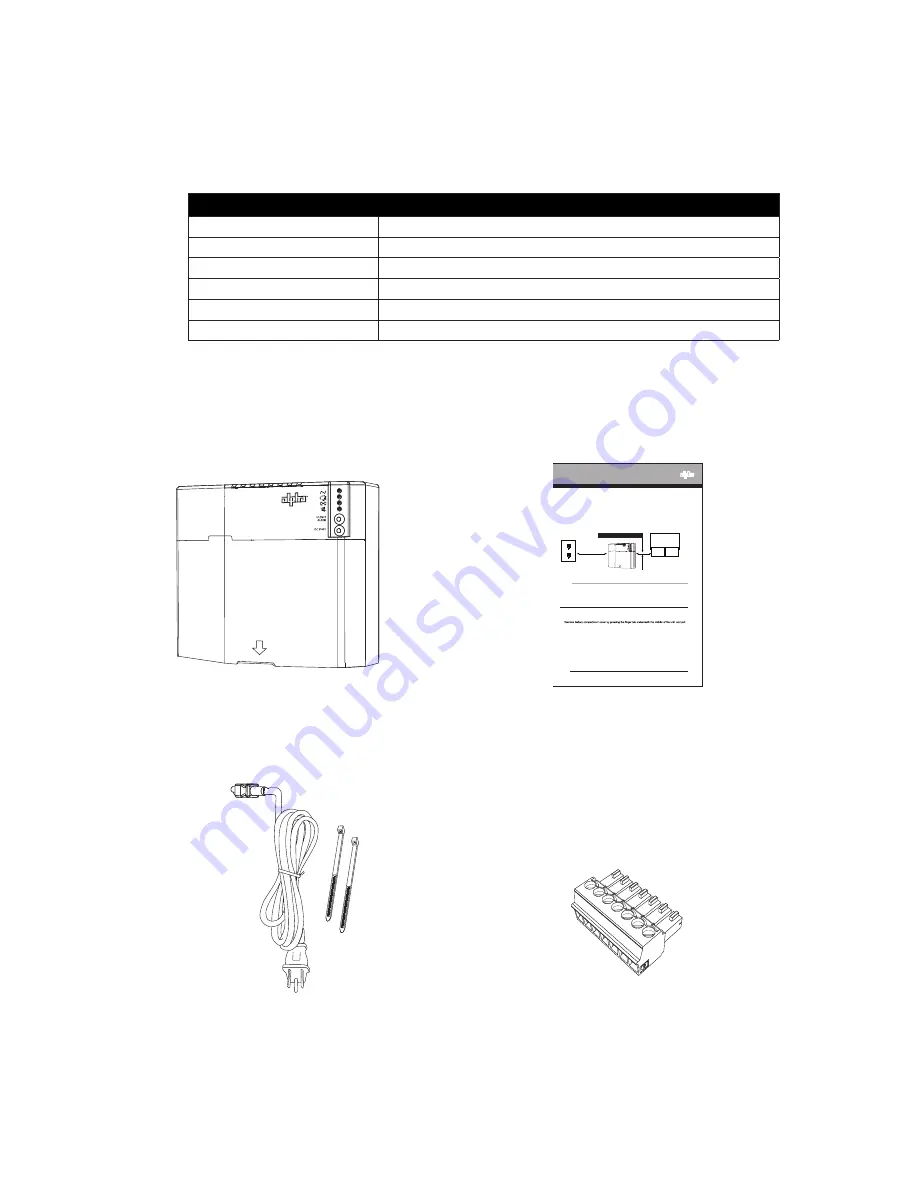
1.5 FlexPoint 1208-F / 1232-D / 1250-D inventory
Verify the following items are included with each unit.
Fig. 1-4, FlexPoint unit inventory
Table 1-2, FlexPoint battery options
Содержание FP1208-F-5A
Страница 19: ......

