Alpha Networks PT-3152 Скачать руководство пользователя страница 11


10

PT-3152(C)/PT-3153(C)

 Quick Installation Guide  


4


Using the IP camera


Video Display Control 


Change display settings 

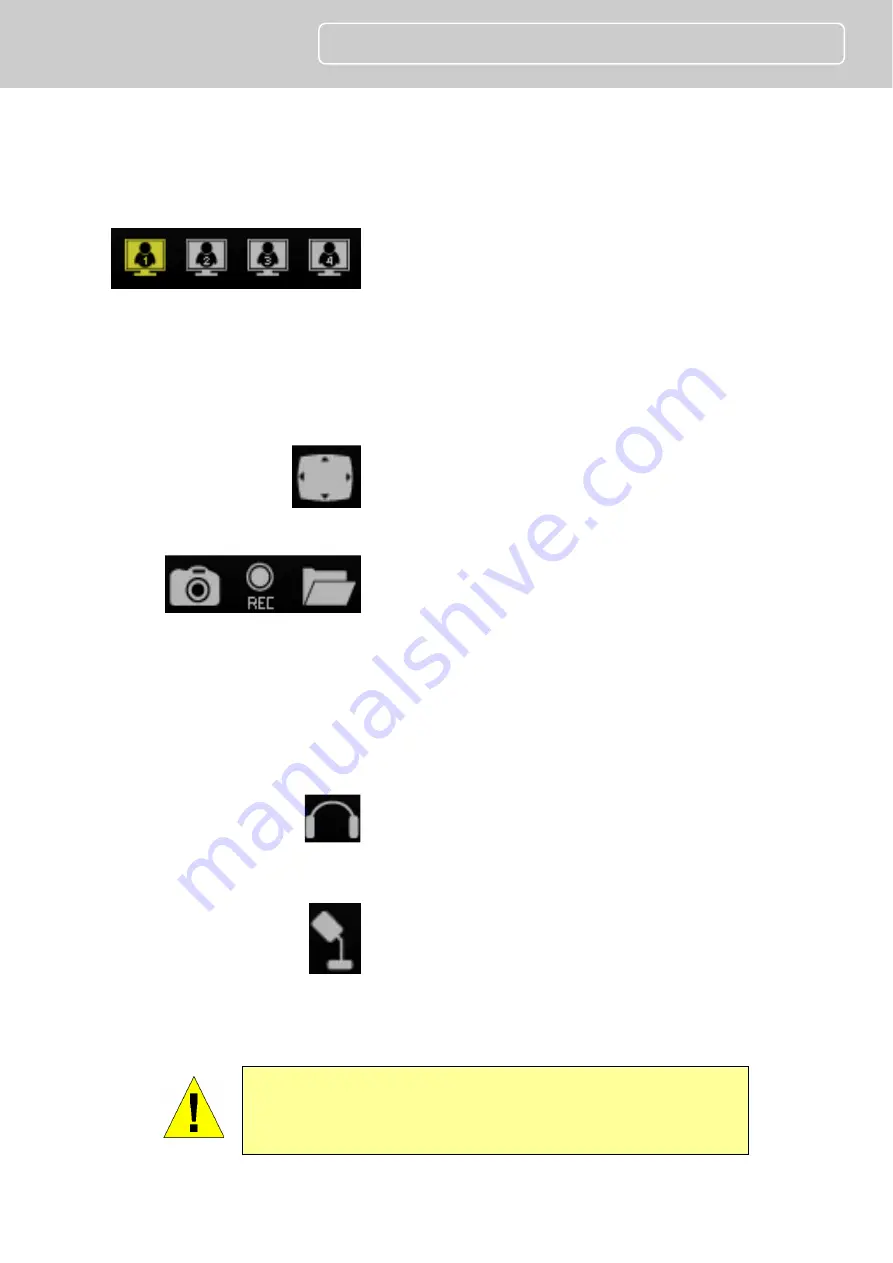
Click on the little screen icon 

to quickly switch among the preconfigured formats of 
the video, which correspond to the video settings profile. 
Four profiles can be configured using the 

Video and 

Audio Settings

 menu. See the description of the menu 

below in the section of the same title. The yellow icon 
shows the profile which is currently being used. Please 
note browsers other than Internet Explorer show only M-
JPEG profiles.  


Full Screen 

Click on the Full Screen icon to use the 

entire monitor display area for live video.  


Recording, Snapshot and Audio Controls 


Record and capture

 Use the camera icon to take a 

snapshot of the video display. This will immediately 
cause the screen capture or snapshot to appear on the 
desktop in a new browser window. Use the Record (REC) 
icon to begin recording to the local hard disk. In order to 
do either of these however, first click on the file folder 
icon to select the location where the snapshot or video 
recording is to be stored (by default a folder is created in 
My Documents if not specified). The REC icon becomes 
yellow while recording is active. 


Audio input control

 Click to enable or disable the 

camera’s built-in mic to provide audio surveillance or 
voice communication from the camera. This icon 
becomes yellow while audio input is active.  


Audio output control

 Audio speakers can be 

connected to the camera via the external audio mini-
plug. Use this control to enable or disable the audio 
output for voice or other audio through connected 
speakers. This icon becomes yellow while audio output is 
active. This is disabled by default.  


NOTE:

  Please read the User Manual for detailed information 

about other camera functions, applications and features. 

Содержание PT-3152

Страница 1: ...PT 3152 PT 3152C PT 3153 PT 3153C Network Camera Quick Installation Guide...

Страница 2: ...the following measures Reorient or relocate the receiving antenna Increase the separation between the equipment and receiver Connect the equipment into an outlet on a circuit different from that to wh...

Страница 3: ...TO OPERATE THE EQUIPMENT CAUTION 1 To comply with FCC RF exposure compliance requirements a separation distance of at least 20 cm must be maintained between the antenna of this device and all persons...

Страница 4: ...ove or AMD Athlon 64 3000 and above Memory 512 MB or above VGA resolution 1024 x 768 or above Package Contents One SOHO Internet Camera This Quick Installation Guide One or Two External Antenna Wirele...

Страница 5: ...amera with the two screws provided 4 You can install the camera to the ceiling using two ceiling screws or install the camera to the wall using two wall screws Connect the Ethernet Cable Connect an Et...

Страница 6: ...llowing window appears click the symbol to proceed to the next setup window 2 Choose the PT 3152 PT 3152C PT 3153 PT 3153C from the list If there is more than one camera operating on the network these...

Страница 7: ...configure the date and time settings of the Camera Type a name to identify your Camera in the Camera Name field Use the drop down menu to set the Camera s date Adjust the time of the camera by using t...

Страница 8: ...the symbol to proceed to the next IPCam Wizard menu screen b A Fixed IP connection requires the IP settings to be manually entered Enter a compatible IP Address Subnet Mask Primary DNS and Secondary D...

Страница 9: ...k settings of your Camera When you have finished setting up the Camera click the symbol to apply the new settings 9 The following screen appears to indicate that the settings are being applied to the...

Страница 10: ...manager and live video display click the address of the camera in the center of the menu 12 Type the administrator s User Name ID and Password to access the camera s user interface Default settings i...

Страница 11: ...ure or snapshot to appear on the desktop in a new browser window Use the Record REC icon to begin recording to the local hard disk In order to do either of these however first click on the file folder...

Отзывы: