background image


Change the 

Local Port

 to 10001 and click on 

OK


Click on 

OK

 in the 

Edit Setitings

 menu, also click on OK in the Ports menu. 


The  NetPort  will  then  reboot  to  save  the  settings  and  these  will  be  stored  in  Flash 
Memory . 


NetPort is now ready to use with your equipment. 


Changing NetPort’s Serial Parameters to 

connect to your Equipment 


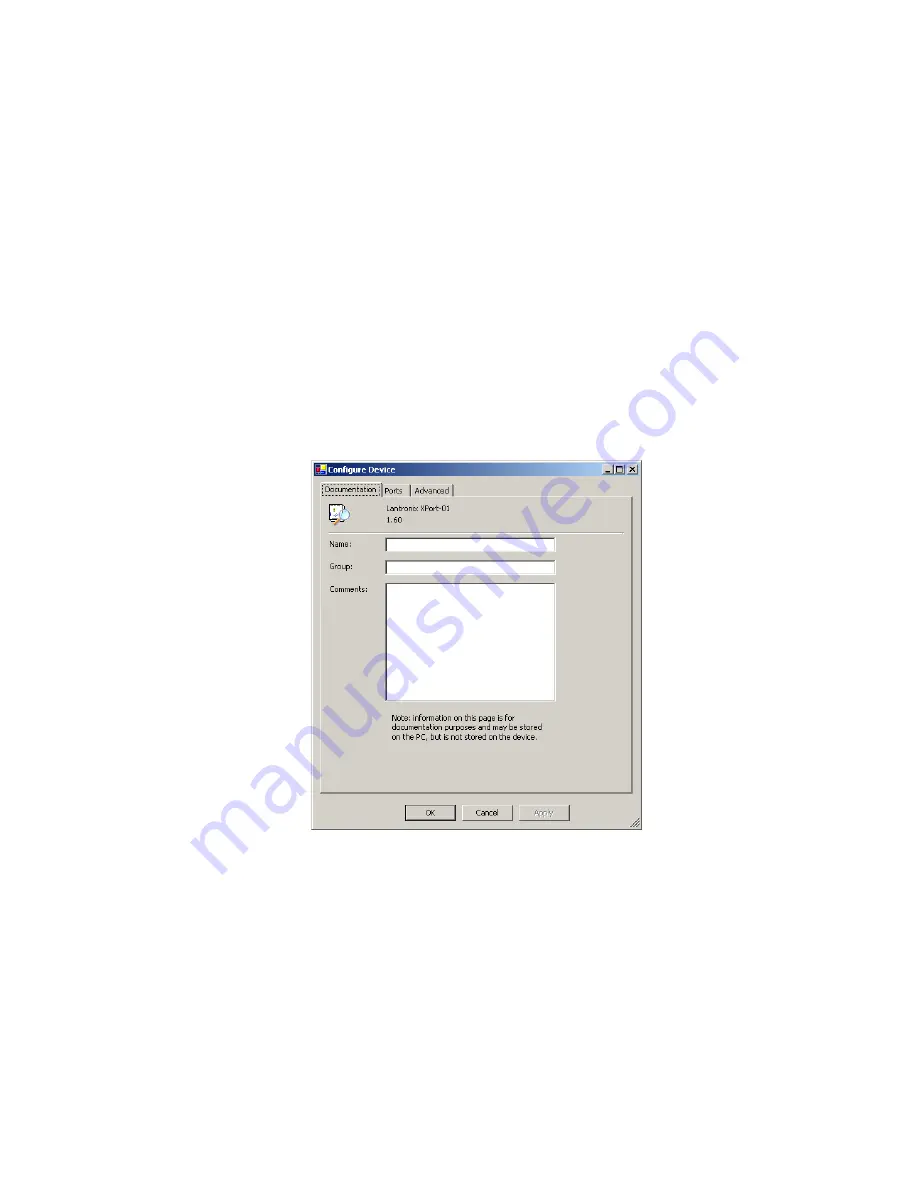
Select the NetPort in DeviceInstaller 


Click on 

Configure

 and you will see the following: 


Содержание NetPort

Страница 1: ...NetPort Quick Start Guide Version v1 2 August 2015 ...

Страница 2: ... get your NetPort connected and get your RS232 equipment on the network as quickly as possible It will take you step by step through hardware setup and configuration and help you verify that everything is working Obviously there is much more to NetPort than we can show you in this guide please ask if you need help Note This document covers NetPort device server versions AMC232LAN01 AMC232LAN01 DVK...

Страница 3: ......

Страница 4: ...fication Check If powered up correctly the NetPort power LED will light yellow and remains on This LED is on the RS232 port RJ45 socket Verification Check 2 If the Ethernet Port on NetPort has authenticated with the LAN successfully then the LED s will confirm the speed and connect mode according to the following table Internal 3v3 Power Yellow ON Network End RS232 End RS232 connection Green conne...

Страница 5: ... _______ _______ _______ Gateway _______ _______ _______ _______ Hardware Address You may need to know the unit s hardware address also known as a MAC address On later NetPorts this is printed on the white label which is fixed to the underside of the unit Earlier NetPorts did not have this label so you may need to use Device Installer to detect this MAC address and write it down if required The fo...

Страница 6: ...ptor that the NetPort will be attached to and click OK 2 Press Search to detect NetPorts on the network If the Search window reveals No Devices Found press Search again until your NetPort is shown You may need to wait for up to 30 seconds for all NetPorts to be shown keep pressing Search Note If the unit cannot find a DHCP Server to obtain an address then it will default into AutoIP mode assuming ...

Страница 7: ...rs assigned to each individual product Click Next 4 Select Assign a specific IP address and click Next 5 Enter the IP address The Subnet mask displays automatically based on the IP address if desired you may change it On a local network you can leave the Default Gateway blank all zeros Click Next 6 Click the Assign button and wait several seconds until a confirmation message displays Click Finish ...

Страница 8: ...display in the Status area Click the Clear Status button to clear the window so you can ping the device again Note If you do not receive Reply messages make sure the unit is properly attached to the network and that the IP address assigned is valid for the particular network segment you are working with 8 Click the Close button ...

Страница 9: ...ect Assign a specific IP address and click Next 4 Enter the IP address The Subnet mask displays automatically based on the IP address if desired you may change it On a local network you can leave the Default gateway blank all zeros Click Next 5 Click the Assign button and wait several seconds until a confirmation message displays Click Finish 6 You should see NetPort shown similar to this ...

Страница 10: ... CTS RTS If your RS232 equipment can communicate in this data format then all you need to do now is open an application on a networked PC to send receive If you do NOT have an application which can talk to a TCP IP Socket You have 2 options without creating a specific software application 1 Use Redirector to assign a Virtual Com Port to the NetPort you can then use your existing application softwa...

Страница 11: ... entered the IP addresss and Port number correctly Additioanlly check that the NetPort settings match the baud rate and port number you have entered in HyperTerminal If you have an application already which can talk to a TCP IP Socket You need to configure your Application to use Socket number 10001 and then change the corresponding socket inside NetPort to be 10001 as it is factory set to 14001 T...

Страница 12: ...uch as HyperTerminal See section Configuration via the Serial Port For speed we will check change NetPort s settings via the DeviceInstaller Configuration Fields To do this Select the NetPort in DeviceInstaller Click on Configure and you will see the following Select the Advanced Tab ...

Страница 13: ... the Ports menu The NetPort will then reboot to save the settings and these will be stored in Flash Memory NetPort is now ready to use with your equipment Changing NetPort s Serial Parameters to connect to your Equipment Select the NetPort in DeviceInstaller Click on Configure and you will see the following ...

Страница 14: ...tings click on the Advanced tab for more When you have made your changes Click on OK in the Edit Setitings menu also click on OK in the Ports menu The NetPort will then reboot to save the settings and these will be stored in Flash Memory NetPort is now ready to use with your equipment ...

Отзывы: