Almost Heaven Saunas
THE AUTHENTIC SAUNA EXPERIENCE
®
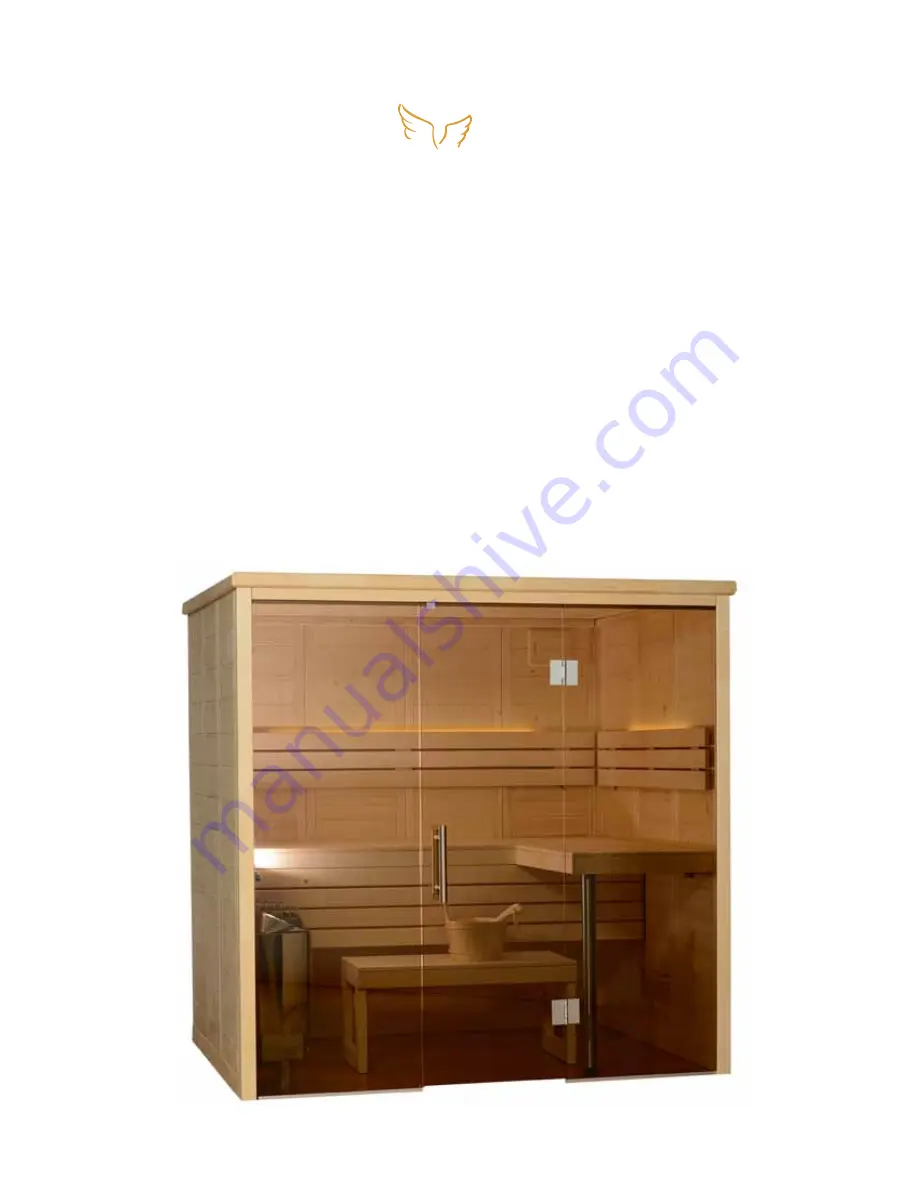
Worthington Sauna
Installation &
Owner’s Manual
Страница 1: ...Almost Heaven Saunas THE AUTHENTIC SAUNA EXPERIENCE Worthington Sauna Installation Owner s Manual...
Страница 2: ...e 3 Bottom rails 2 90 Corner wall posts 2 90 Corner wall posts for glass walls 10 Wood wall element sections 2 Glass element sections 1 Glass door 2 Glass support rails 1 Glass wall header 1 Metal pos...
Страница 3: ...ear of bottom rail NOTE If the heater is going to be installed on the right wall then positing the element with the square cut hole on the left rear On all wall elements the flat edge is the top and t...
Страница 4: ...NG ONE EDGE THESE SHOULD FACE THE FRONT OF THE SAUNA STEP 6 Locate one of the 90 corner posts that has clips on one side and a glass groove with 2 holes on the other Be sure the holes are to the top a...
Страница 5: ...tions will not screw together but be sure they are level at the top and firm to each other by tapping in place with a rubber mallet STEP 8 Add the third 90 corner post and secure with 6x20 screws as w...
Страница 6: ...r by tapping in place with a rubber mallet STEP 11 Locate the last 90 corner post that has clips on one side and a glass groove with 2 holes on the other Be sure the holes are to the top and facing to...
Страница 7: ...w ing a 4x70 screw into each wall element section This will firmly secure the wall element sections together along the three wood walls of the sauna STEP 14 The sauna will wood wall sections will now...
Страница 8: ...PULL THE LEFT AND RIGHT WALLS OUT SLIGHTLY IN ORDER TO FIT THE HEADER BETWEEN THEM STEP 17 The sauna room should now have all wood and glass wall sections in place and ready for the roof installation...
Страница 9: ...crew the upper bench support into the wall element sections using 5x70 screws Do this with both the short right and left bench supports as well STEP 20 Place the upper bench onto the upper bench suppo...
Страница 10: ...r side bench on the side bench support rail and line up to the upper rear bench Using 5x70 screws secure the upper side bench to both the wall of the sauna and the upper rear bench from below Once the...
Страница 11: ...ort 5 slats against the vertical supports you installed in step 25 Holding the lower bench support tight to the top bench attach to the vertical supports using 3 5x40 screws STEP 27 Measure 10 above t...
Страница 12: ...and the plastic floor protectors are down Next attach the angled support members so that the pins line up with the holes Place a dab of wood glue not included in the holes before tapping into place S...
Страница 13: ...equire a portion of the tongue to be cut away STEP 32 Install the hinges onto the glass door and secure to the window The hinge consists of the hinge bracket hole spacers bracket cleat and hex screws...
Страница 14: ...door peel back some of the sealing strip and find the pre drilled hole for the magnet Find the magnet in the hardware kit and squeeze it into the hole using pliers The magnet is adjustable and can be...
Страница 15: ...of the sau na It is impor tant to have adequate fresh air flowing through the sauna and this flow can be adjusted with the movable vent cover TRADITIONAL STEPS IN TAKING A SAUNA BATH STEP 1 Set your...