Installation
70
Powering the Switch
1. Apply AC power to the switch by plugging the power cord into the AC
power connector on the back panel of the unit and plugging the
other end into a wall outlet.
If powering on a switch stack, power on the last slave switch in the
stack first and then each slave switch in the daisy chain hierarchy
in ascending order, ending with the master switch. To simplify the
process, you can connect all of the switches, both master and
slaves, to the same power circuit, such as a power strip, and so be
able to apply power to all of the switches at the same time.
Warning
The power cord is used as a disconnection device. To de-energize
equipment, disconnect the power cord.
10
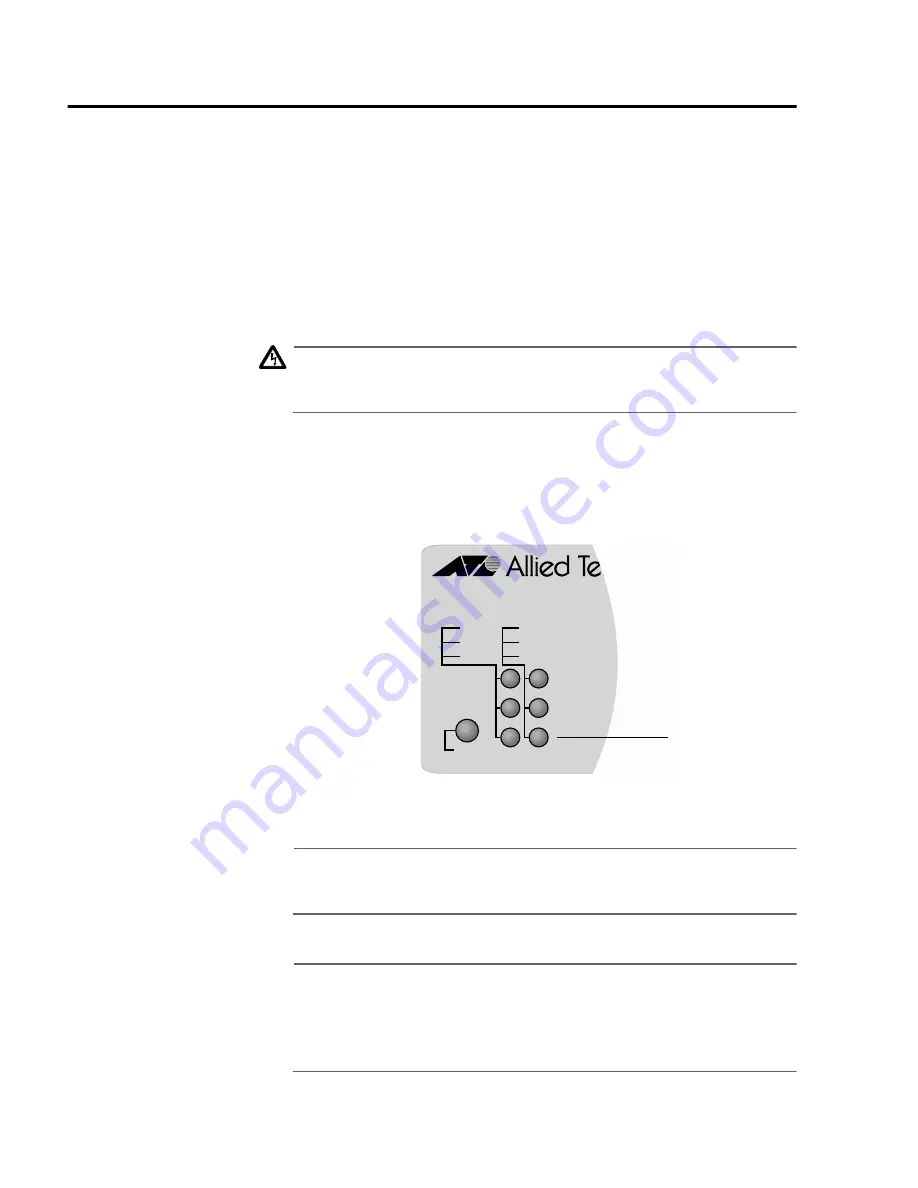
As power is applied to the switch, the FAULT LED (shown in Figure
42) flashes briefly as the switch loads its operating software. This
process takes only a minute or two. After the switch has finished
loadings its software, the FAULT LED will stop flashing and remain
OFF.
Figure 42
FAULT LED
Note
Refer to the section
System LEDs
on page 24 for information on
the system LEDs.
The switch is ready for network operations.
Note
If you do not need to change the default parameter settings of the
switch, no further installation steps are required. For the default
settings, refer to the
AT-S41 Management Software User’s Guide
for the AT-8350GB Switch
.
Fast Ethernet Switch
AT-8350GB
FAULT
PWR
RPS
LINK
100
FULL
MODE
FAULT LED
Содержание AT-8350GB
Страница 1: ...Fast Ethernet Switch AT 8350GB Installation Guide PN 613 50307 00 Rev B...
Страница 4: ...4...
Страница 82: ...Installation 82...
Страница 88: ...Troubleshooting 88...


