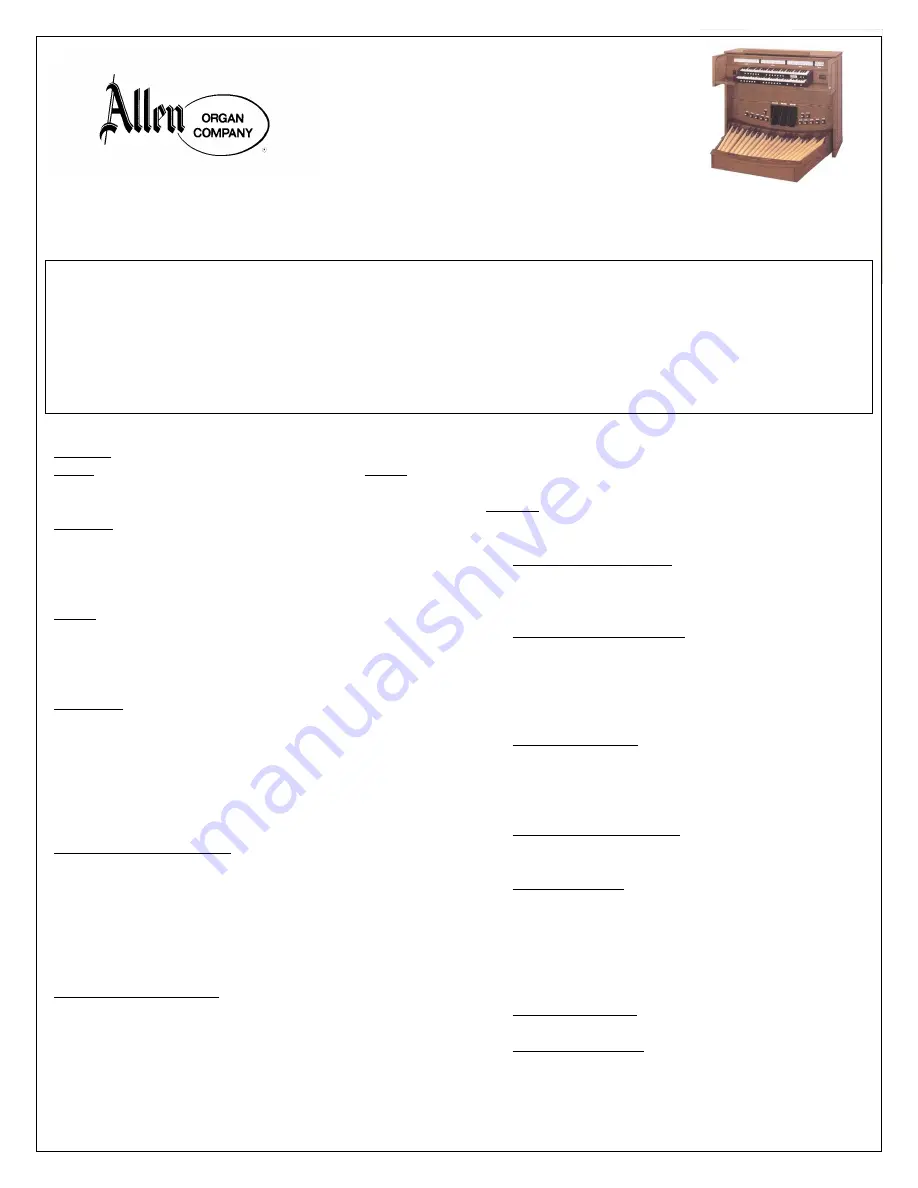
Allen Organ Model AP-22a
QUICK REFERENCE GUIDE
Quick Start:
1.
Turn organ on
2.
Using the Console Controller on the far left, select memory 15 (for preludes and postludes) or 16 (for congregational
singing). To do so, push the Cursor button until curser is flashing on the number next to the
MEM
. Use the dial to
choose the desired memory number.
3.
Select one of the push button (pistons) labeled 1-5 and 6-10 found to your left under the two sets of keys (manuals).
Piston 1 is the softest set of registrations and 10 is the loudest on memory 16.
Manual:
This term is synonymous with keyboard.
Swell
refers to the organ’s upper manual and
Great
to
the lower manual.
Division:
The organ has three main divisions: Swell,
Great and Pedal. The Swell and Great divisions’ stops
are played from their respective manuals. The Pedal
division is played from the organ’s pedal keys.
Stops:
The controls that actuate the organ’s various
sounds. The AP-22a’s stops are located above the Swell
manual and are arranged according to the organ’s three
divisions.
Couplers:
In addition to stops which produce sound,
the organ also has a variety of couplers that allow
sounds to be played from manuals other than that of
their resident division. (i.e. Swell stops may be played
on the Great manual by using the Swell to Great
coupler.) Couplers are found to the right of each
division’s stops.
Expression Pedals (Shoes)
– The AP-22a is equipped
with three shoes or large pedals set into the base of the
organ’s body. The leftmost shoe controls (“expresses”)
the volume of the Great and Pedal divisions’ stops. The
center shoe adjusts the volume of the Swell stops. Bar
graph indicators to the right of the manuals indicate
each shoe’s position.
Crescendo Pedal (Shoe)
– The rightmost of the three
shoes set into the base of the organ’s body. Depressing
this shoe turns on the stops of the organ in a
predetermined sequence from “softest to loudest,”
producing a gradual “crescendo” of sound. Use this
rarely and cautiously, perhaps when accompanying the
choir. One of the bar graph indicators indicates the
crescendo shoe’s position.
Pistons
– These controls, located beneath each
keyboard and above the pedal keys, are divided into the
following categories:
1.
General Thumb Pistons
– round buttons located
under the left portion of the manuals, these pistons,
numbered 1 through 10, control the stops of the
entire instrument.
2.
Divisional Thumb Pistons
– located beneath the
middle of each manual, these pistons, numbered 1
through 6, control only the resident stops of that
division. (i.e. The divisional pistons directly beneath
the Swell manual control only the Swell stops of the
organ, etc.)
3.
General Toe Studs
– these silver-colored knobs are
duplicates of the general thumb pistons that have
the same numbers. General toe studs are located
to the left side of the expression shoes and are
labeled 6-10.
4.
Pedal Division Toe Studs
– control only pedal stops.
These are located to the right of the crescendo shoe
and are labeled 1-5.
5.
Coupler Pistons
– located next to the divisional
thumb pistons, they are duplicates of the coupler
stops on the stop rail that have the same name.
GT/PD is to the left of manuals and SW/GT is to the
right. Note that the coupler pistons and toe studs
are “reversible.” That is, pressing them can either
turn the couplers on or off.
6.
Coupler Toe Studs
– are duplicates of the coupler
pistons.
7.
Crescendo B Piston
– causes the crescendo shoe to
produce an alternate sequence of stops from
softest to loudest. It is “reversible.”


