


24
4.3 Scheduling Recording
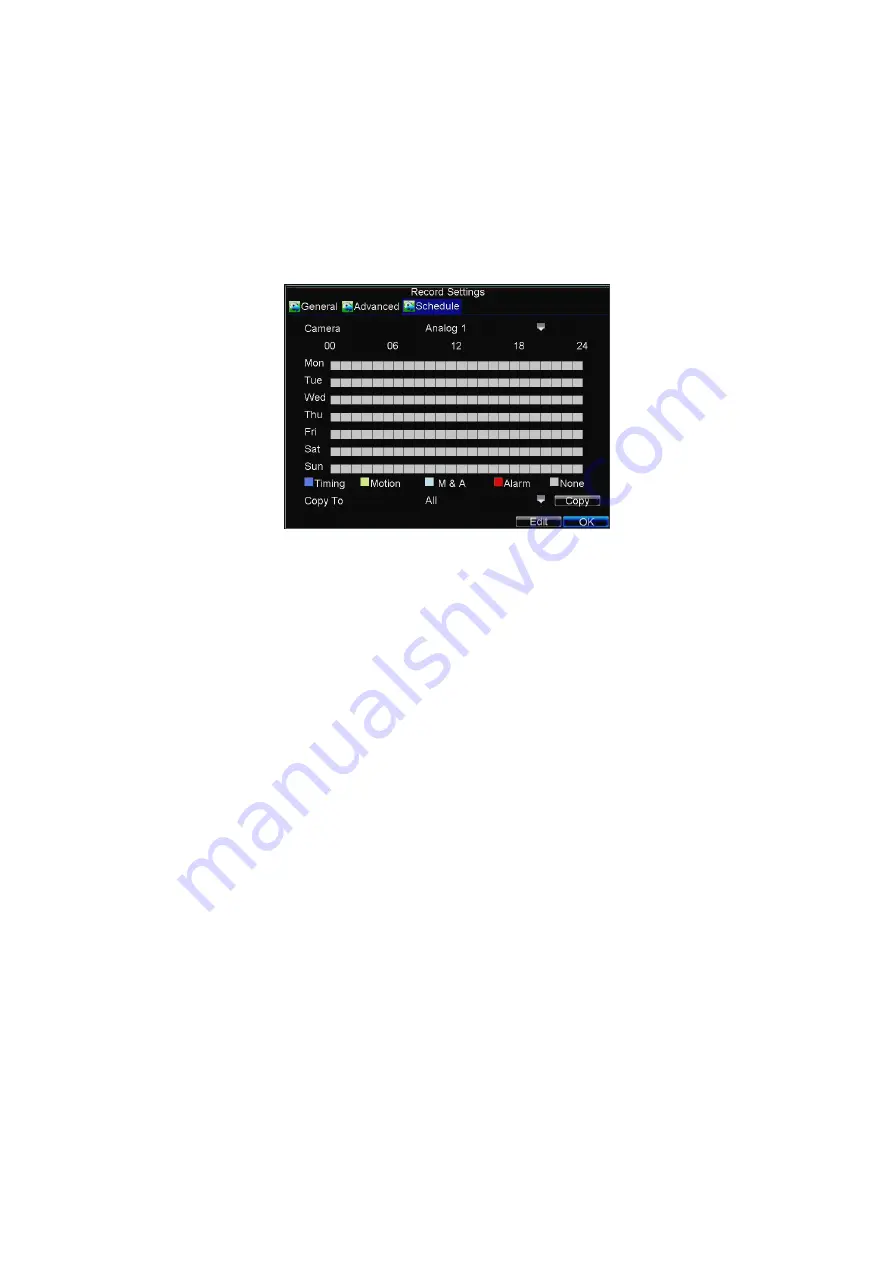
The
Schedule
allows you to set up flexible recording schedules for daily or weekly
recording.
To set up a recording schedule:
1.
Click Menu > Settings > Record to enter the Record Settings menu.
2.
Select the
Schedule
tab to enter the Schedule shown in Figure 4.
Figure4. Scheduling a Recording
3.
Select Camera you want to configure recording schedule.
4.
Click the
Edit
button to enter the
Schedule
.
5.
Click and check
Enable Schedule
checkbox.
6.
Select the day you want to set up the schedule or select
All Week
to
record for entire week.
7.
Click
All Day
to enable recording for entire day, or select different
periods for each day. Up to 8 time periods can be scheduled.
Note:
The time periods scheduled must not overlap.
8.
Select recording
Type
. Recording type can be selected to schedule or
trigger motion detection and/or alarm. For more specific settings about
motion detection and alarm recordings, please refer to
Configuring
Alarms
.
9.
Click the
OK
button to finish configuration.
10.
Repeat Steps 3-9 for other cameras or copy settings from one schedule to
the others under the
Copy To
item.
11.
Click
OK
to finish configuration and save the schedule settings.
Note:
The
Event
encoding parameters will take effect when motion detection or
alarm occurs and the
Timing
encoding parameters will take effect when there are no
events happening.


