E
N
G
L
I
S
H
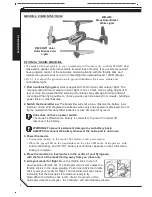
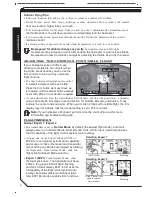
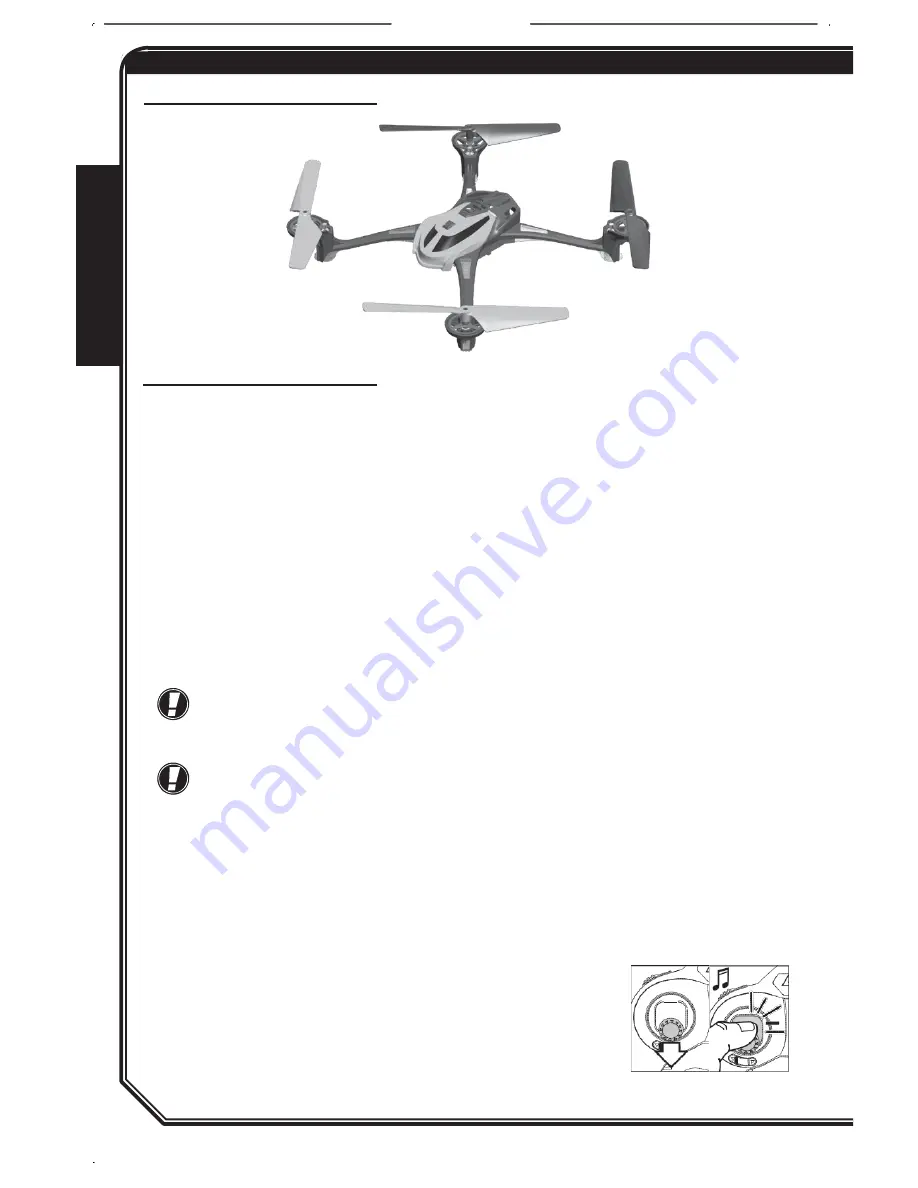
MODEL ORIENTATION
REAR
Black Rotor Blades
White Lights
FRONT Color
Rotor Blades Color
Lights
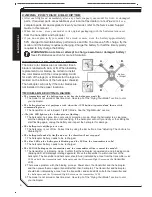
FLYING YOUR MODEL
• The model will react quickly to your commands. At first, move the controls SLOWLY
and
make small, gentle control movements to avoid loss of control. If you ever feel you don
’t
have complete control of the helicopter, maintain altitude with the throttle stick and
release the opposite stick to return to level flight (Normal and Expert 1 (EXP1) Mode).
• Fly 2-3 feet above the ground to avoid ground turbulence for a more stable and
controllable flight.
1. Find a suitable flying area.
Alias is approved for both indoor and outdoor flight. The
recommended minimum area for indoor flight is 10 x 10 feet, with a ceiling height of 8
feet or more. Be aware that the spinning rotor blades may damage furniture and wall
coverings. When flying outdoors, choose a wide open area away from crowds, buildings,
power lines, or other hazards.
2. Switch the transmitter on.
The transmitter will emit a tone. Observe the battery level
indicator on the LCD. Replace the batteries when only one segment is displayed. Do not
fly the model with low transmitter batteries or loss of control may result.
Alias does not have a power switch.
The model is ON when the battery is connected. To power the model off,
disconnect the battery.
WARNING: To prevent permanent damage to your battery pack,
ALWAYS disconnect the battery whenever the helicopter is not in use.
3. Power the model.
• Connect the battery to the model. The model is now powered on.
• When the green LED on the transmitter and the blue LED on the helicopter are both
solid (not blinking), and the
“RX” battery level indicator appears on the LCD screen,
linking is complete.
4. Place the model on a level surface in the center of your flying area,
with the front of the model facing away from you (nose out).
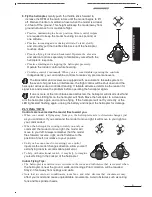
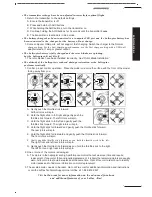
5. Arm your model for flight.
Move the throttle stick to the full
down position (throttle off). The helicopter will not arm unless the
throttle stick is in the down position. Push in and click the throttle
stick to arm your model for flight. The transmitter will emit a tone
indicating that the helicopter is armed and ready to fly.
Note: When the throttle stick is left idle for 5 seconds or the
helicopter detects an impact, the helicopter will automatically disarm.
4


