173cc 4 Stroke Petrol Lawn Mower
AFTER SALES SUPPORT
e-mail: [email protected]
1800 909 909
MODEL No.: DM46E3P-D173 • 02/2018 • 59085
(toll free)
AFTER SALES SUPPORT
(toll free)
173cc 4 Stroke Petrol Lawn Mower
e-mail: [email protected]
1800 909 909
MODEL No.: DM46E3P-D173 • 02/2018 • 59085
34
35
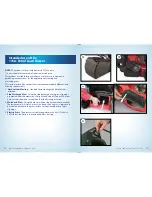
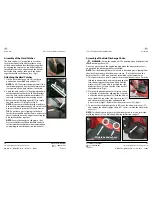
4. Repeat the process to remove the other blade.
5. Clean the dirt and grass from around the blade mounting area.
6. Replace both blades to ensure a smooth even cut and re-fit them on the
mower in the reverse direction they were removed.
7. Lastly, secure the nuts firmly, (20-25Nm) repeating this for the other
blade.
8. Replace the blade mounting plate (19) with new blades attached, then
the outer flange (32), followed by the blade bolt (31). Retighten the blade
bolt tightly (50 – 59Nm).
NOTE: Use a wooden block to stop the blade from turning. The blades
should be tightened fully but check to ensure they can still swing back
if they were to hit a solid object. Where required tighten the bolts with a
torque wrench, the centre disc blade bolt torque: 50 – 59Nm and the four
blades torque: 20-25Nm. If you do not have a torque wrench ask a mower
service dealer to tighten the blade bolts before you use the mower.
Blades should be replaced when they become worn and no longer cut
the grass cleanly. The performance of grass catching can also reduce if the
blades become worn. Replacement blade sets are available for purchase
from www.extrabattery.com.au, or by calling 1800 909 909.
Removing Oil
IMPORTANT: Drain the oil while the engine in still warm to ensure rapid and
complete draining.
1. With the engine off but still warm, disconnect the spark plug cover and
make sure it is kept away from the spark plug (27).
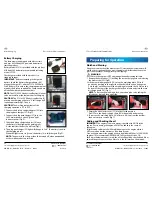
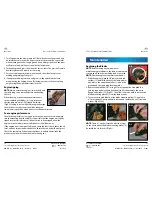
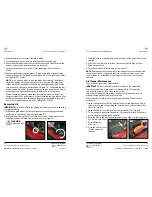
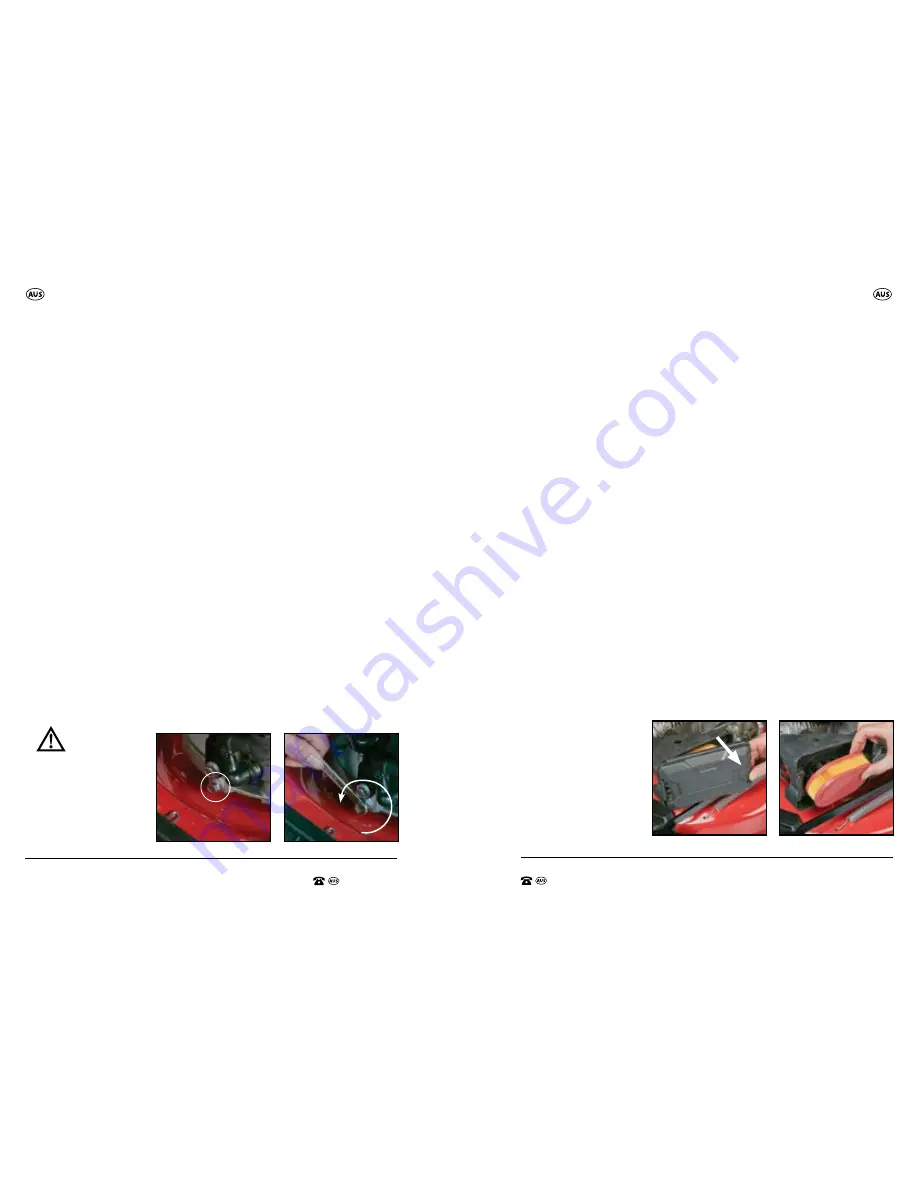
2. Remove the oil drain plug (23) bolt (Fig AJ), using a 10mm spanner (not
supplied) in an anti-clockwise direction to loosen (Fig AK).
WARNING:
Oil may be hot.
AK .
AJ.
Maintenance
Maintenance
3. Drain the oil into a suitable / approved container for the disposal of oils and
the like.
4. After the oil has drained, install and tighten the oil drain plug (23) bolt.
5. Wipe up any spilt oil.
6. To refill the oil tank, follow the process on page 27.
NOTE: Please dispose of used engine oil in a manner that is compatible with
the environment. We suggest you take it in a sealed container to your local
service station for reclamation. Do not throw it in the trash or pour it into
the earth.
Air Cleaner Maintenance
The air cleaner system uses a pleated filter.
IMPORTANT A dirty air filter (28) will restrict air flow to the carburettor.
To prevent carburettor malfunction, service the air filter (28) regularly.
Check that the air filter (28) is clean and dry of dirt.
Filters thick with debris will not allow the engine to breathe and result in
difficult starting and poor engine performance.
The air filter (28) should be checked after approximately 25 hours of use,
or annually.
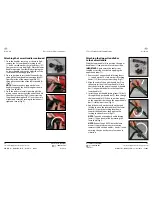
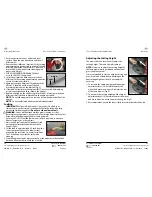
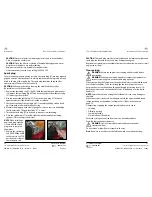
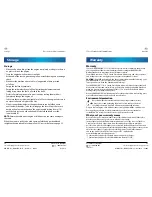
1. Open the air filter cover (29) by pushing in the rear tab (right hand side) to
release the clip, and then pushing the cover back and away to release the 2
front clips (Fig AL).
2. Open the air filter cover (29) and remove the air filter (28). ( Fig AM)
3. To loosen debris, gently tap the air filter (28) on a hard surface. If the filter is
excessively dirty, replace with a new filter.
4. Wash the filter in liquid detergent and water. Then allow it to thoroughly air
dry. Do not oil the filter.
5. Re-install the air
filter (28).
6. Close the air filter cover
(29) and secure the
fastener.
AM.
AL.

