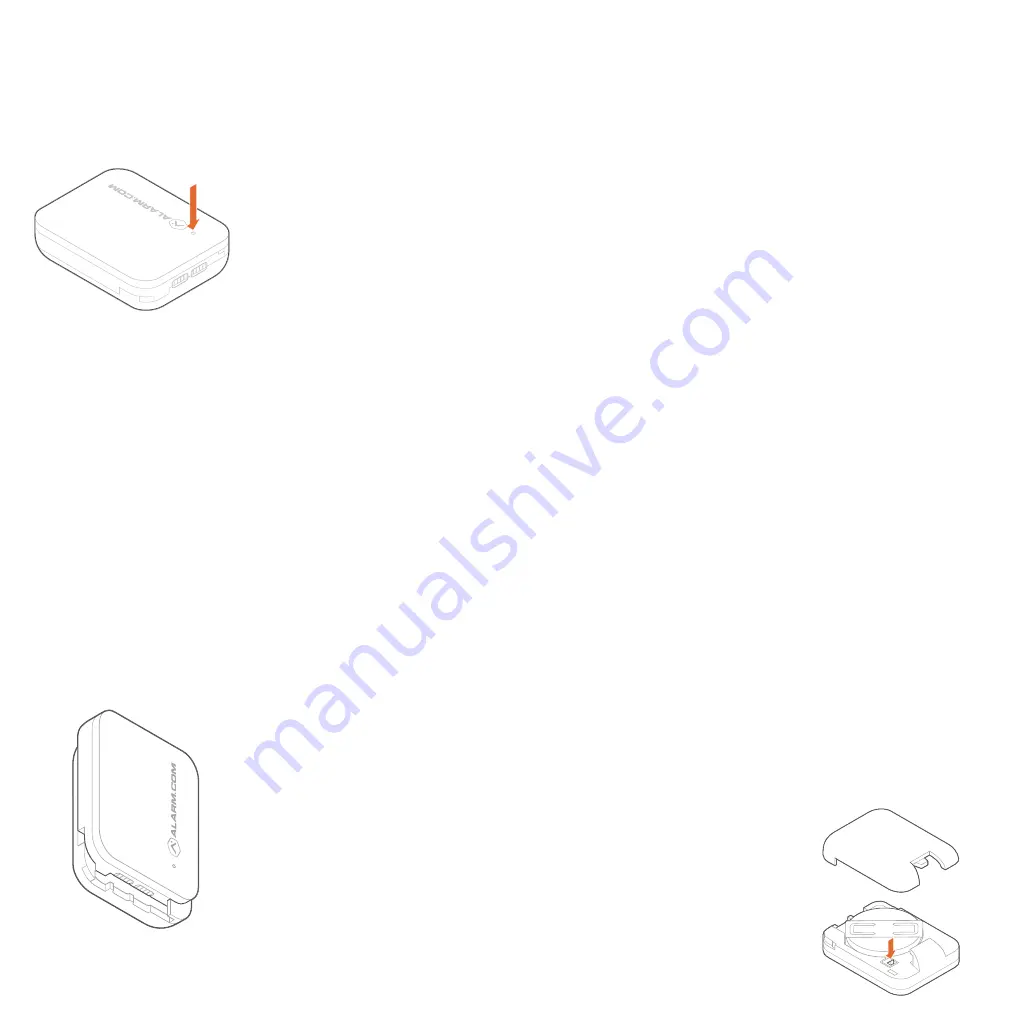
Network LED
❺
Remove the battery tab from the
sensor. When the LED on the sensor
turns solid, the sensor has been
successfully added.
❻
Ensure you see the device on
your account. This may take
up to 2 minutes.
❼
Name the device based on its
application. This can be done in
MobileTech, the Partner Portal,
or the Customer Website.
❽
Using the double-sided adhesive
tape provided, mount the sensor
on the wall.
Z-Wave Manual Installation
❶
Power on the Z-Wave controller.
❷
Put the Z-Wave controller into
Add mode. Refer to the Z-Wave
controller documentation for
more information.
❸
Remove the battery tab from
the sensor. When the LED on the
sensor turns solid, the sensor has
been successfully added.
❹
Ensure you see the device on
your account. This may take
up to 2 minutes.
❺
Name the device based on its
application. This can be done in
MobileTech, the Partner Portal,
or the Customer Website.
❻
Using the double-sided adhesive
tape provided, mount the sensor
on the wall.
Troubleshooting
If the sensor is not communicating
with the Z-Wave controller
❶
Slide the battery door down. The
LED should turn on and then turn
off within a few seconds.
If the LED does not happen,
the sensor cannot communicate
with the Z-Wave controller.
Follow these steps to fix the
communication problems:
a) Install a Z-Wave repeater
between the Z-Wave controller
and the sensor.
TIP: Any AC-powered Z-Wave device will
act as a repeater and improve the range
between the Z-Wave controller and the
Z-Wave device you are installing.
b) If the previous step does not resolve
the issue, try deleting the sensor
from the network (see next section)
and add it again.
Deleting the sensor from
the network
❶
Put the Z-Wave controller into
Delete mode. Refer to the Z-Wave
controller documentation for
more information.
In the box
•
ADC-S40-T Temperature Sensor
•
CR2450 battery
•
Installation guide
•
Double-sided tape
Installation
The Temperature Sensor is
designed for indoor use only.
For optimal performance, install the
sensor approximately 5 feet above
the floor of an interior wall. Avoid
installing the sensor on an exterior
wall, in areas that are close to
heating or cooling vents, and areas
that are exposed to direct sunlight.
Z-Wave SmartStart Installation
❶
Power on the Z-Wave controller.
❷
Log in to the MobileTech app and
find the customer account.
❸
Add the device using SmartStart and
follow the on-screen instructions.
❹
Scan the device’s QR code found
on the box or sensor.
❷
Slide the battery door down to
delete the sensor from the network.
The LED on the sensor will turn solid
and then blink to indicate the device
has been successfully deleted.
Adding the sensor to the network
❶
Put the Z-Wave controller into
Add mode. Refer to the Z-Wave
controller documentation for more
information.
❷
Slide the battery door down to add
the sensor to the network. When the
LED on the sensor turns solid, the
sensor has been successfully added.
Resetting the device to default
NOTE: This will remove the device from
the Z-Wave network.
❶
Remove the battery door, tap the
tamper switch 3 times in a row,
press and hold the tamper switch
for 10 seconds and then release to
begin the reset to default process.
❷
After the tamper switch is released,
the LED will blink quickly and then
turn solid for 3 seconds indicating
that the device is resetting.


