E a s y W i F i A t t a c h i n g
E a s y S T
18120511-01
Airspan Networks Inc.
3-3
3.
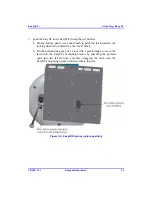
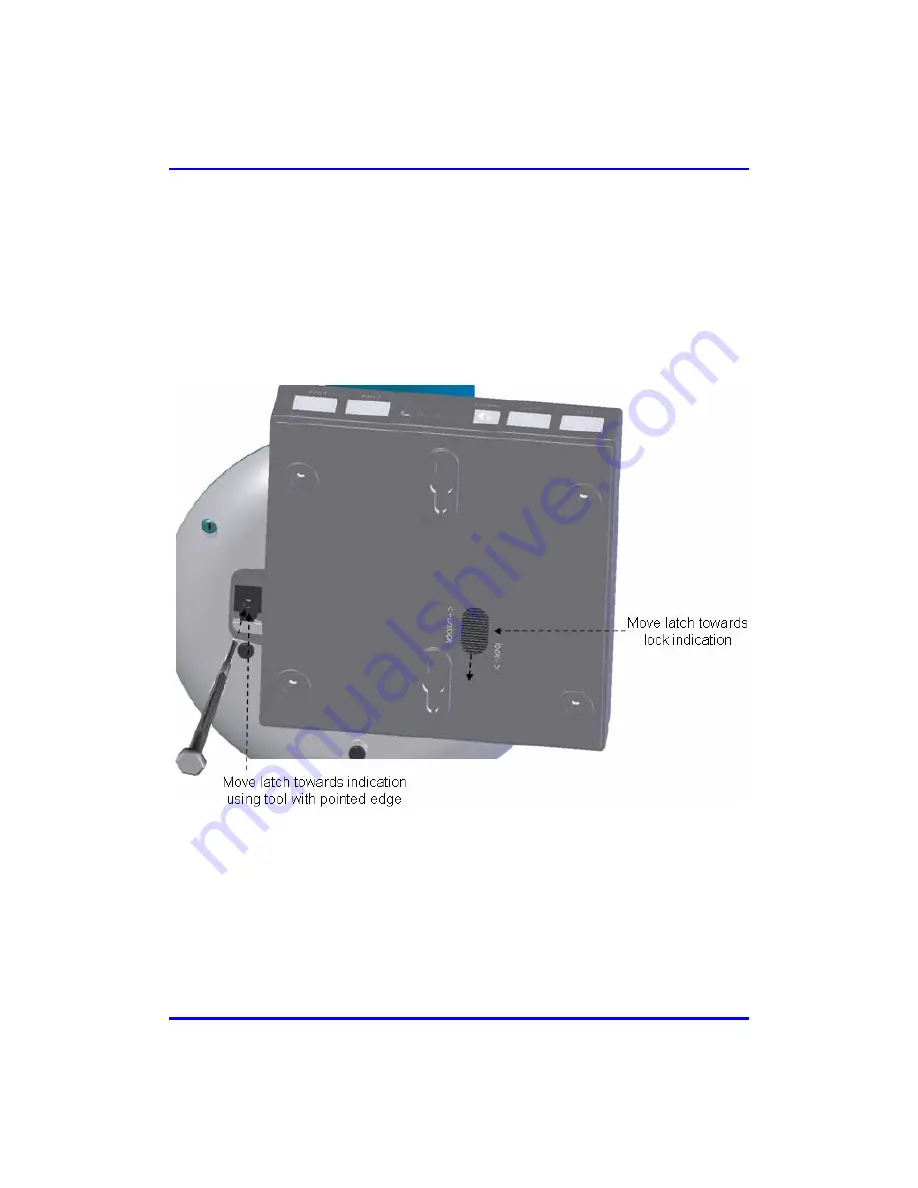
Lock the EasyST to the EasyWiFi using the two latches:
a.
On the bottom panel, use your thumb to push the latch towards the
locking direction (indicated by the "lock" label).
b.
On the bottom-side panel, use a tool with a pointed edge to move the
latch into the EasyST's mounting bracket by inserting the pointed
egde into the latch's hole, and then dragging the latch into the
EasyST's mounting bracket until it is firmly in place.
Figure
3-3: EasyWiFi latches (unlock position)
Содержание EasyWiFi
Страница 2: ......
Страница 4: ...EasyWiFi ...
Страница 5: ...This page is intentionally left blank ...
Страница 7: ...EasyWiFi Contents 18120511 01 Airspan Networks Inc ii This page is intentionally left blank ...
Страница 11: ...EasyWiFi Introduction 18120511 01 Airspan Networks Inc 1 2 This page is intentionally left blank ...
Страница 19: ...EasyWiFi Physical Description 18120511 01 Airspan Networks Inc 2 8 This page is intentionally left blank ...
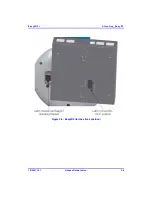
Страница 23: ...EasyWiFi Attaching EasyST 18120511 01 Airspan Networks Inc 3 4 Figure 3 4 EasyWiFi latches lock position ...
Страница 31: ...EasyWiFi Mounting 18120511 01 Airspan Networks Inc 5 6 This page is intentionally left blank ...
Страница 35: ...EasyWiFi Connecting Power 18120511 01 Airspan Networks Inc 6 4 This page is intentionally left blank ...

